
Appetizers
Mushroom Tart
I have a Pinterest problem. I love to look at food. Most of what I look at is not paleo or anywhere close. I came across a mushroom tart on Pinterest and then just couldn’t get it out of my mind. It’s made with puff pastry and all kinds of decadent stuff. But, I really wanted it.
What I came up with may not be anything like the original, but it sure was good and now my craving is finally satisfied.
Mushroom Tart
I did use some dairy in this recipe, but you could leave it out or use a cashew nut ricotta instead. I’m totally fine with adding a bit of feta from sheep’s milk into my diet, but you need to decide for yourself what paleo means to you.
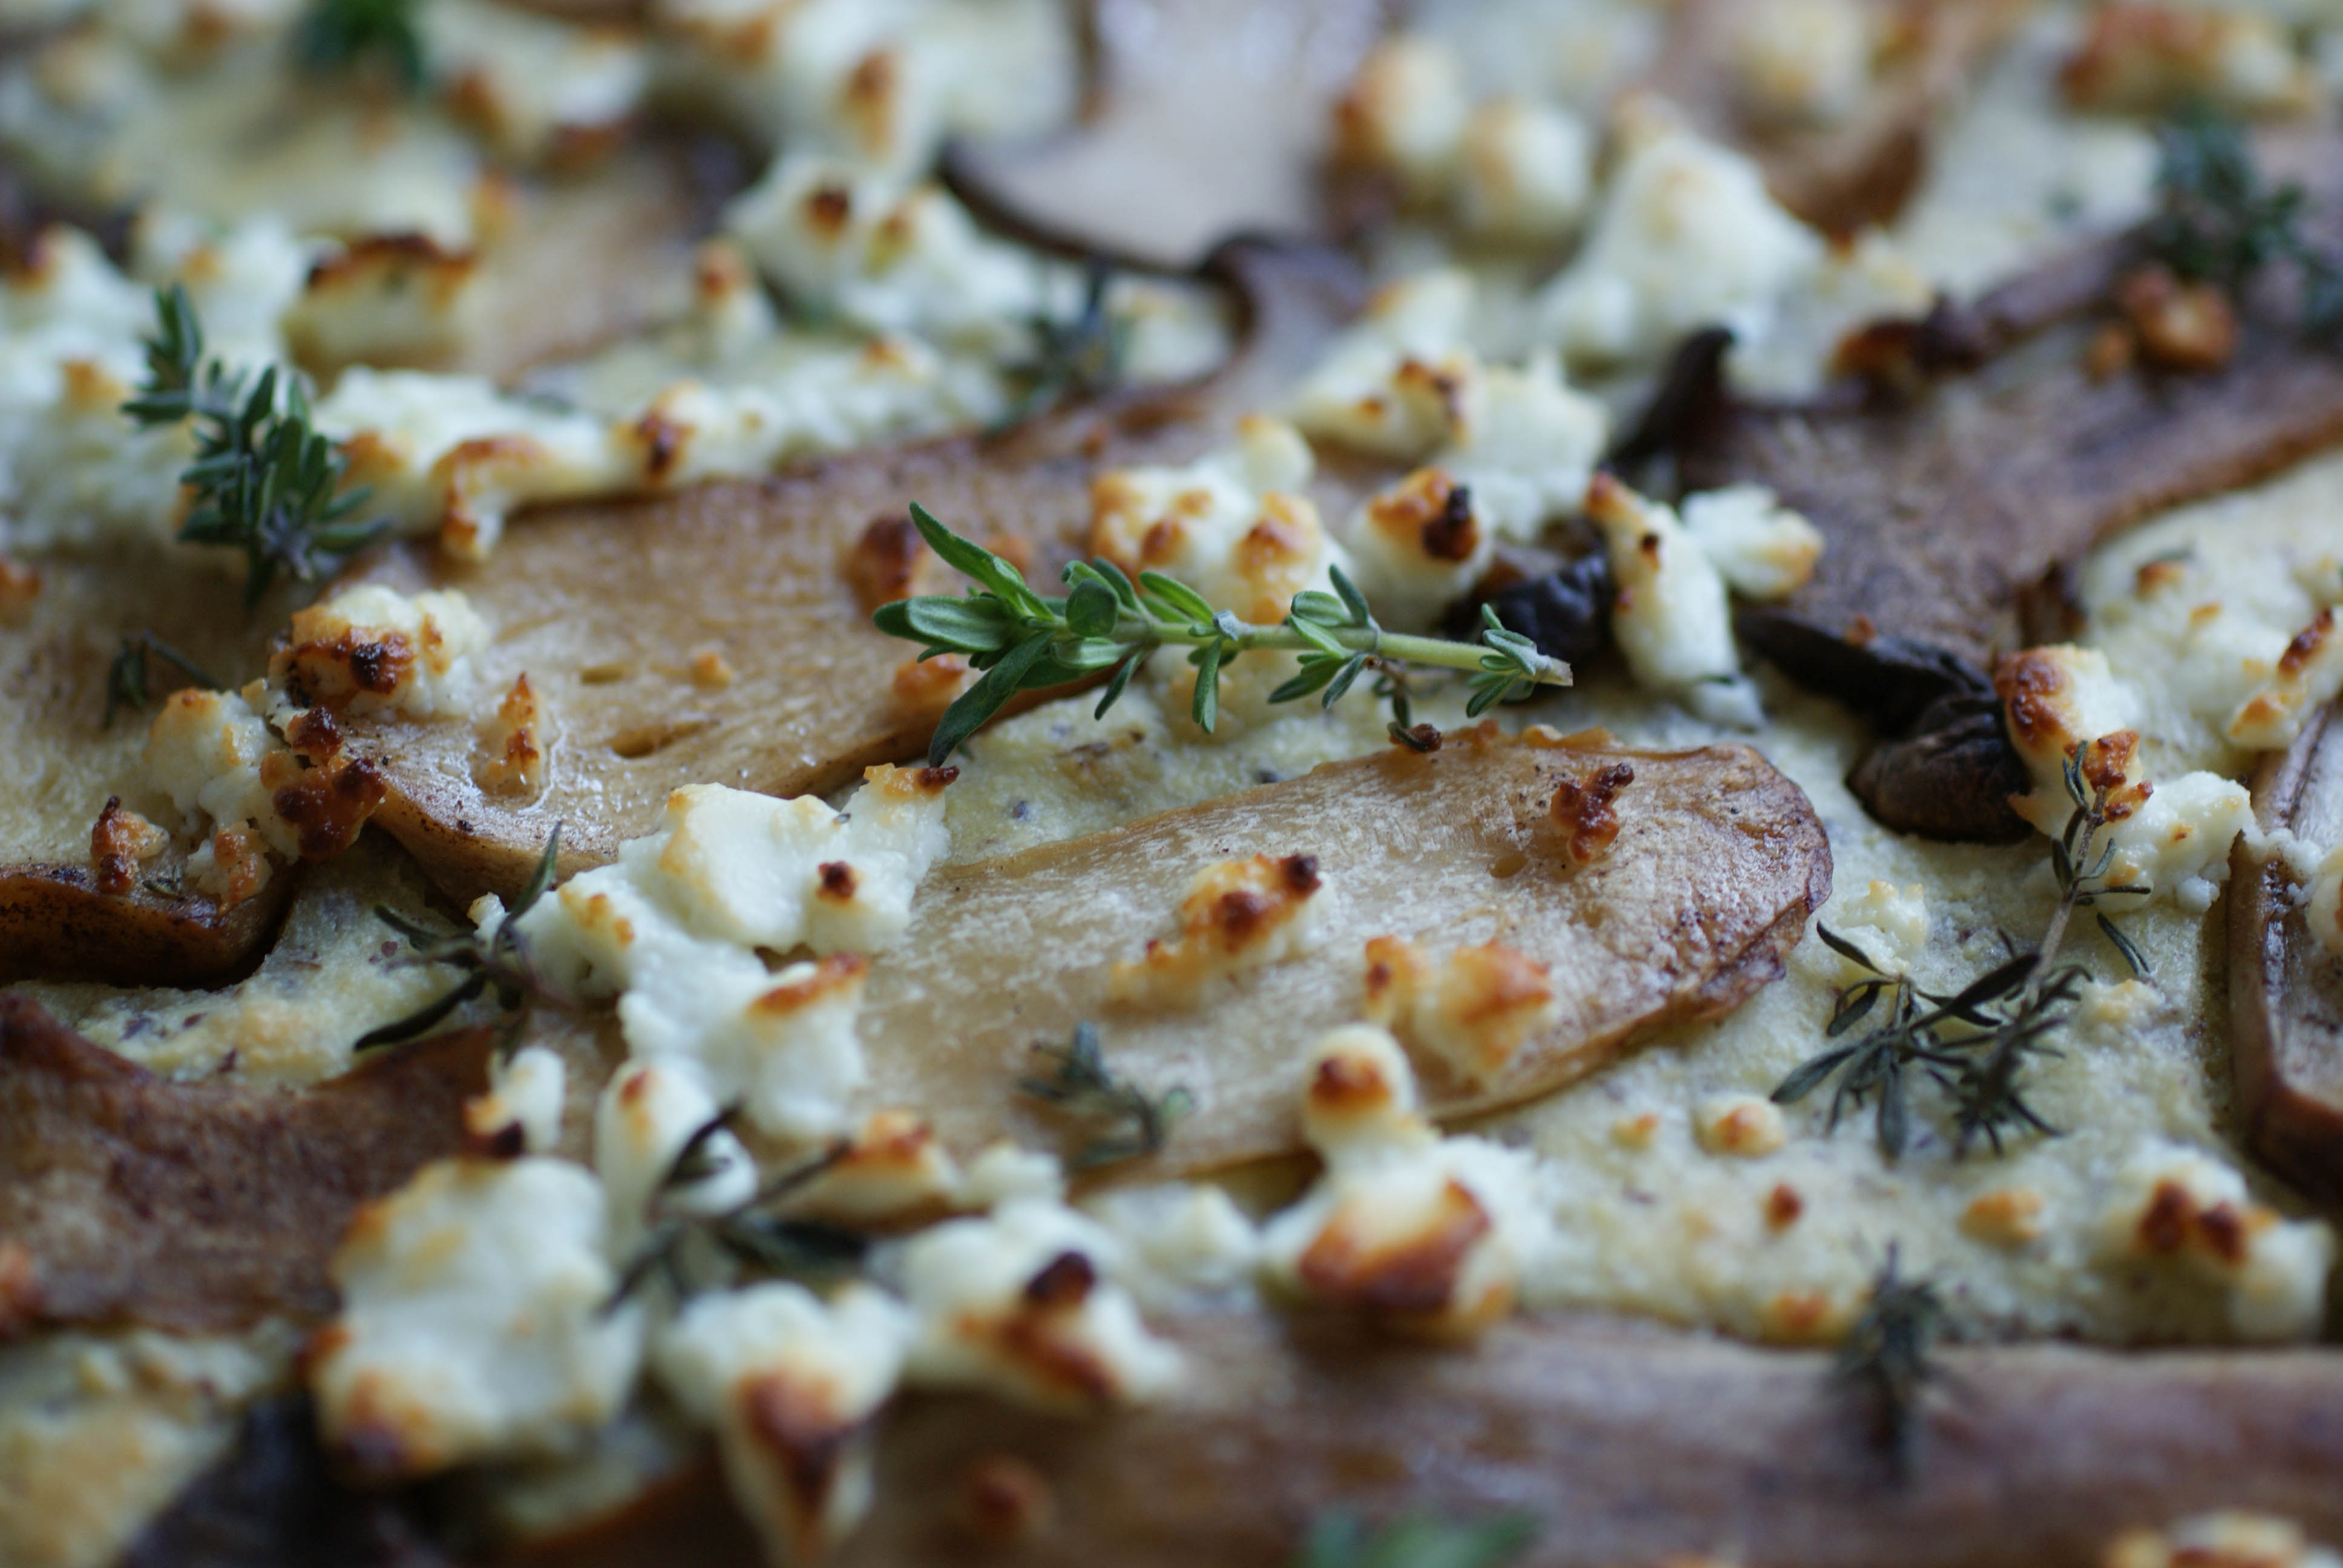
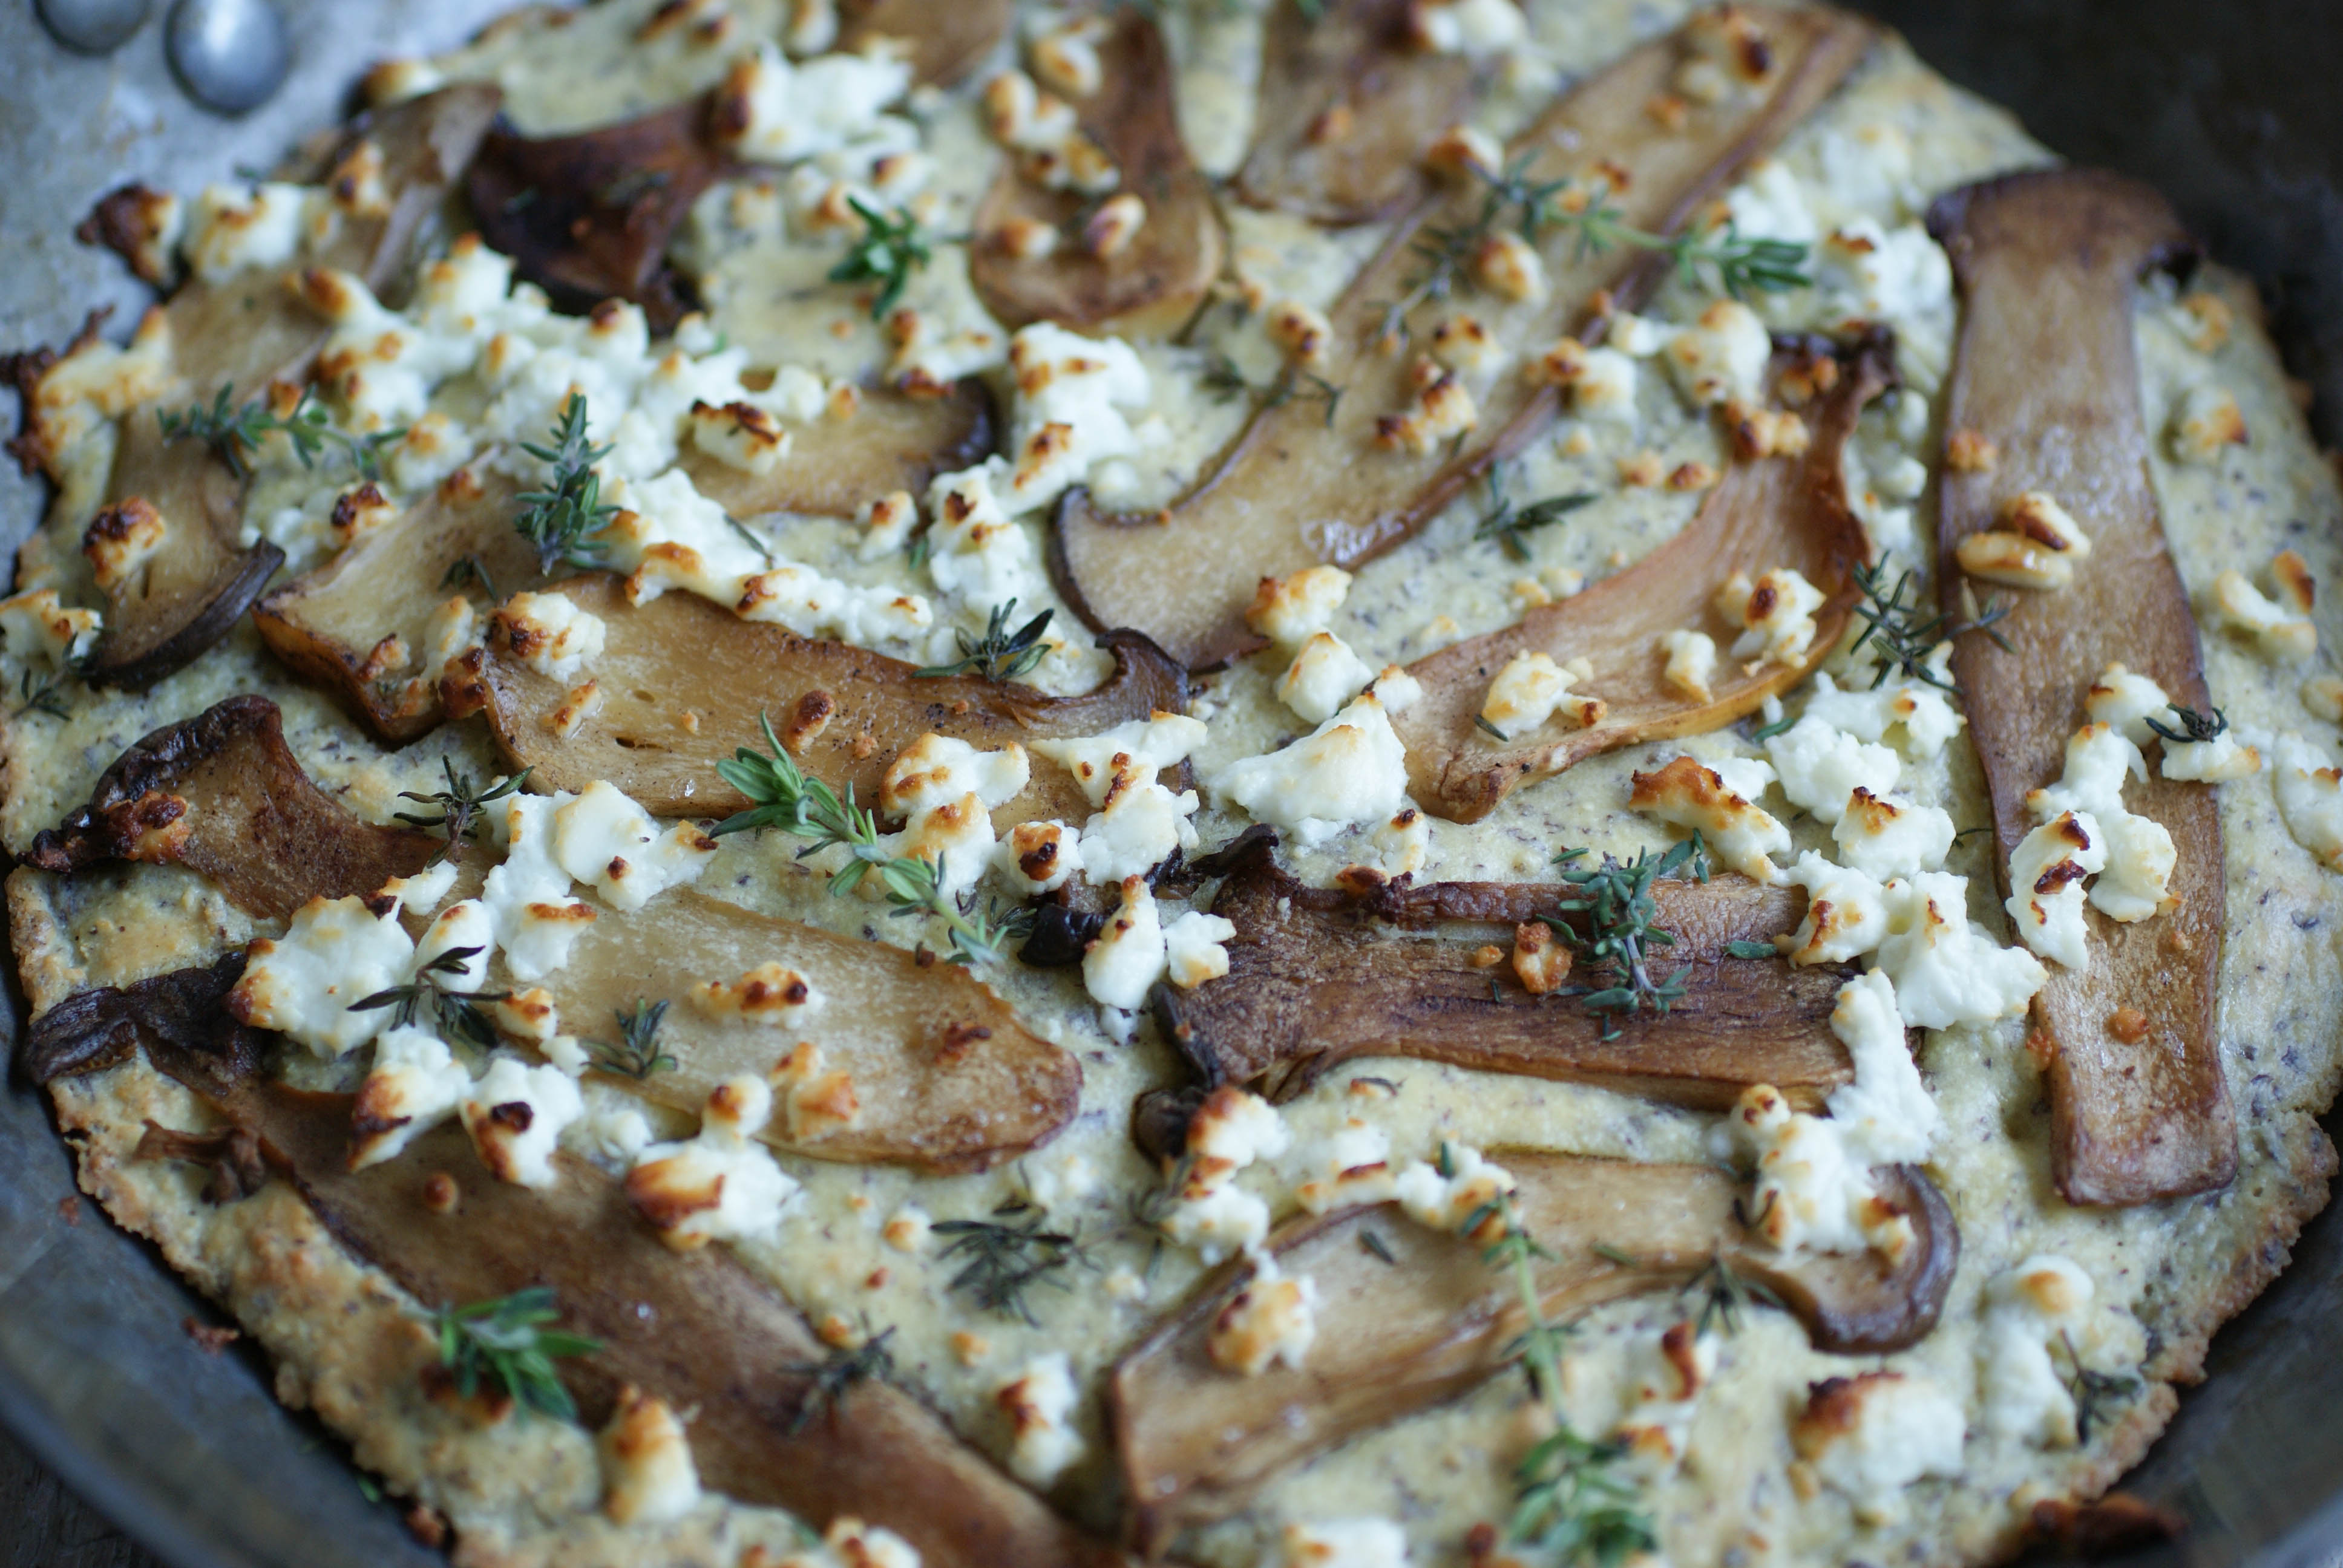
You should smell this right out of the oven
I used Kräuterseitlinge mushrooms which I think are called King Oyster mushrooms in English. They were pretty pricey, but it was worth it for a once in a while thing. I cooked up all the mushrooms in the picture below (in batches) and had left overs.
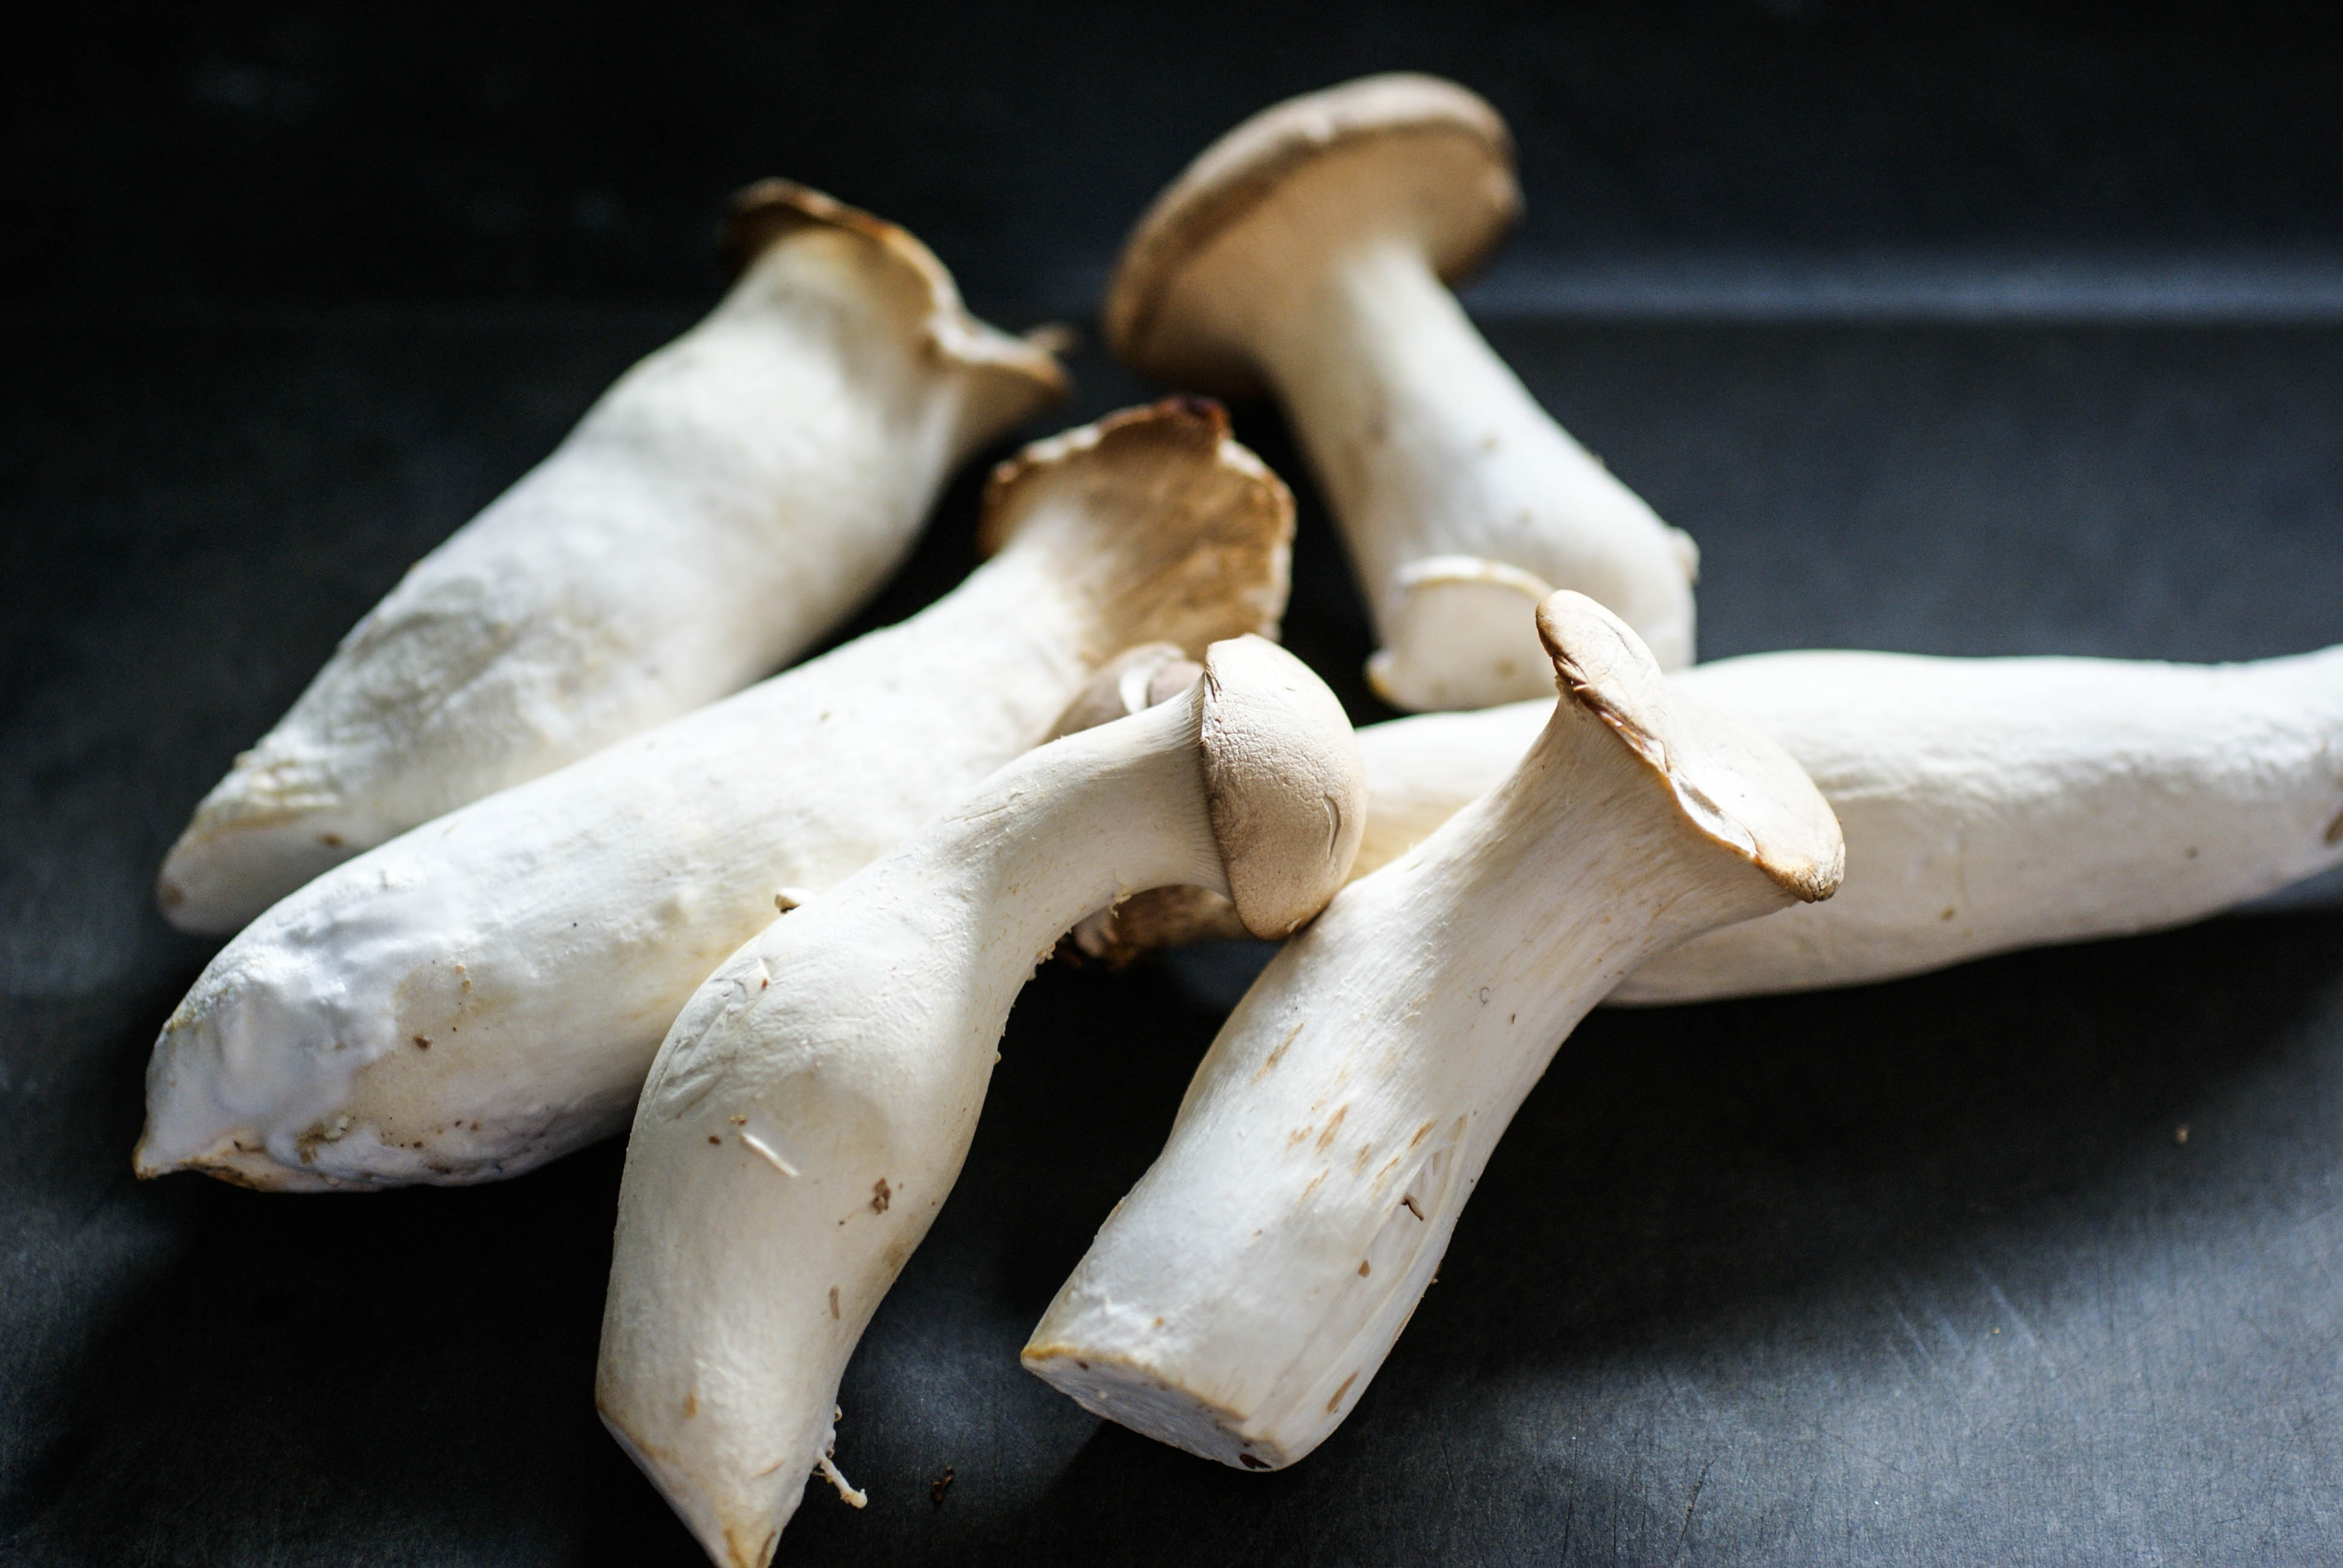
Mushrooms
Ingredients
- 2 Tablespoons butter
- King oyster mushrooms (or any kind you prefer)
- Fresh thyme sprigs
- Feta cheese, as much as you want or none at all
For the bread part
- 3 Tablespoons ground flax seeds
- 2 eggs
- 1/3 cup coconut milk (refrigerate it and use the thick part) or Greek yogurt
- 1/8 cup olive oil
- 1/4 cup coconut flour
- 1/2 cup arrowroot powder
- 3/4 teaspoon baking powder
- 1/4 teaspoon salt
- 1/2 teaspoon apple cider vinegar
- 1 Tablespoon coconut oil for the pan
Instructions
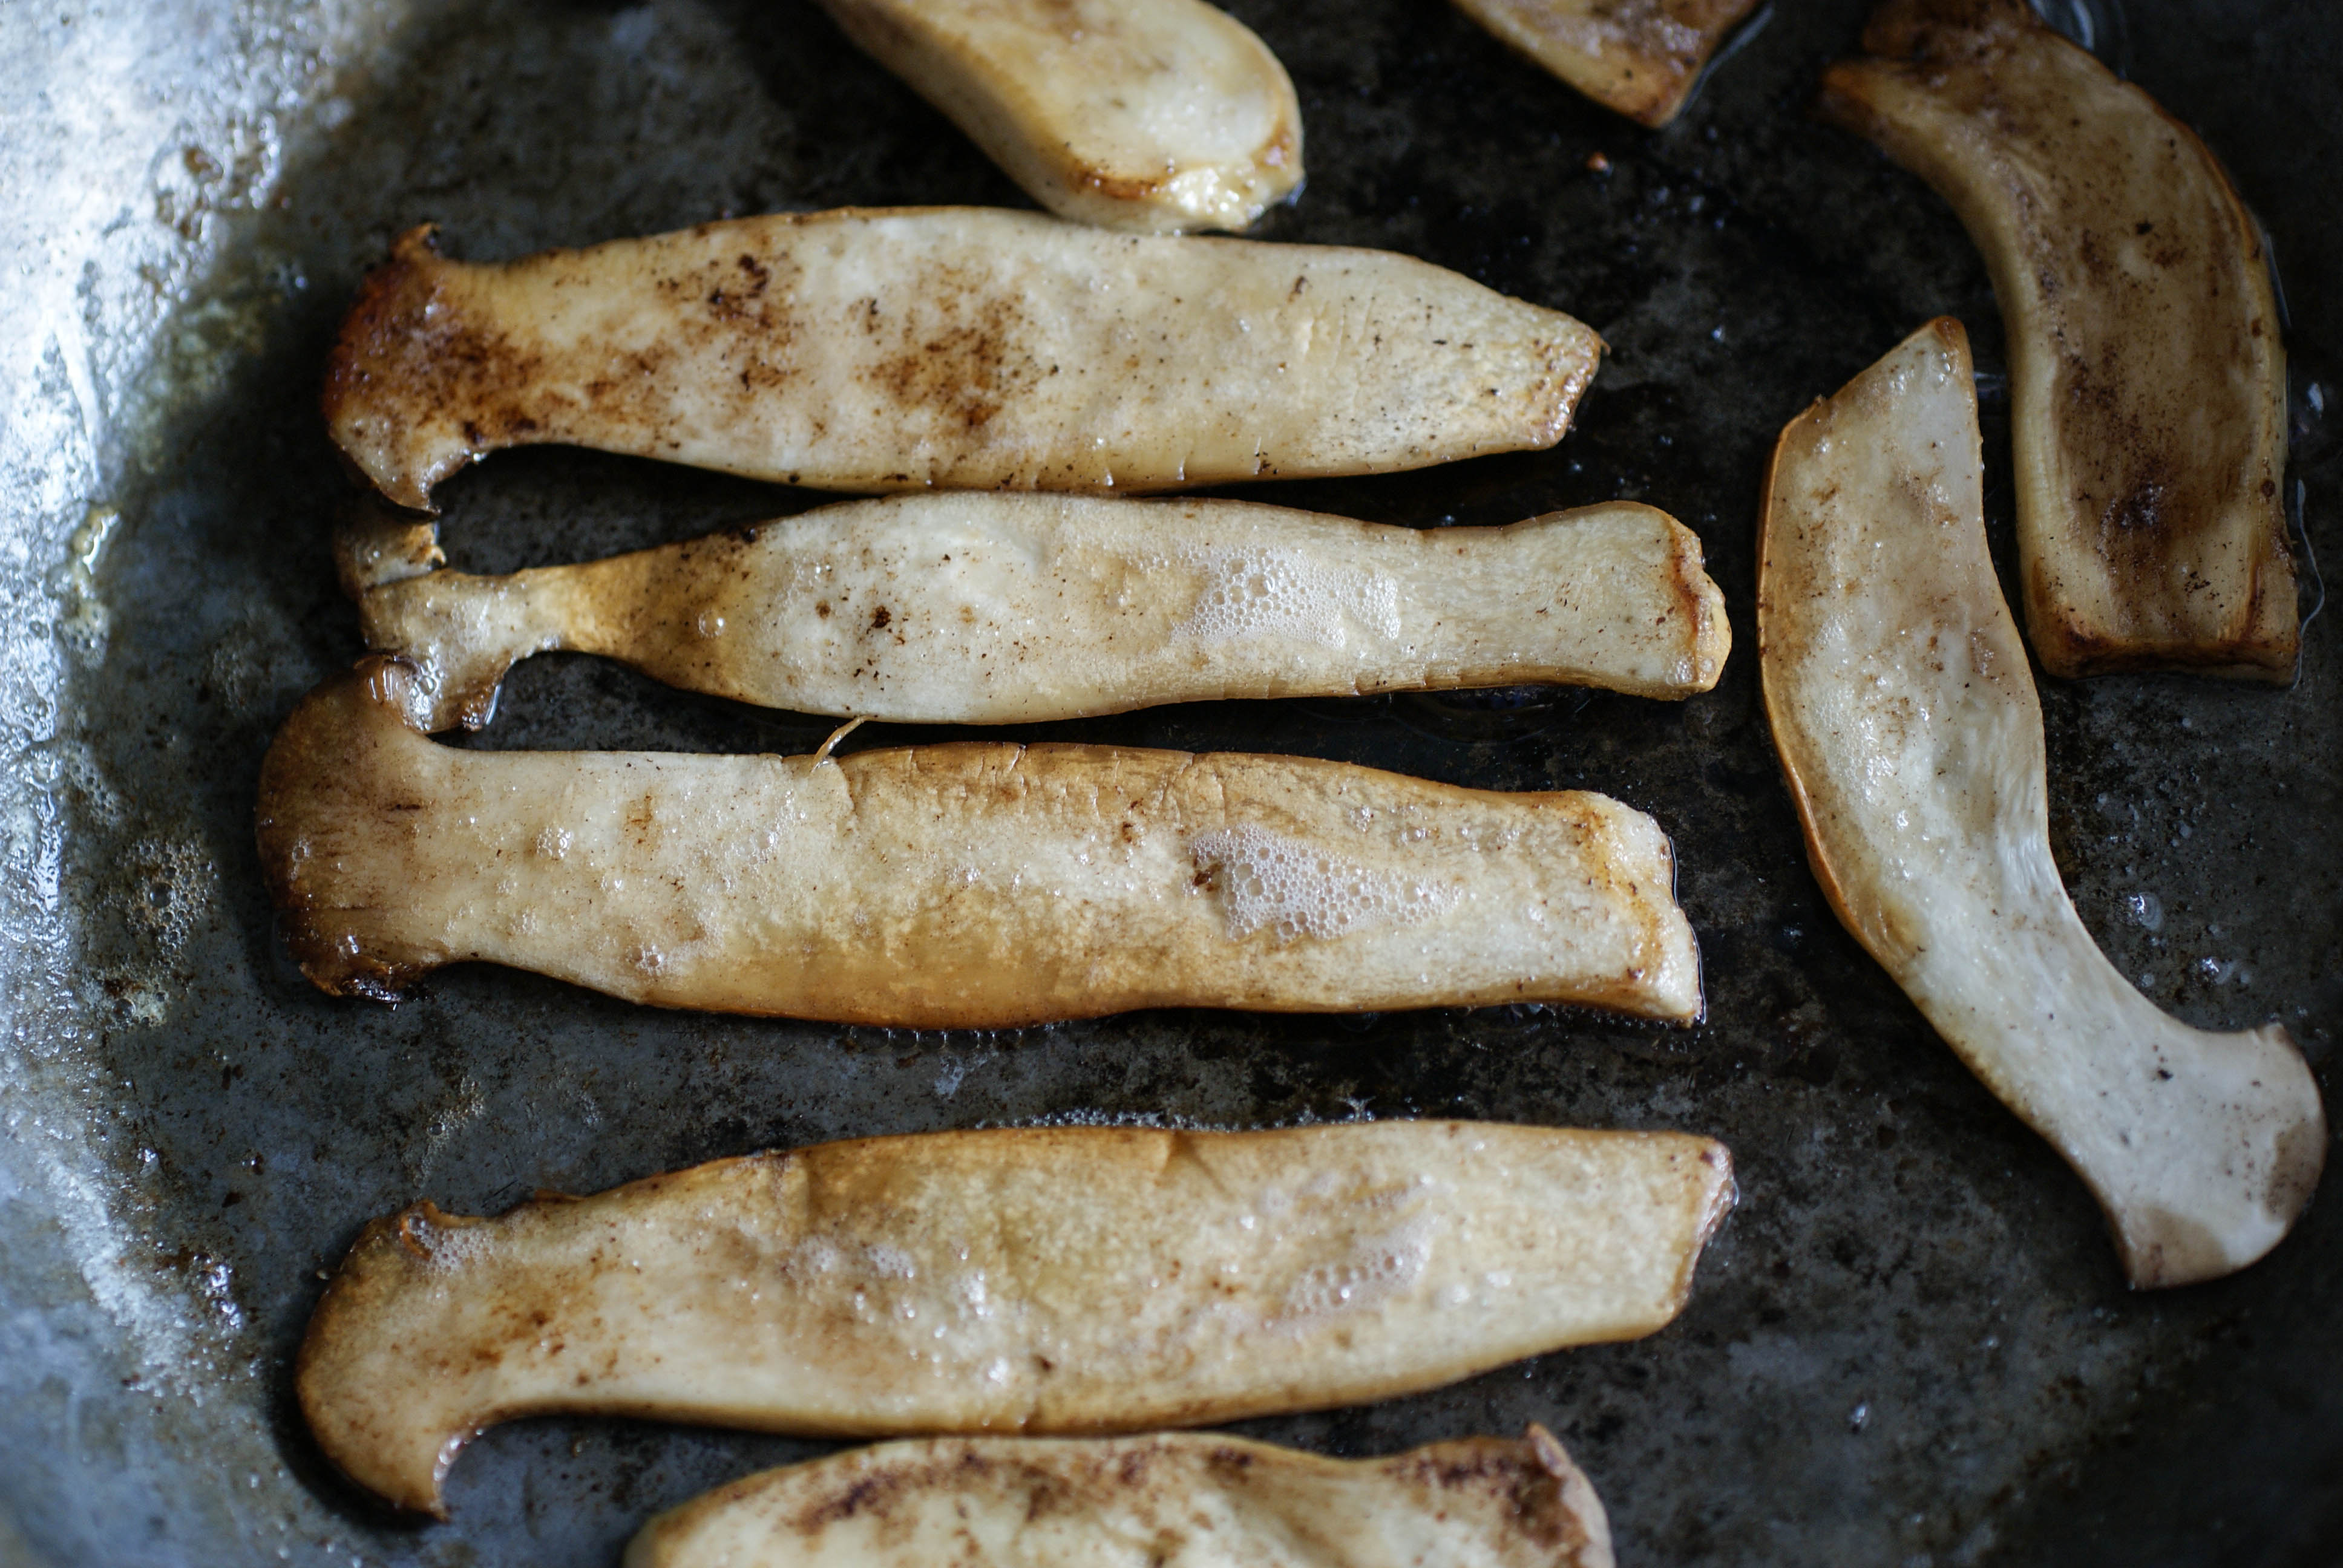
- Slice the mushrooms length wise into flat strips.
- Brown the mushrooms (on both sides) in a frying pan in the melted butter. Only takes a few minutes. I had enough mushrooms that I needed to do three batches.
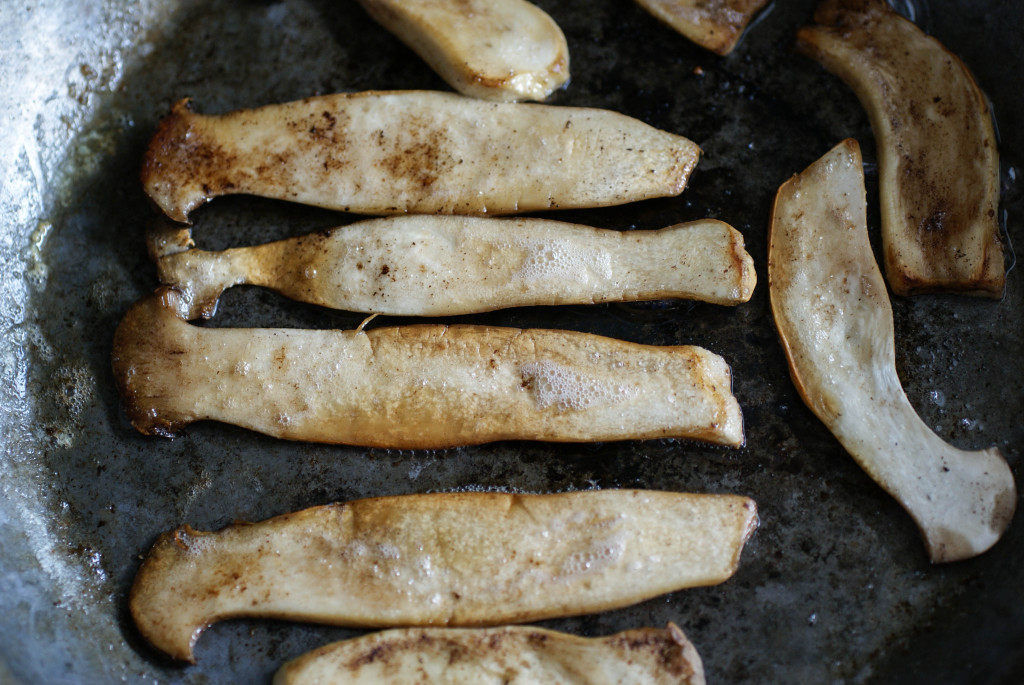
Aren’t they beautiful?
- Set mushrooms aside while you prepare the bread dough.
For the Bread
- Put all ingredients together in a food process and mix well. It will be the consistency of pancake batter.
- Melt coconut oil in an oven proof frying pan.
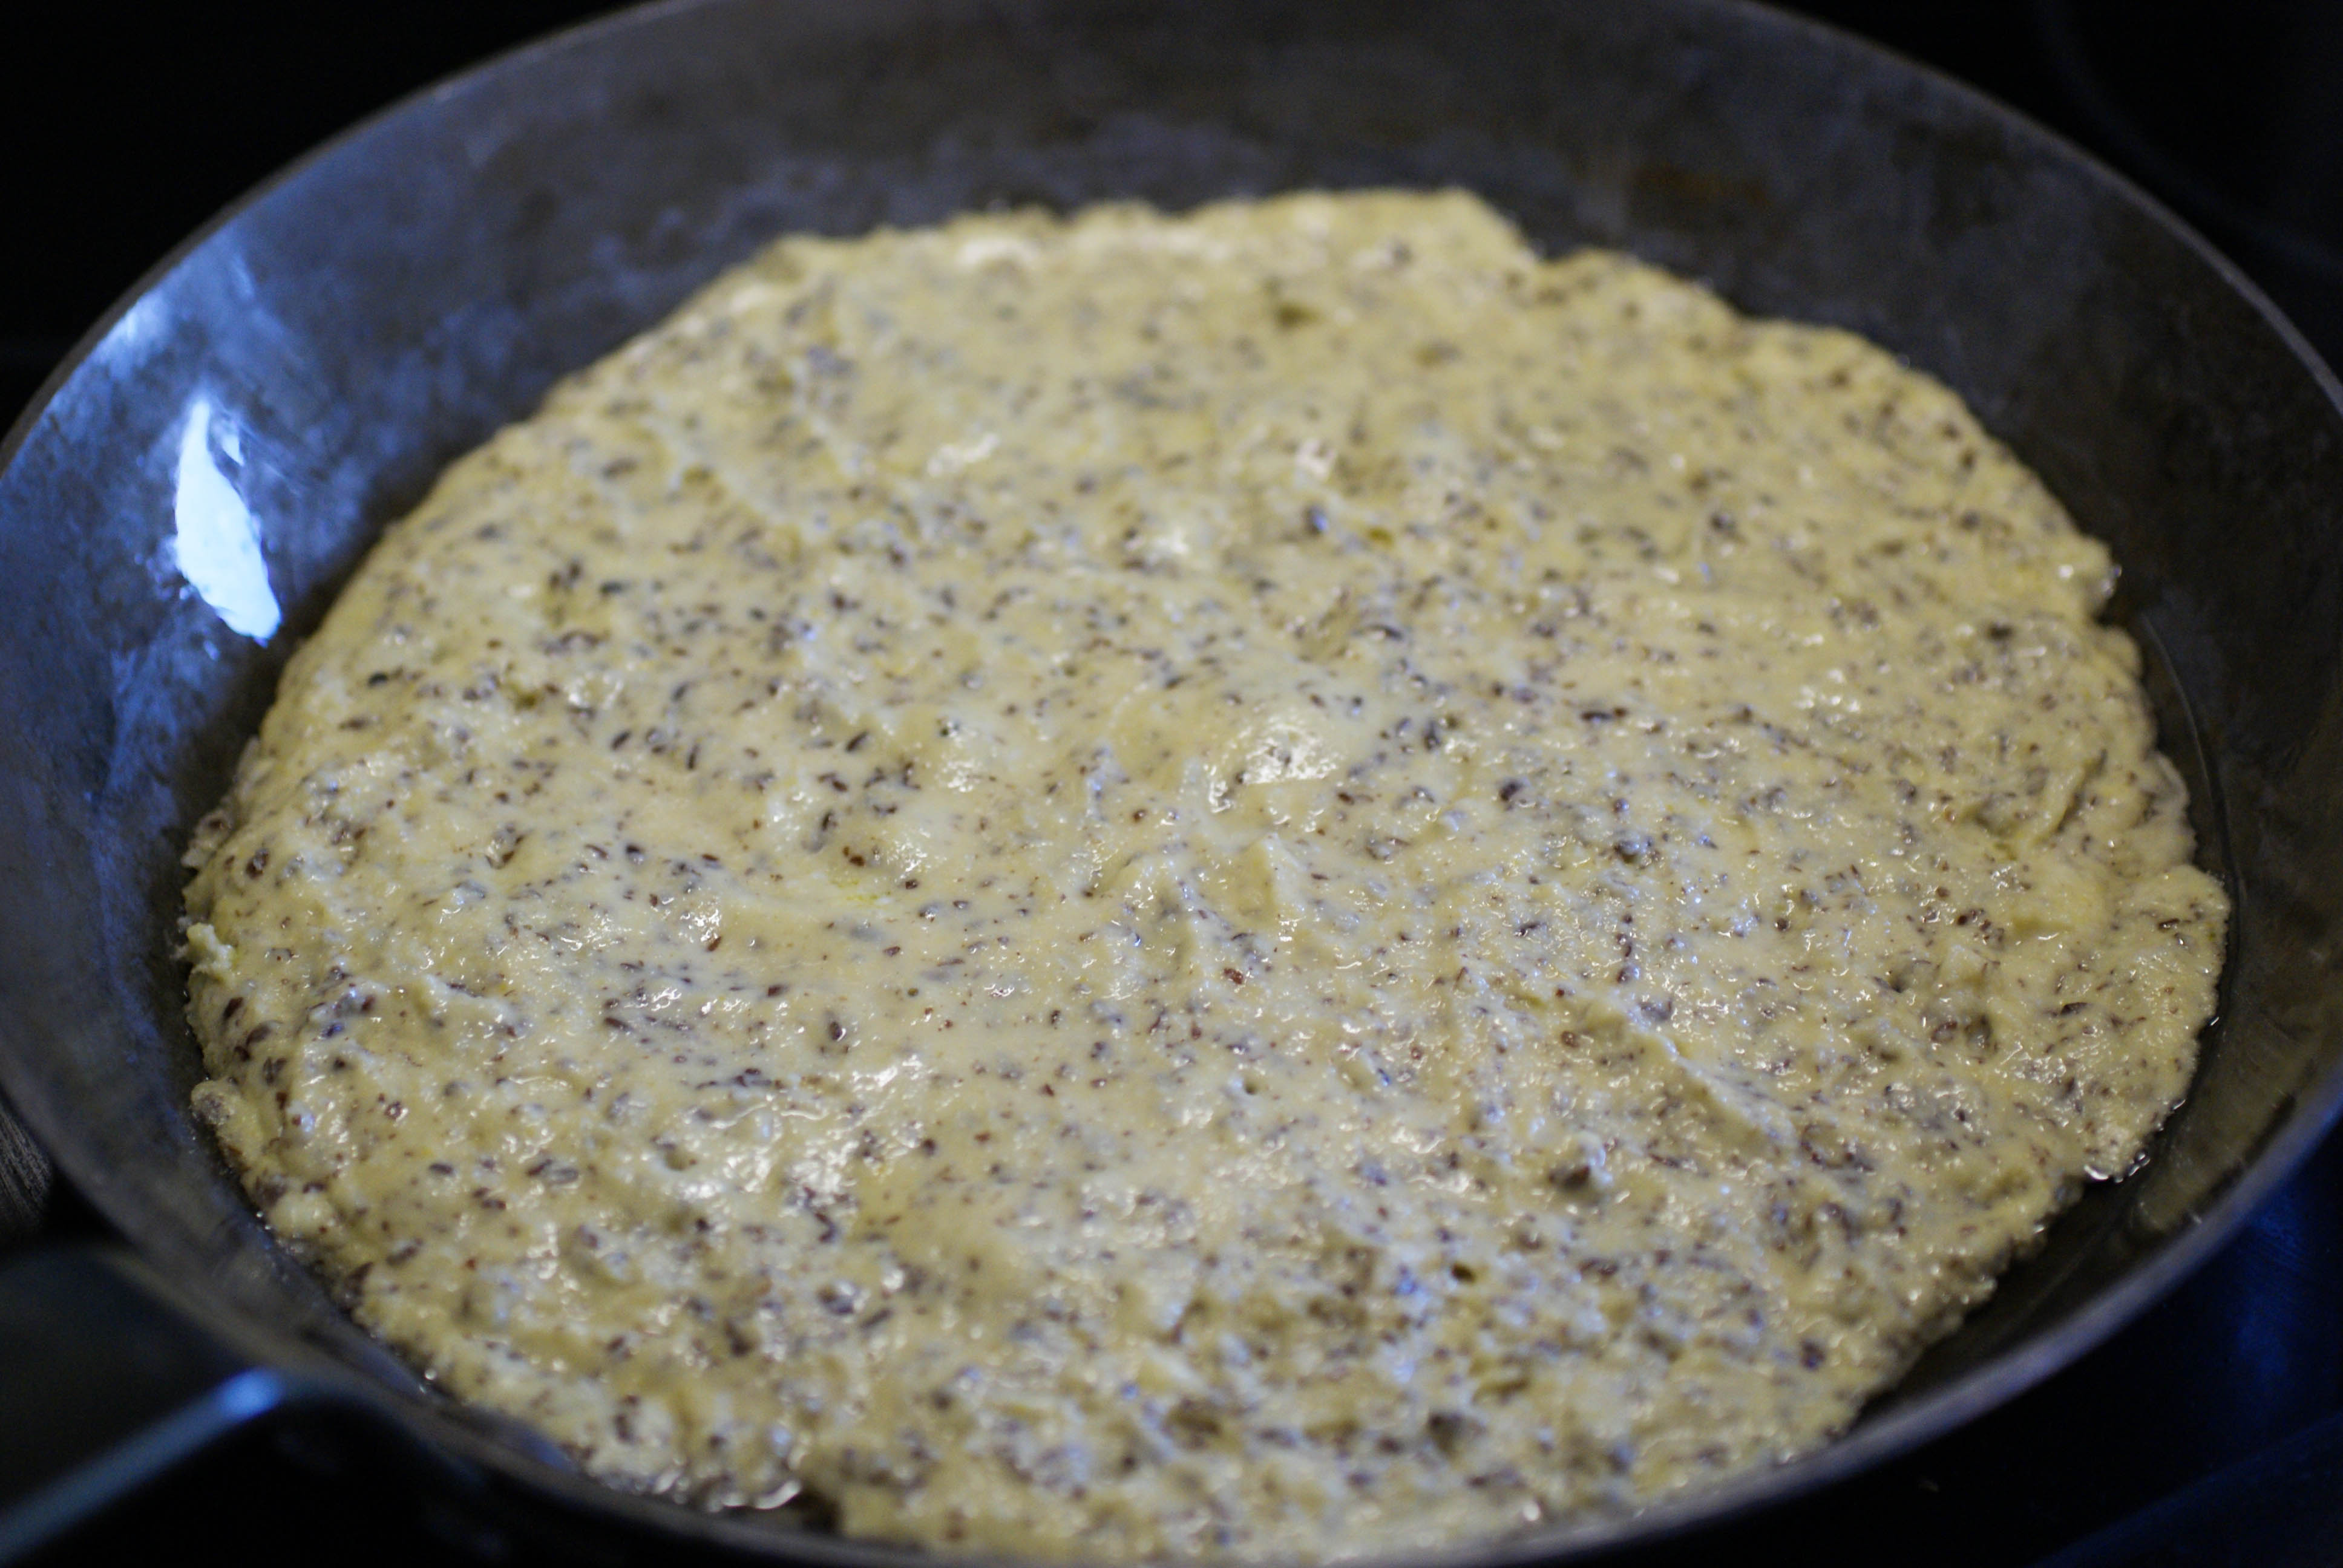
- When the oil is hot, pour in the dough and spread it out in the pan.

Dough part
- Cook for 2 minutes.
- Remove from heat and place the mushrooms and feta cheese on top. Salt and pepper to taste and add a few sprigs of fresh thyme (or herbs of your choice).
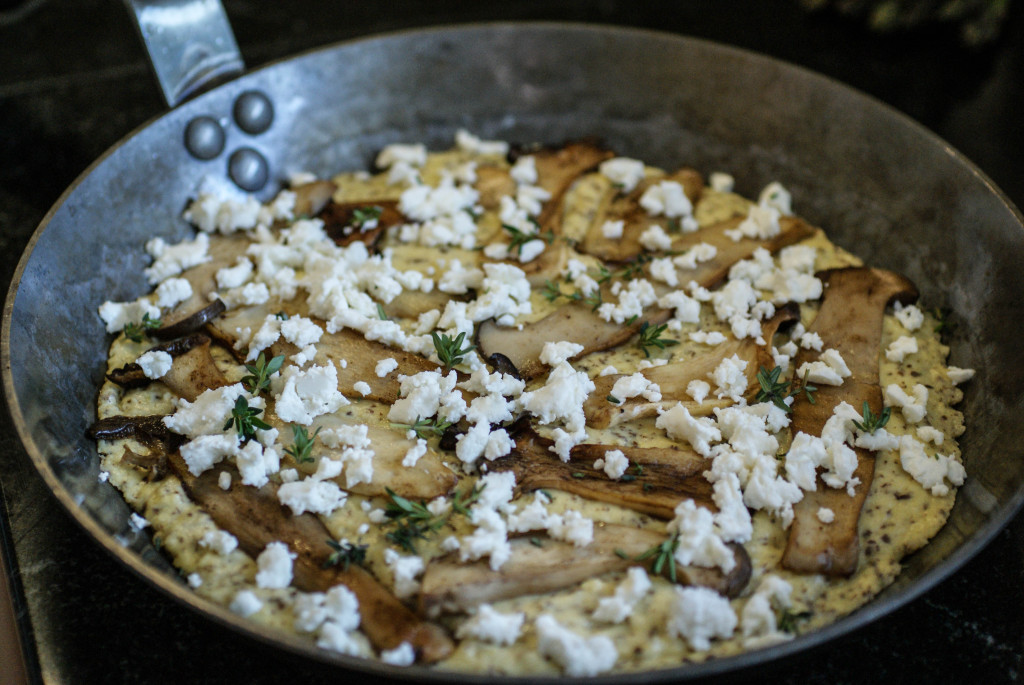
Ready for the oven
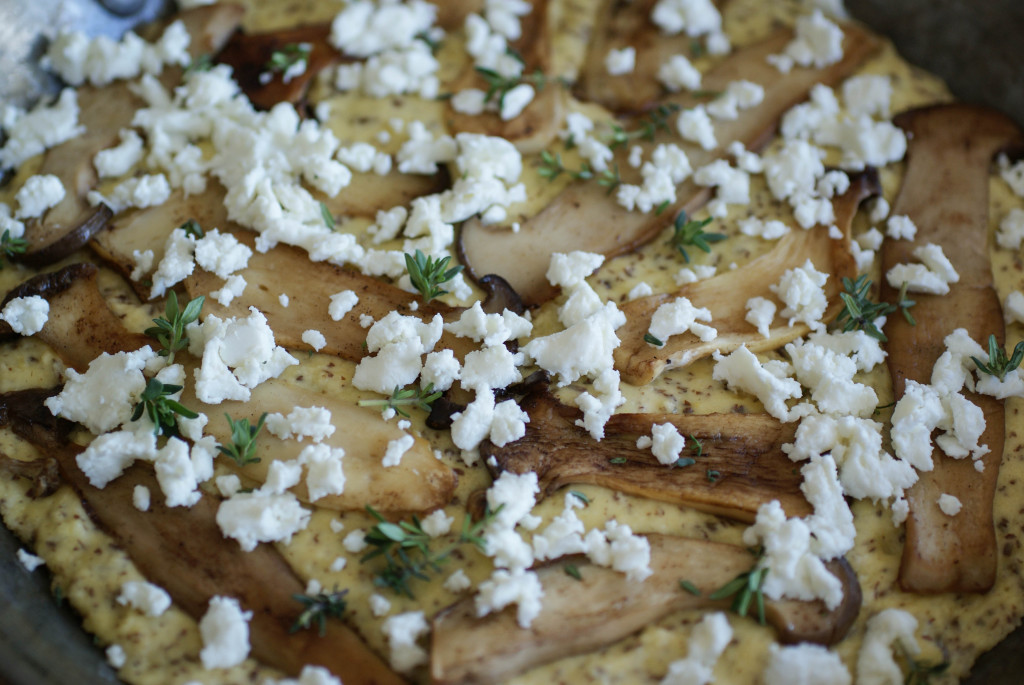
- Place pan in a 200C (400F) oven for 15 minutes or until the feta is browned.
- Drizzle with a little olive oil if you like before serving. I cut it into wedges with a pizza slicer.


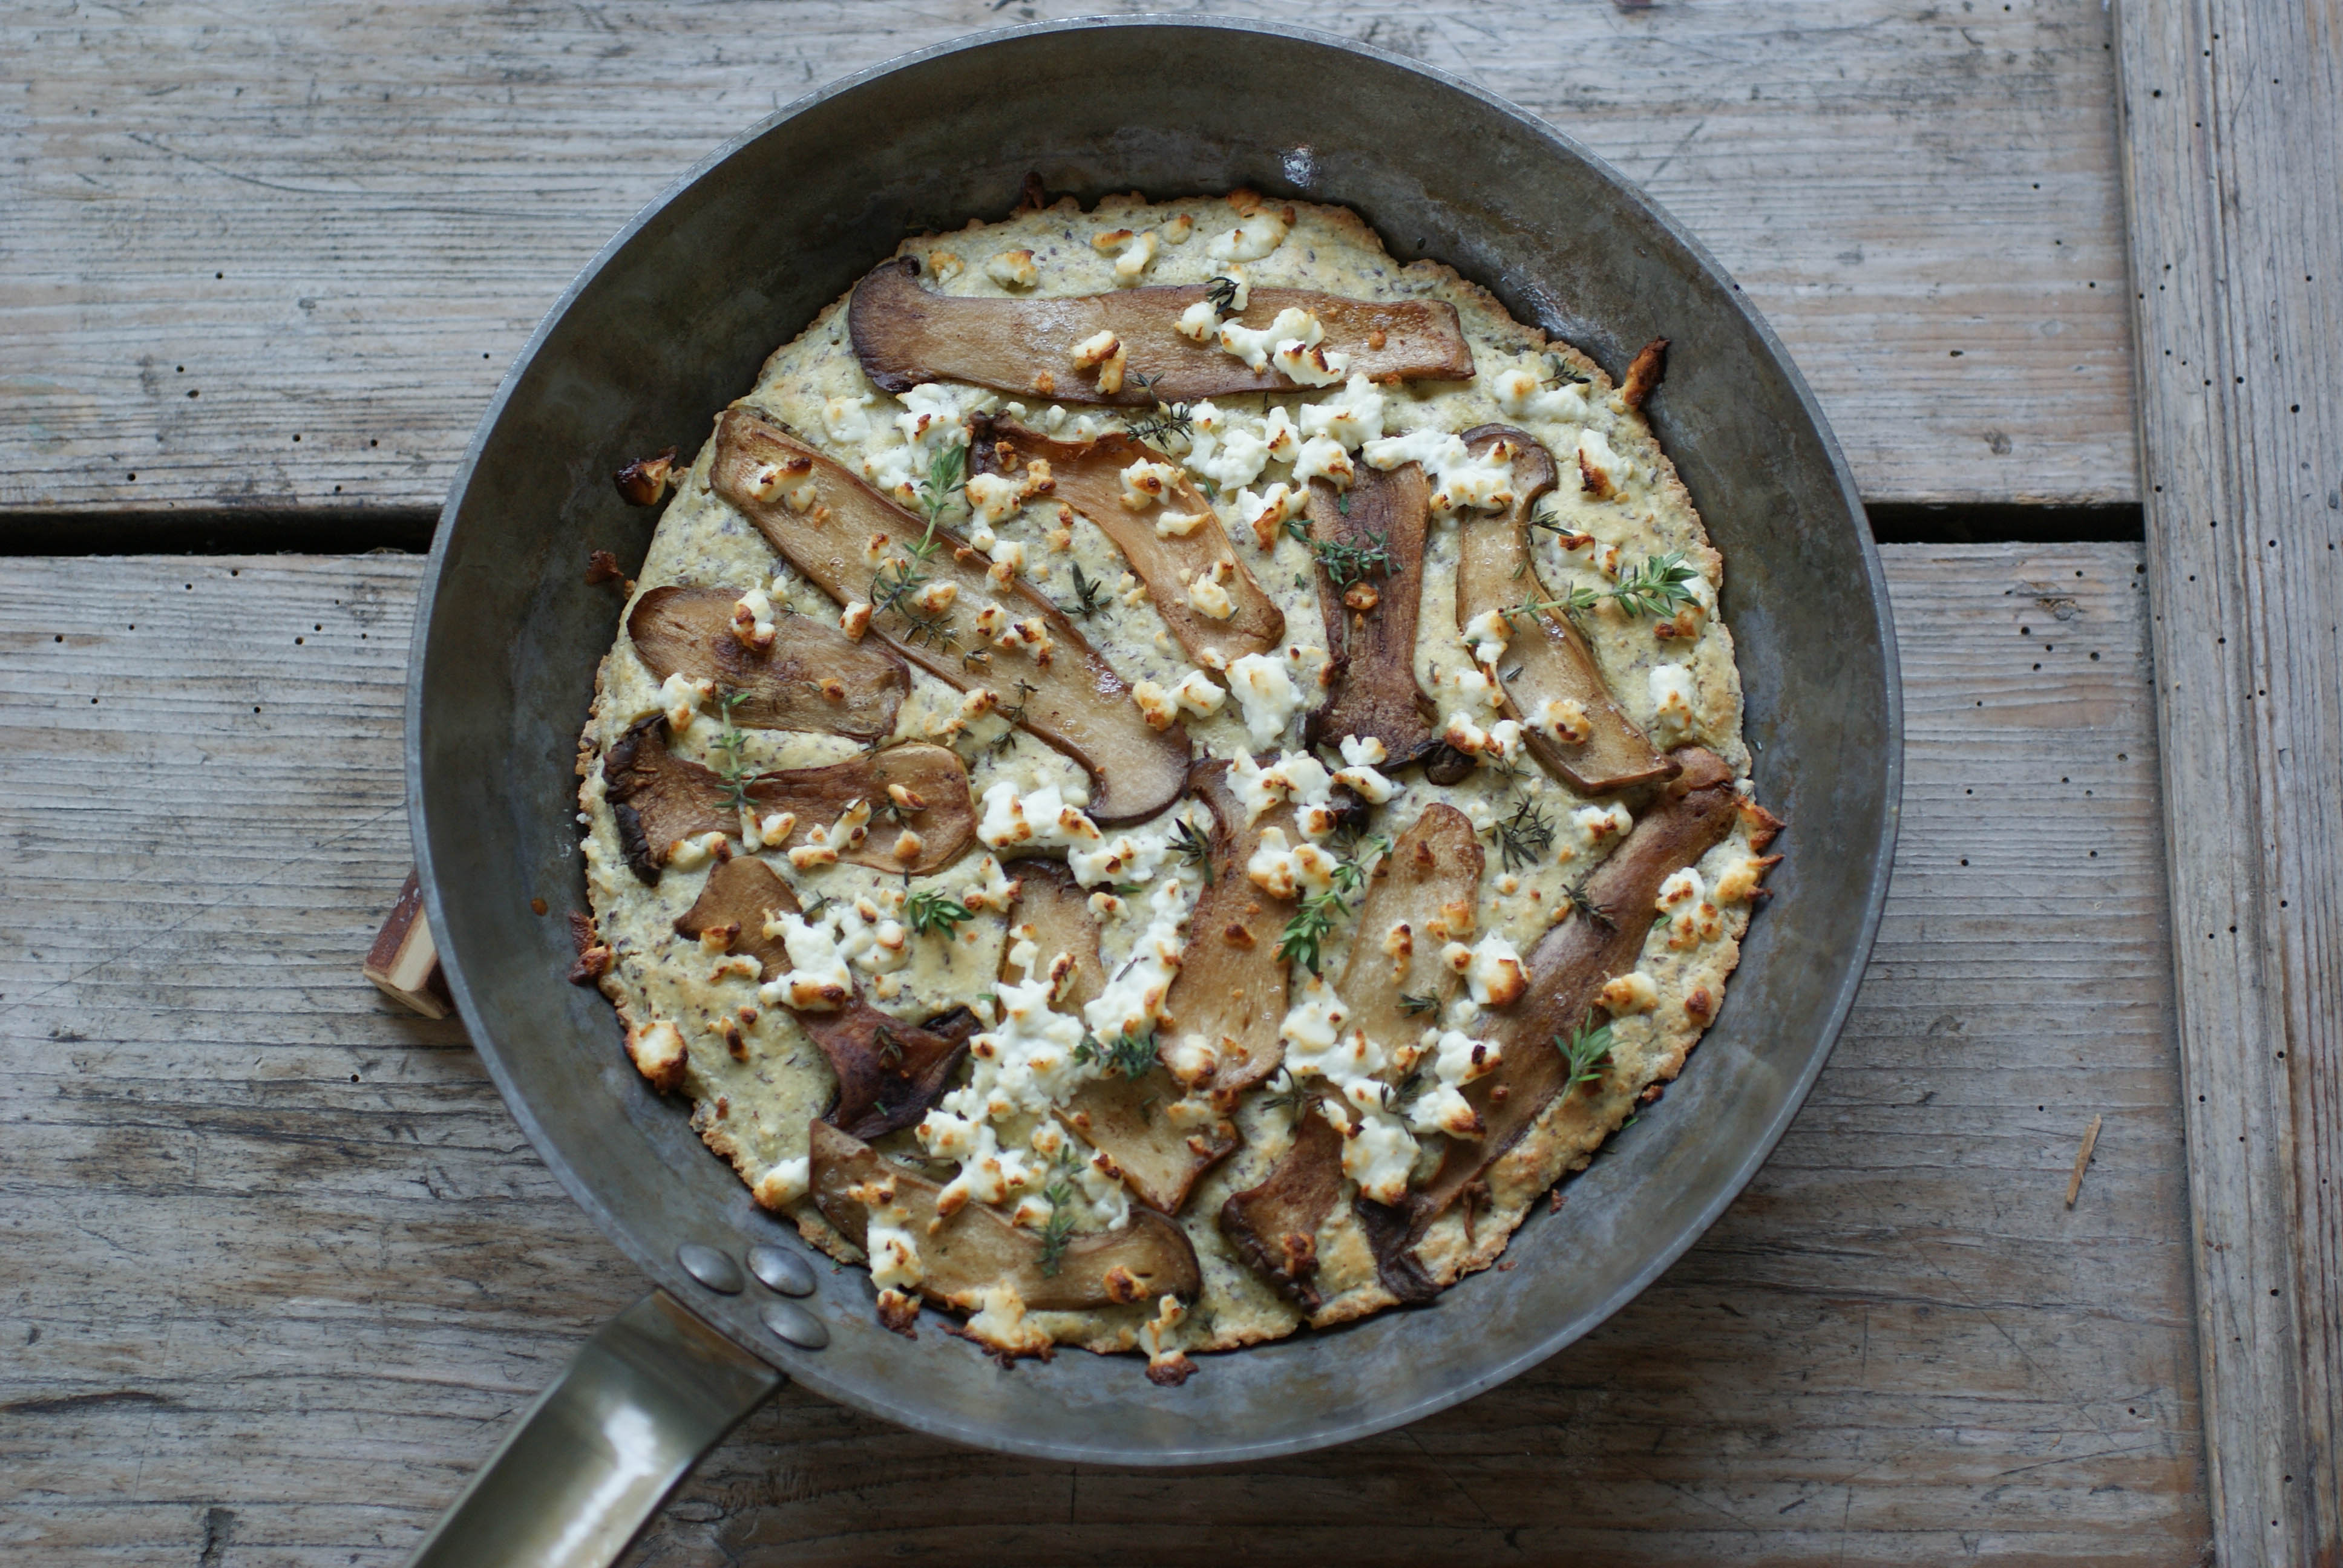

Easy to slice and serve
Ingredients
- 2 Tablespoons butter
- King oyster mushrooms (or any kind you prefer)
- Fresh thyme sprigs
- Feta cheese, as much as you want or none at all
- 3 Tablespoons ground flax seeds
- 2 eggs
- 1/3 cup coconut milk (refrigerate it and use the thick part) or Greek yogurt
- 1/8 cup olive oil
- 1/4 cup coconut flour
- 1/2 cup arrowroot powder
- 3/4 teaspoon baking powder
- 1/4 teaspoon salt
- 1/2 teaspoon apple cider vinegar
- 1 Tablespoon coconut oil for the pan
Instructions
- Slice the mushrooms length wise into flat strips.
- Brown the mushrooms (on both sides) in a frying pan in the melted butter. Only takes a few minutes. I had enough mushrooms that I needed to do three batches.
- Set mushrooms aside while you prepare the bread dough.
- Put all ingredients together in a food process and mix well. It will be the consistency of pancake batter.
- Melt coconut oil in an oven proof frying pan.
- When the oil is hot, pour in the dough and spread it out in the pan.
- Cook for 2 minutes.
- Remove from heat and place the mushrooms and feta cheese on top. Salt and pepper to taste and add a few sprigs of fresh thyme (or herbs of your choice).
- Place pan in a 200C (400F) oven for 15 minutes or until the feta is browned.
- Drizzle with a little olive oil if you like before serving.
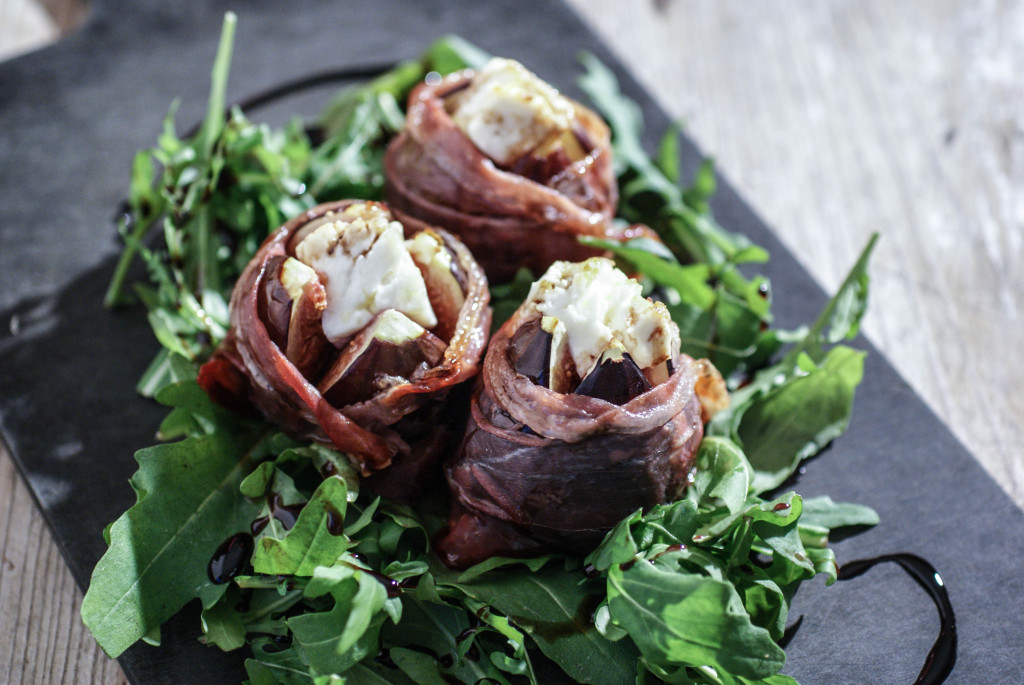
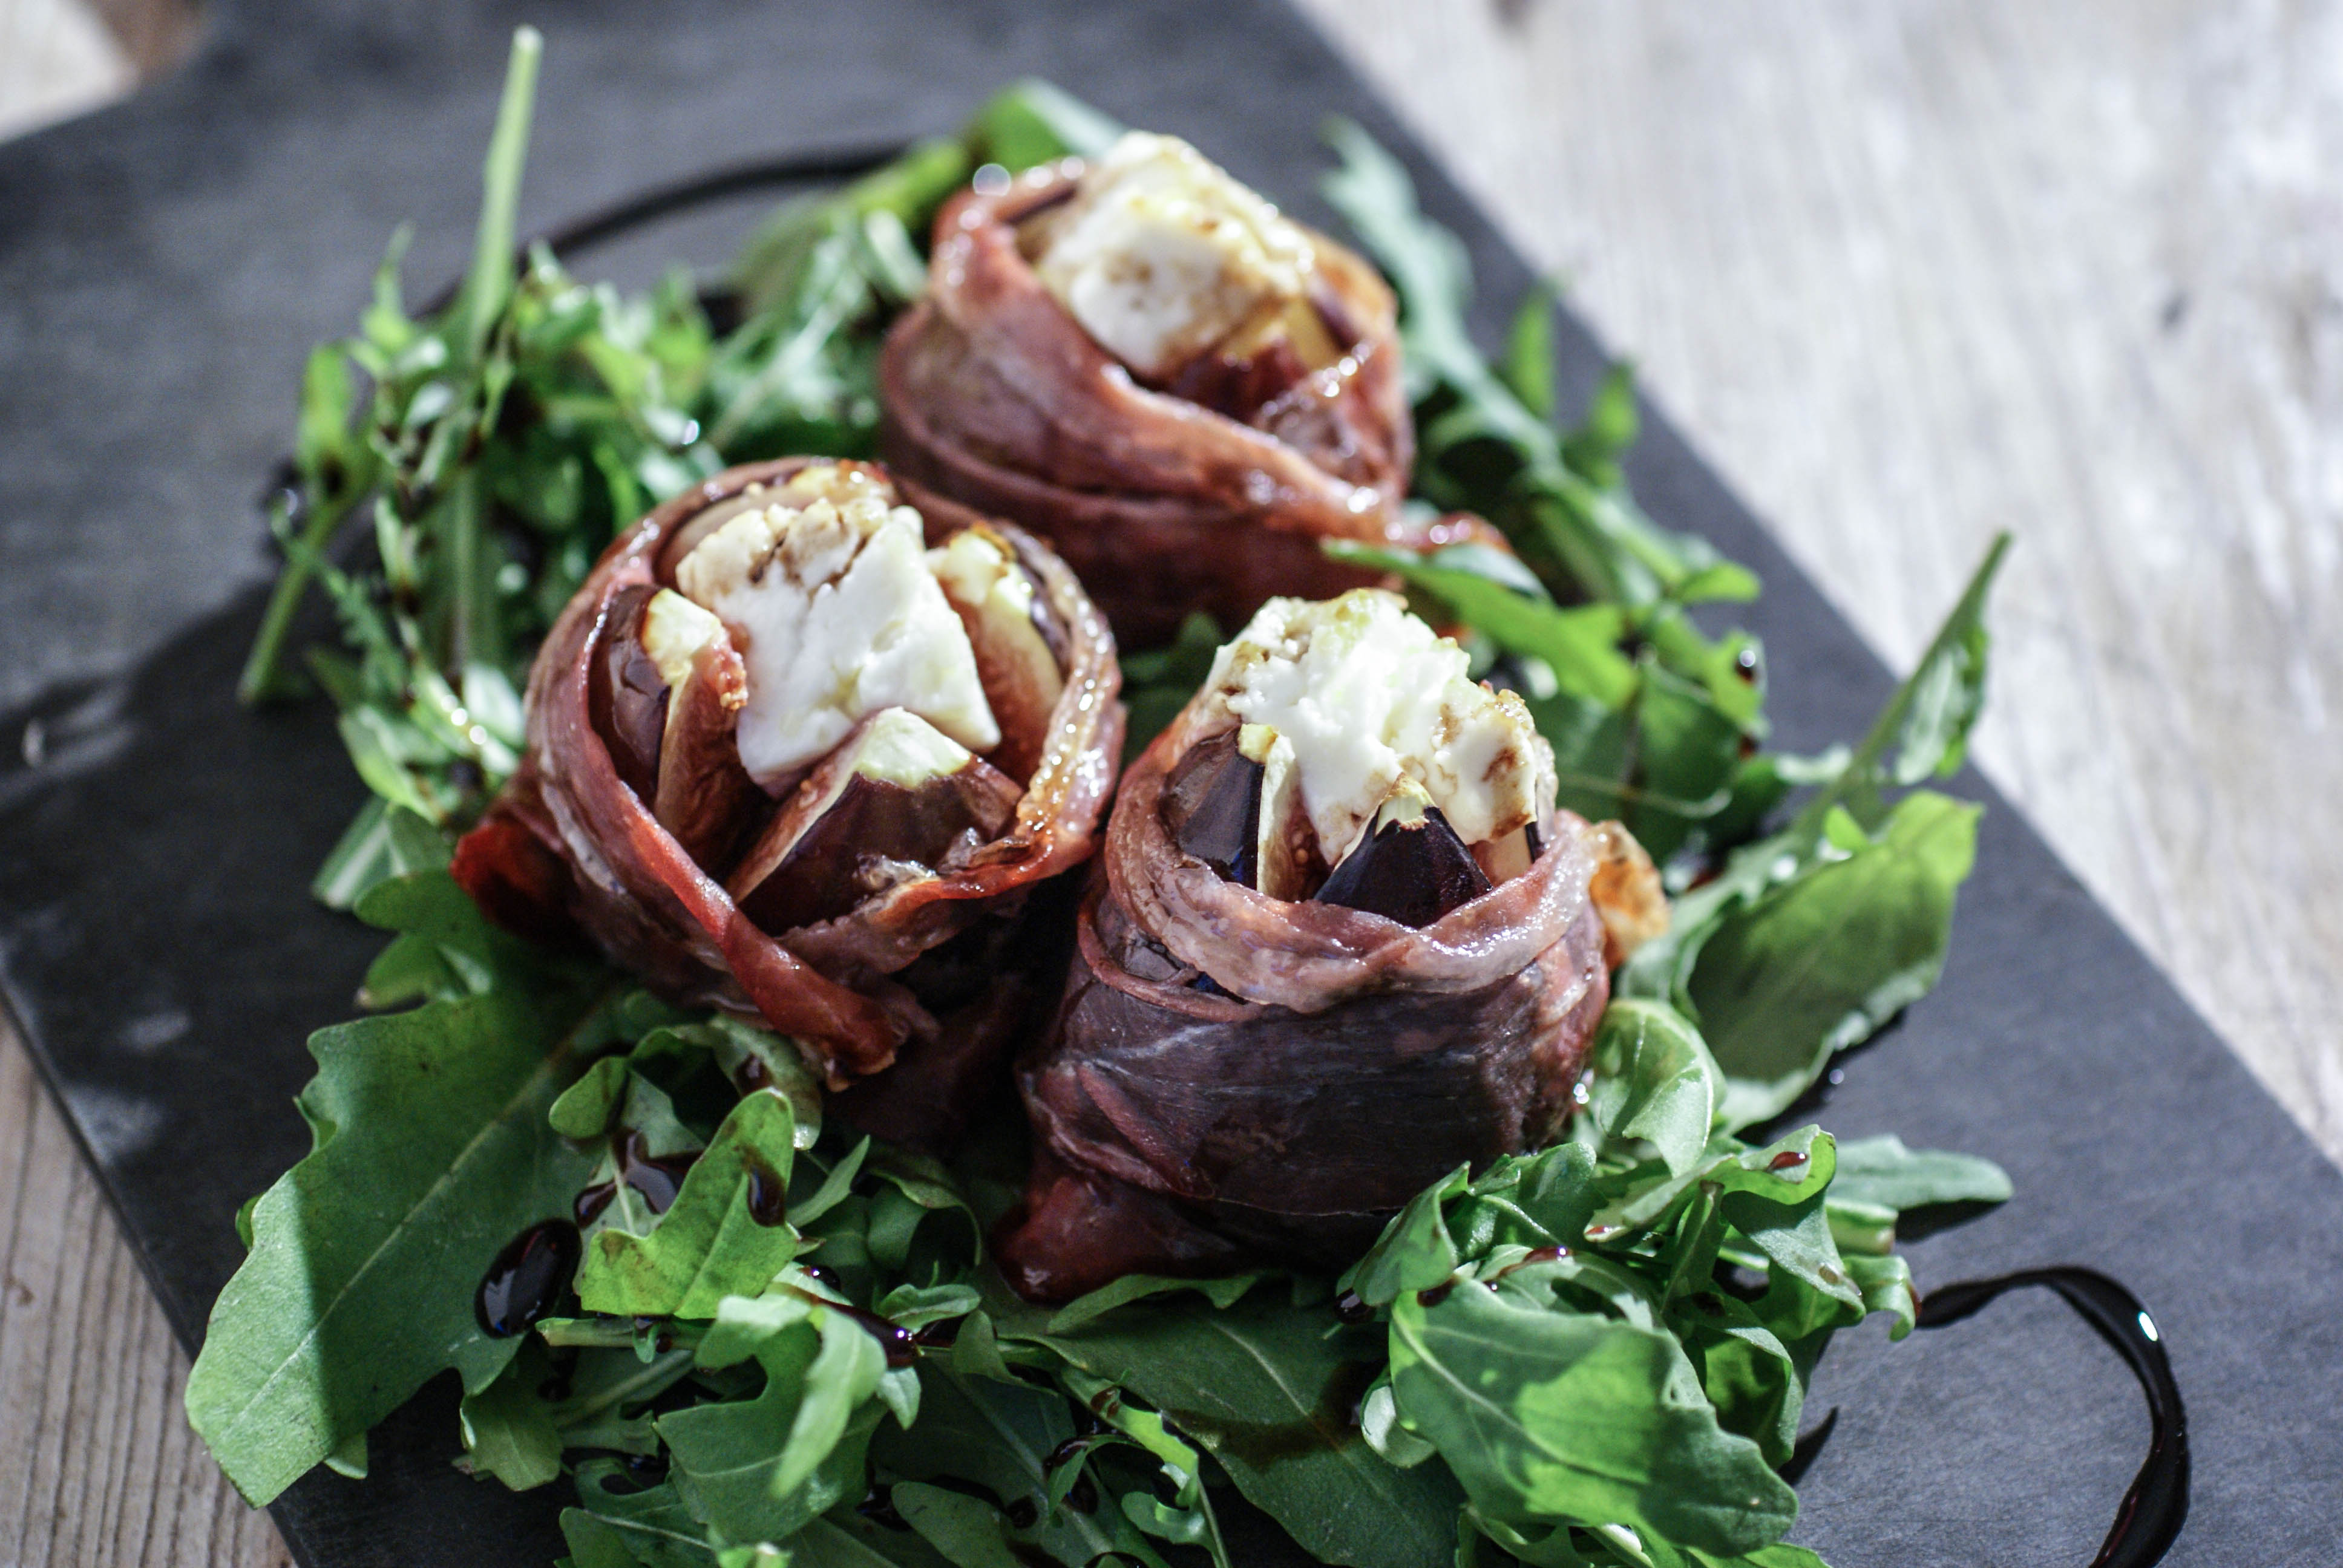
Hot Fig Appetizer

I’ve made this as a cold appetizer in the past, but this time around I made it hot and served it as a side salad. It was super delicious and now I can’t decide if I like it better hot or cold.

Simple ingredients
Hot Fig
Ingredients
- 4 fresh figs
- Prosciutto, one slice per fig
- Fresh goat cheese (or cheese of your choice, or leave it off if you don’t do any dairy)
- Fresh salad greens, I used rucola
- Balsamic vinegar
Instructions
- Start at the top pointy end of your figs and cut a cross in them. Cut about half way down and then grab the fig and squeeze it a bit to get the cross to open.
- Wrap a piece of Prosciutto around the base of the fig.
- Place a small chunk of goats cheese into the opening that was made by cutting the cross in the fig.
- Place on a baking sheet and broil for about 5 minutes or until the cheese starts to brown.
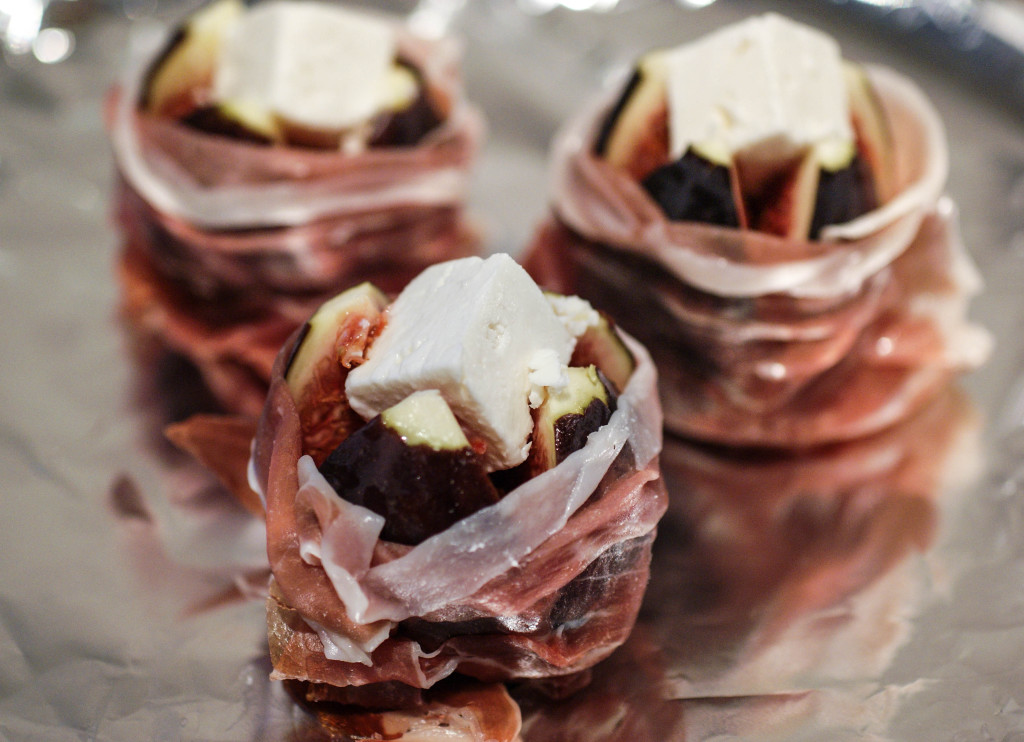
Ready for the oven
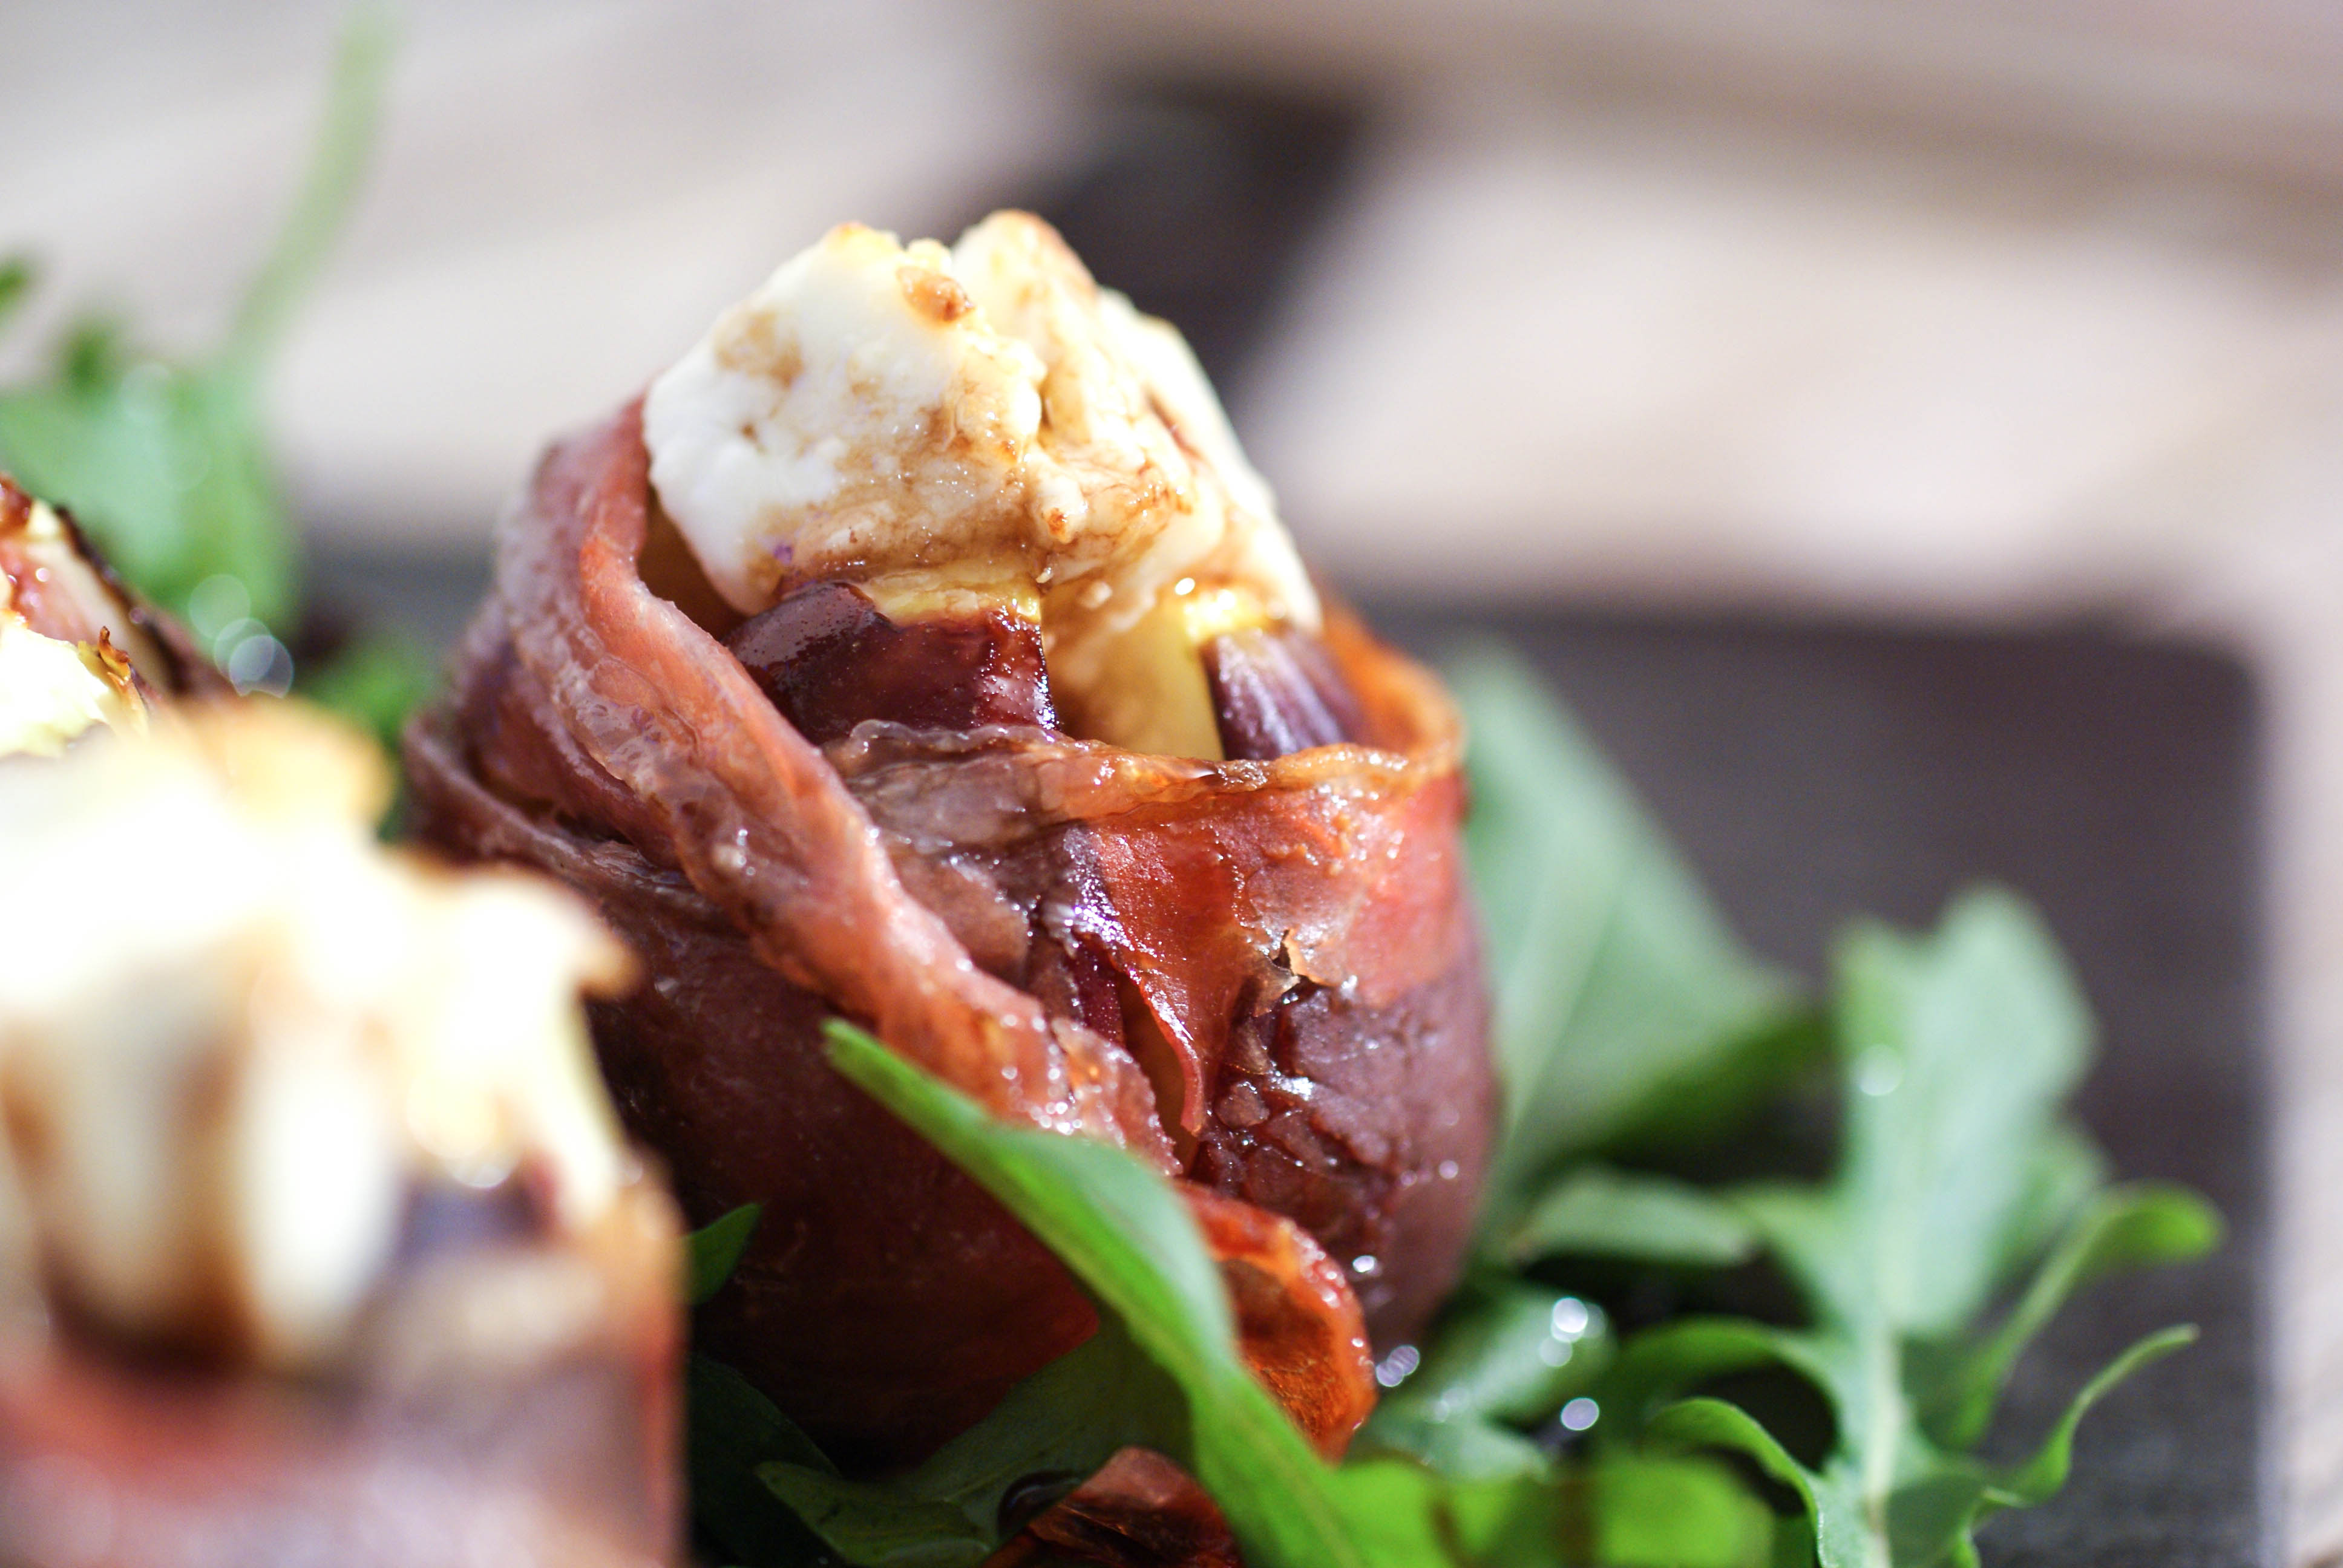
- Place on a bed of greens and drizzle with balsamic vinegar.

Ingredients
- 4 fresh figs
- Prosciutto, one slice per fig
- Fresh goat cheese (or cheese of your choice, or leave it off if you don't do any dairy)
- Fresh salad greens, I used rucola
- Balsamic vinegar
Instructions
- Start at the top pointy end of your figs and cut a cross in them. Cut about half way down and then grab the fig and squeeze it a bit to get the cross to open.
- Wrap a piece of Prosciutto around the base of the fig.
- Place a small chunk of goats cheese into the opening that was made by cutting the cross in the fig.
- Place on a baking sheet and broil for about 5 minutes or until the cheese starts to brown.
- Place on a bed of greens and drizzle with balsamic vinegar.
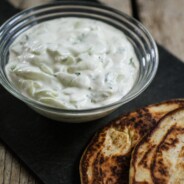
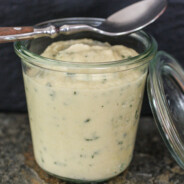
Tzatziki Sauce
Before you call the paleo police, yes, this recipe contains dairy. We used 100% full fat Greek yogurt. If you would like to make a yogurt sauce that is non-dairy, have a look here (it’s made with coconut milk). We don’t do much dairy, but we tolerate it well and will add it in small amounts from time to time (usually in the form of cheese or Greek yogurt).
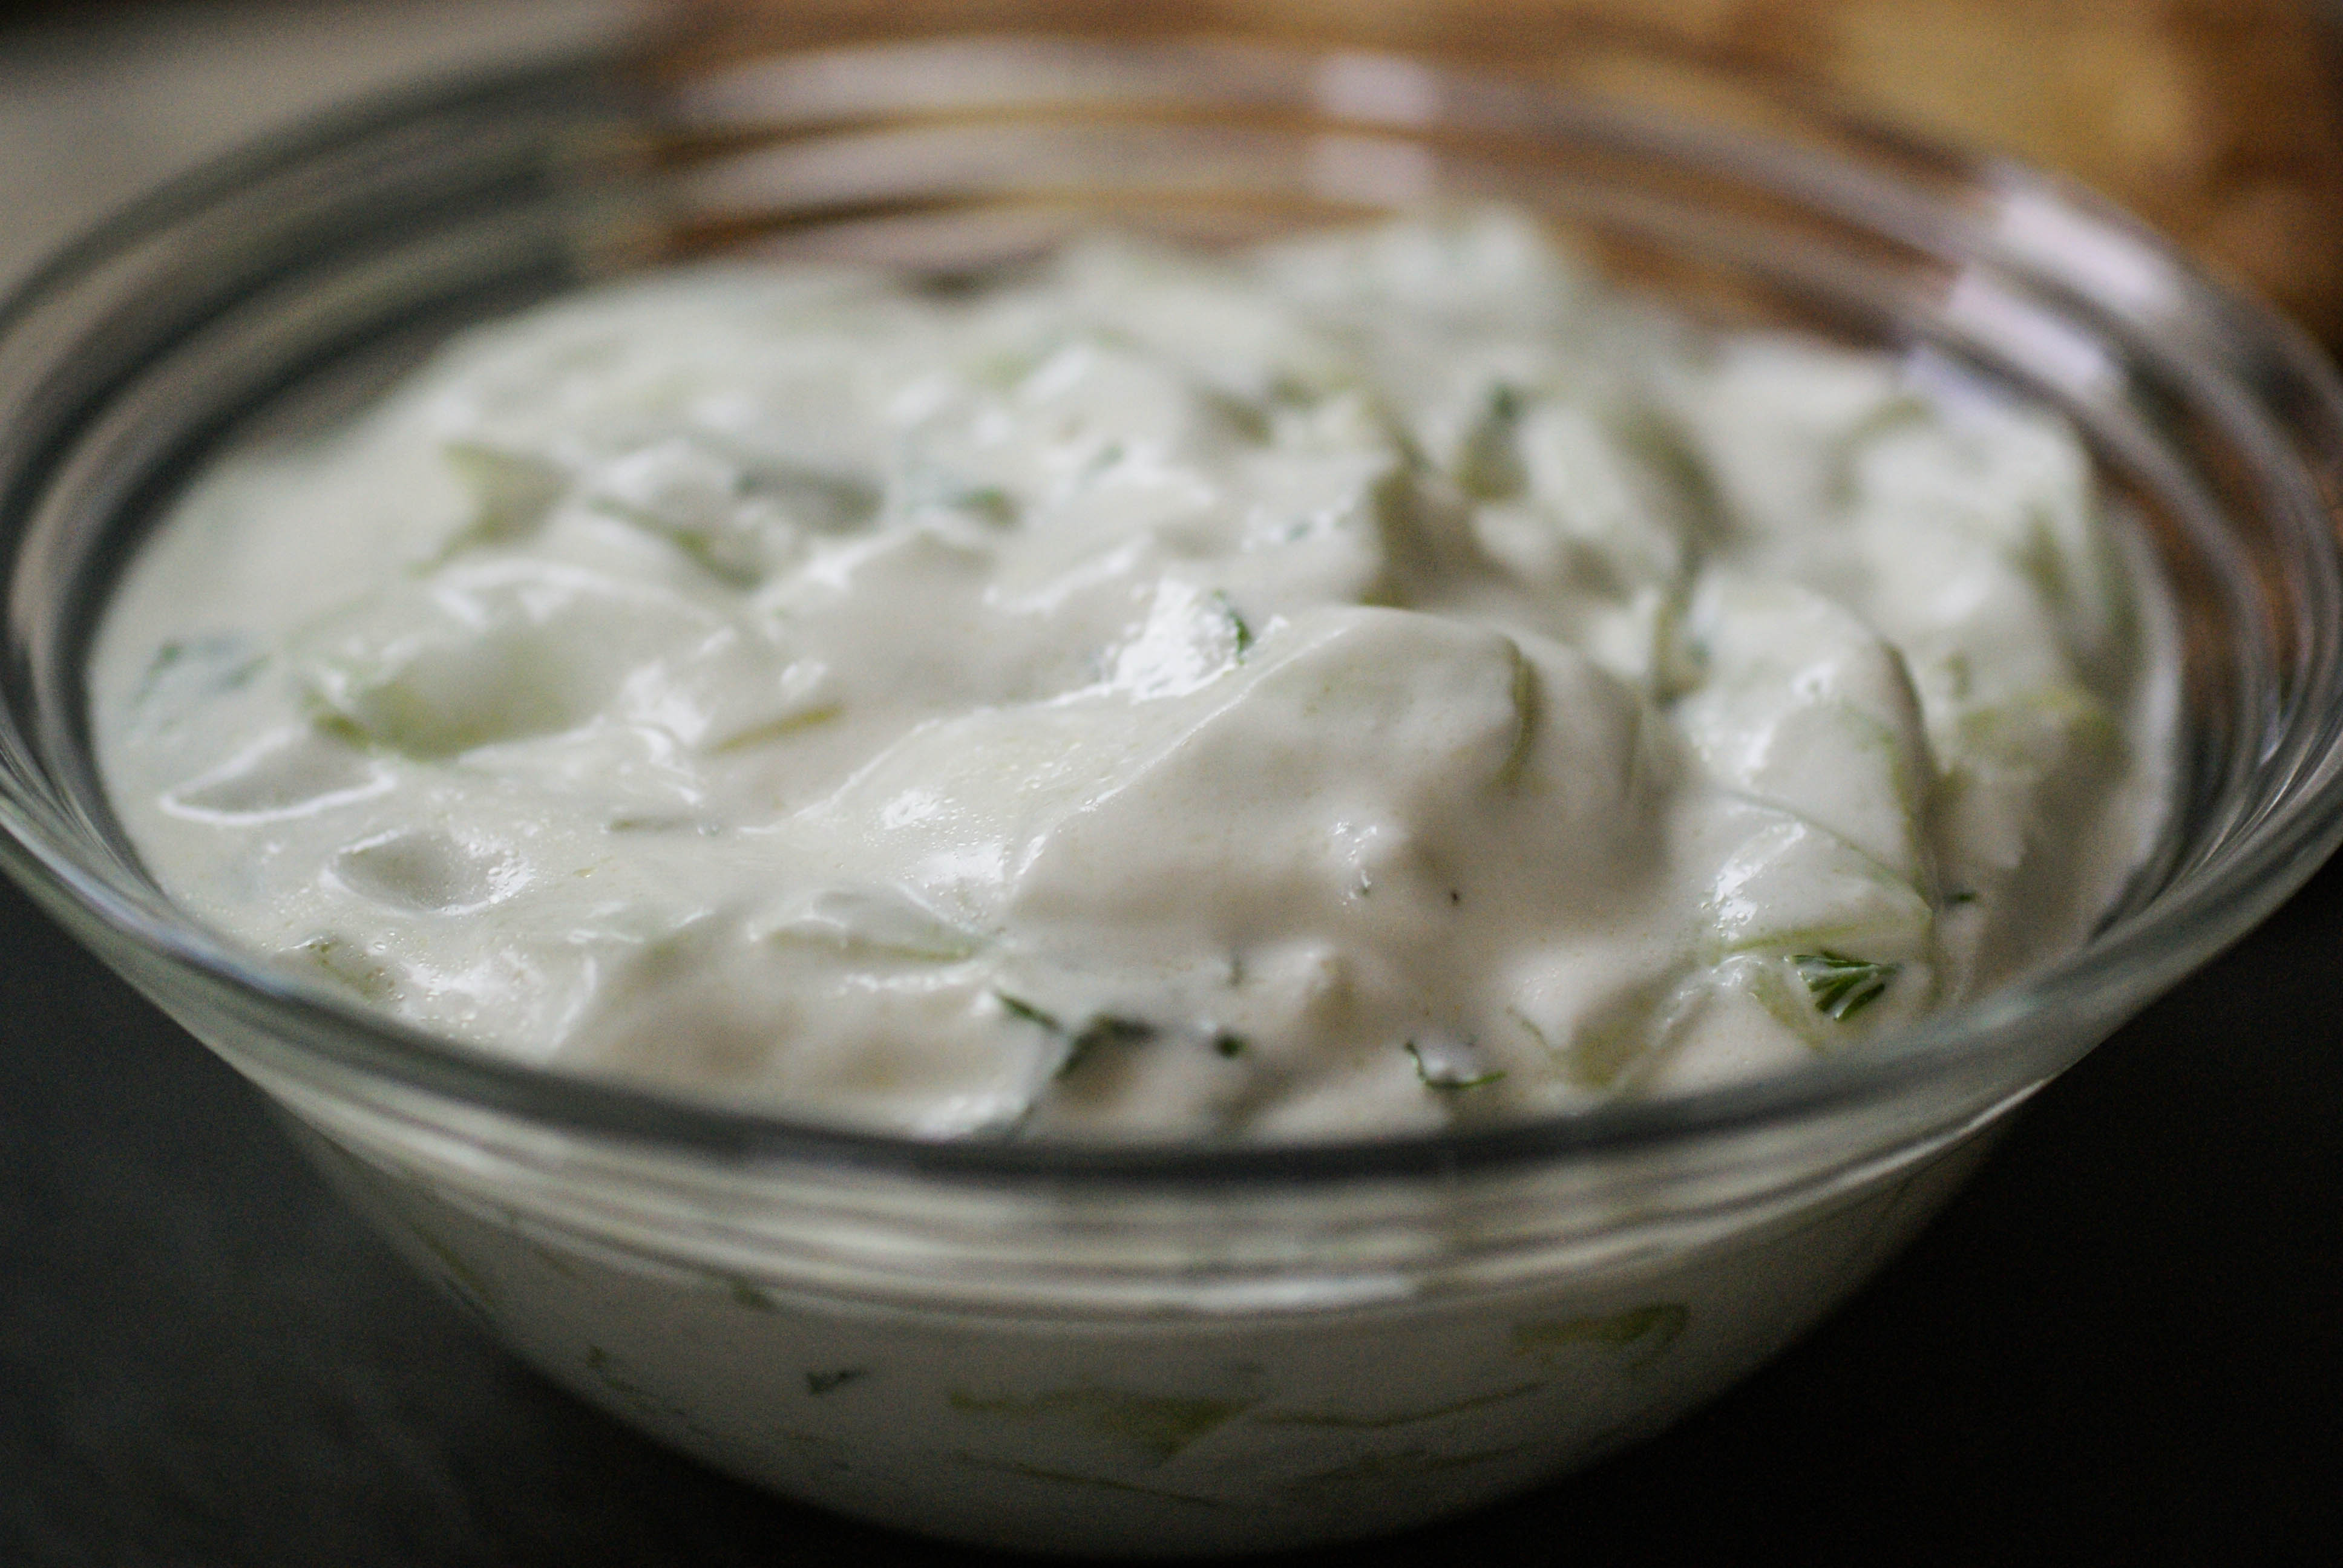
Tasty tzatziki
We made some Gyros for dinner and they were just screaming for some tzatziki sauce. So of course I had to make some. I looked up a recipe by Nigel Slater on line. There were no quantities or measurements in his recipe, but there were some good tips.
Here’s how I made it. It was delicious and added just the right touch to our gyros. It also makes a great salad dressing or dip for vegetables. And, of course, it is to die for on some Paleo Naan Bread.
Ingredients
- 180 grams (about 6 ounces) full fat Greek or plain yogurt
- 1 cucumber, peeled, seeded and thinly sliced
- 1 Tablespoon olive oil
- Juice from 1/2 lemon
- Splash of apple cider vinegar
- 2 cloves garlic, minced
- 1 1/2 Tablespoon fresh dill, chopped
- Salt and pepper to taste
What to do
- Peel your cucumber and cut it in half lengthwise and remove the seeds with a spoon.
- I then cut each half in half lengthwise again so that I had 4 long quarters.
- I sliced each quarter into thin little slices with a mandolin. Really, you can slice, dice or chop your cucumber however you like. Thin or thick is your choice. You could even grate it.
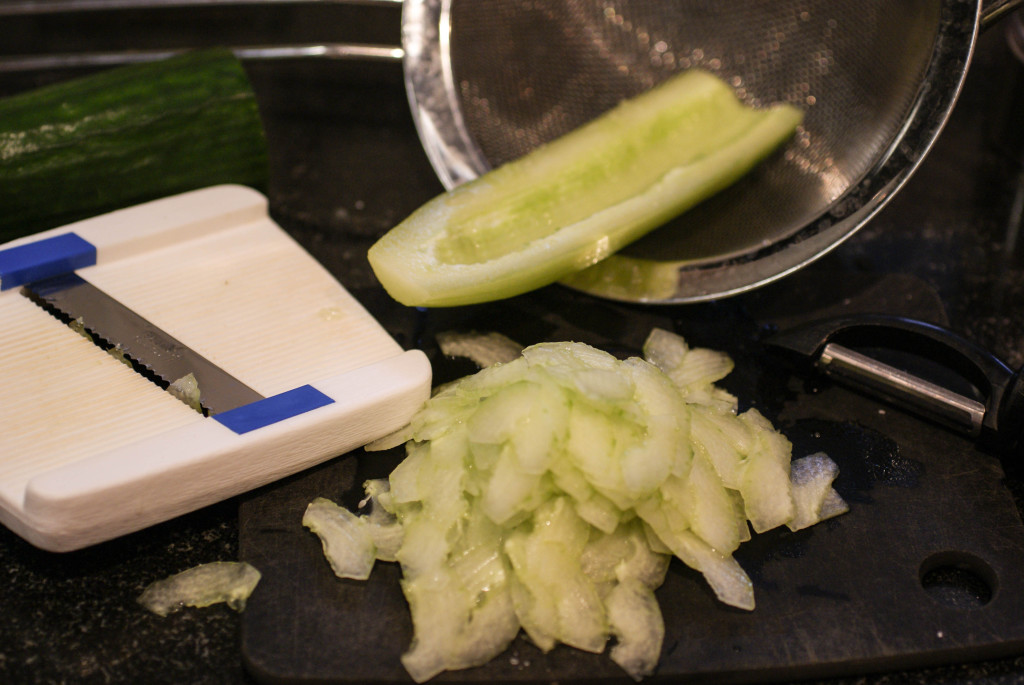
This is how I did mine
- Then set the cucumber into a colander, salt it a bit and let it drain.
- After draining it for about 15 minutes, pat it dry with paper towels. Getting the cucumber as dry as you can will help to keep your tzatziki from getting watery.
- Add the drained and dried cucumber with all of the rest of the ingredients in a mixing bowl and stir well to combine. Place in the fridge for at least 30 minutes before serving.
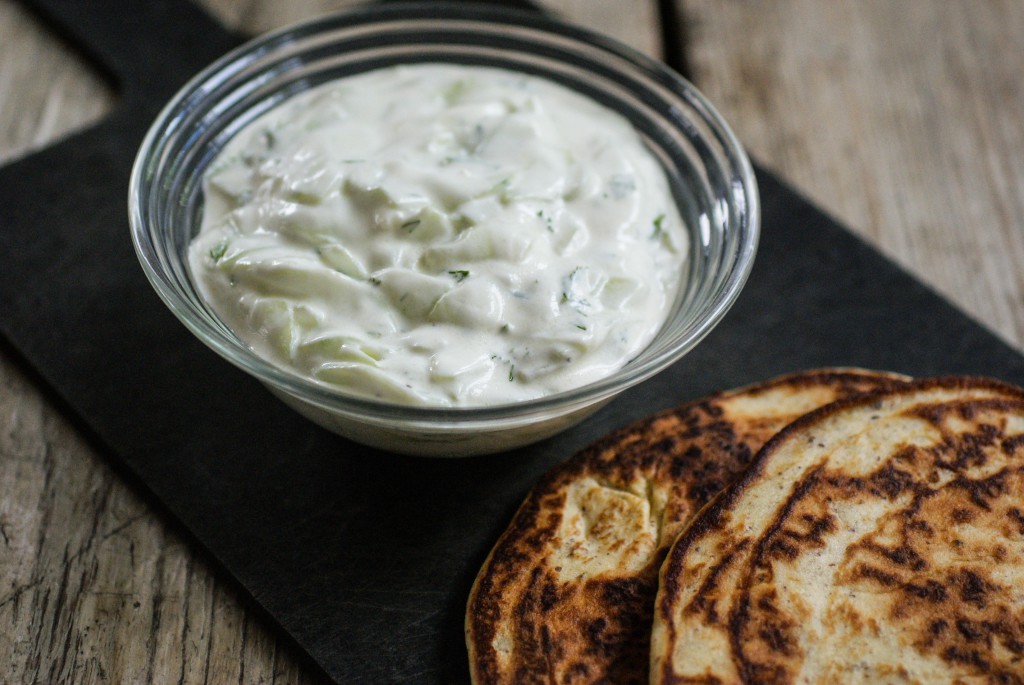
Served with Naan Bread


Ingredients
- 180 grams (about 6 ounces) full fat Greek or plain yogurt
- 1 cucumber, peeled, seeded and thinly sliced
- 1 Tablespoon olive oil
- Juice from 1/2 lemon
- Splash of apple cider vinegar
- 2 cloves garlic, minced
- 1 1/2 Tablespoon fresh dill, chopped
- Salt and pepper to taste
Instructions
- Peel your cucumber and cut it in half lengthwise and remove the seeds with a spoon.
- I then cut each half in half lengthwise again so that I had 4 long quarters.
- I sliced each quarter into thin little slices with a mandolin. Really, you can slice, dice or chop your cucumber however you like. Thin or thick is your choice. You could even grate it.
- Then set the cucumber into a colander, salt it a bit and let it drain.
- After draining it for about 15 minutes, pat it dry with paper towels. Getting the cucumber as dry as you can will help to keep your tzatziki from getting watery.
- Add the drained and dried cucumber with all of the rest of the ingredients in a small mixing bowl and stir well to combine. Place in the fridge for at least 30 minutes before serving.
Bacon Sweet Potato Bites

I went to two different parties over the last few weekends and I brought this to both of them. I always worry about what to bring to parties. I am, after all, the lady who blogs about food so I better bring something that tastes good. I figured I couldn’t go wrong with this. Who doesn’t love bacon and sweet potatoes? They disappeared super quick at the first party, so I figured they were worth making again for the second party.
These are delicious served hot out of the oven, but they also taste great at room temperature.

YUM!!
Ingredients
- 4 sweet potatoes (makes 64 bite sized pieces)
- 1/2 Tablespoon salt
- 4 Tablespoons butter or ghee
- 32 thin slices of bacon, each slice cut in half
- Optional: a drizzle of maple syrup or a teaspoon of chili powder
- Toothpicks
Instructions
- Preheat the oven to 175 C (350 F).
- Peel your sweet potatoes and cut them in half lengthwise.
- Now cut each half lengthwise again. Now you have 4 quarters (from one potato).
- Cut each quarter in half and then in half again. Each potato makes 16 bite sized pieces.
- Melt butter and salt together in a large pot.
- Add in chili powder, a drizzle of maple syrup or any other spices you like. We did just salt and butter for one batch and salt, butter and chili powder for the next batch.
- Add the potatoes to the pot and toss to coat the potatoes well.
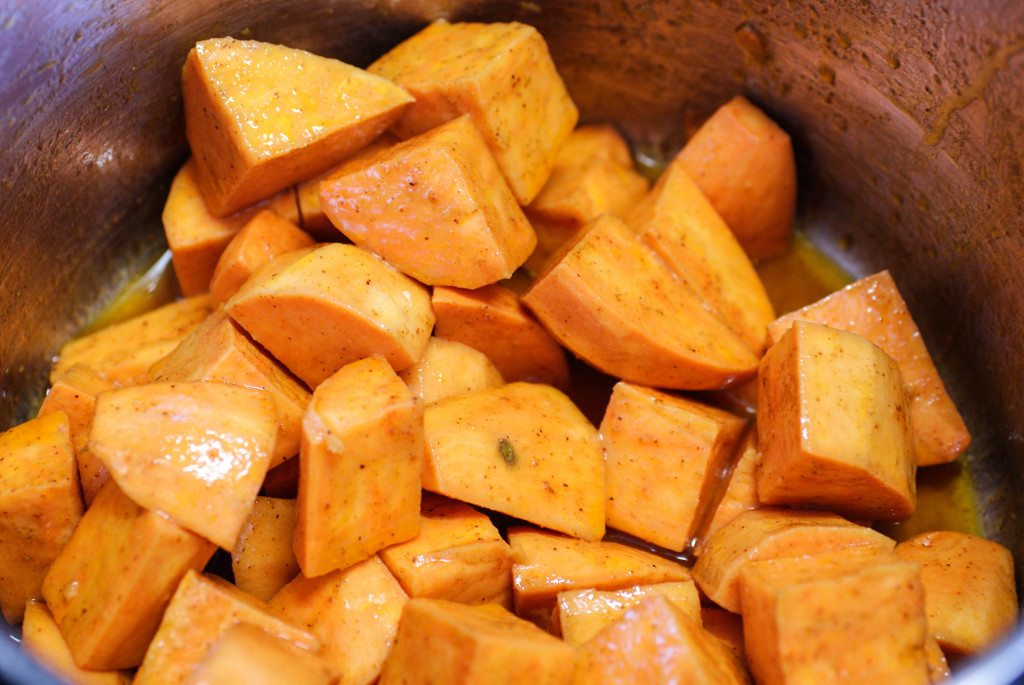
Tossing in butter and salt
- Cut each slice of bacon in half.
- Wrap each butter coated sweet potato in a piece of bacon and secure with a toothpick.
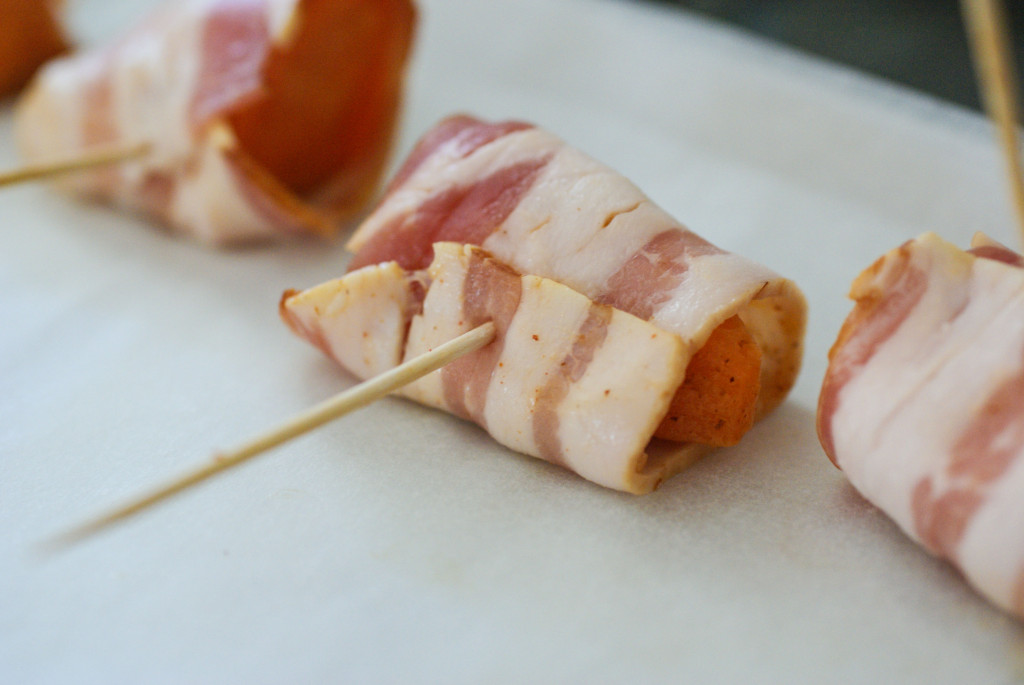
secure with a toothpick
- Lay your bites on a parchment lined baking sheet.
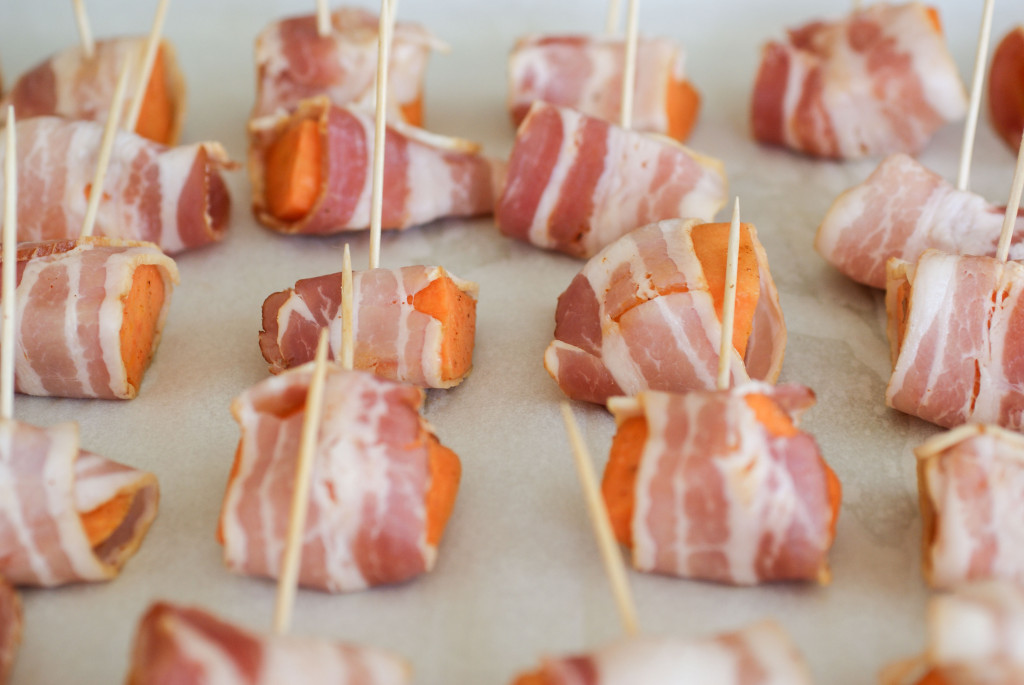
Ready for the oven
- Bake for 25 minutes and then turn the bites over.
- Return to the oven and bake for 25 minutes more.


Ingredients
- 4 sweet potatoes (makes 64 bite sized pieces)
- 1/2 Tablespoon salt
- 4 Tablespoons butter
- 32 thin slices of bacon, each slice cut in half
- Optional: a drizzle of maple syrup or a teaspoon of chili powder
- Toothpicks
Instructions
- Preheat the oven to 175 C (350 F).
- Peel your sweet potatoes and cut them in half lengthwise.
- Now cut each half lengthwise again. Now you have 4 quarters (from one potato).
- Cut each quarter in half and then in half again. Each potato makes 16 bite sized pieces.
- Melt butter and salt together in a large pot.
- Add in chili powder, a drizzle of maple syrup or any other spices you like. We did just salt and butter for one batch and salt, butter and chili powder for the next batch.
- Add the potatoes to the pot and toss to coat the potatoes well.
- Cut each slice of bacon in half.
- Wrap each butter coated sweet potato in a piece of bacon and secure with a toothpick.
- Lay your bites on a parchment lined baking sheet.
- Bake for 25 minutes and then turn the bites over.
- Return to the oven and bake for 25 minutes more.
Paleo Naan Bread (Flatbread)
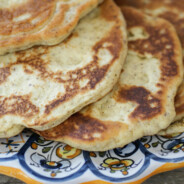
We made some Indian food for dinner the other night (Chicken Tikka Masala…and it was so good…recipe to follow in a day or two). My favorite part of Indian food has always been the Naan bread.
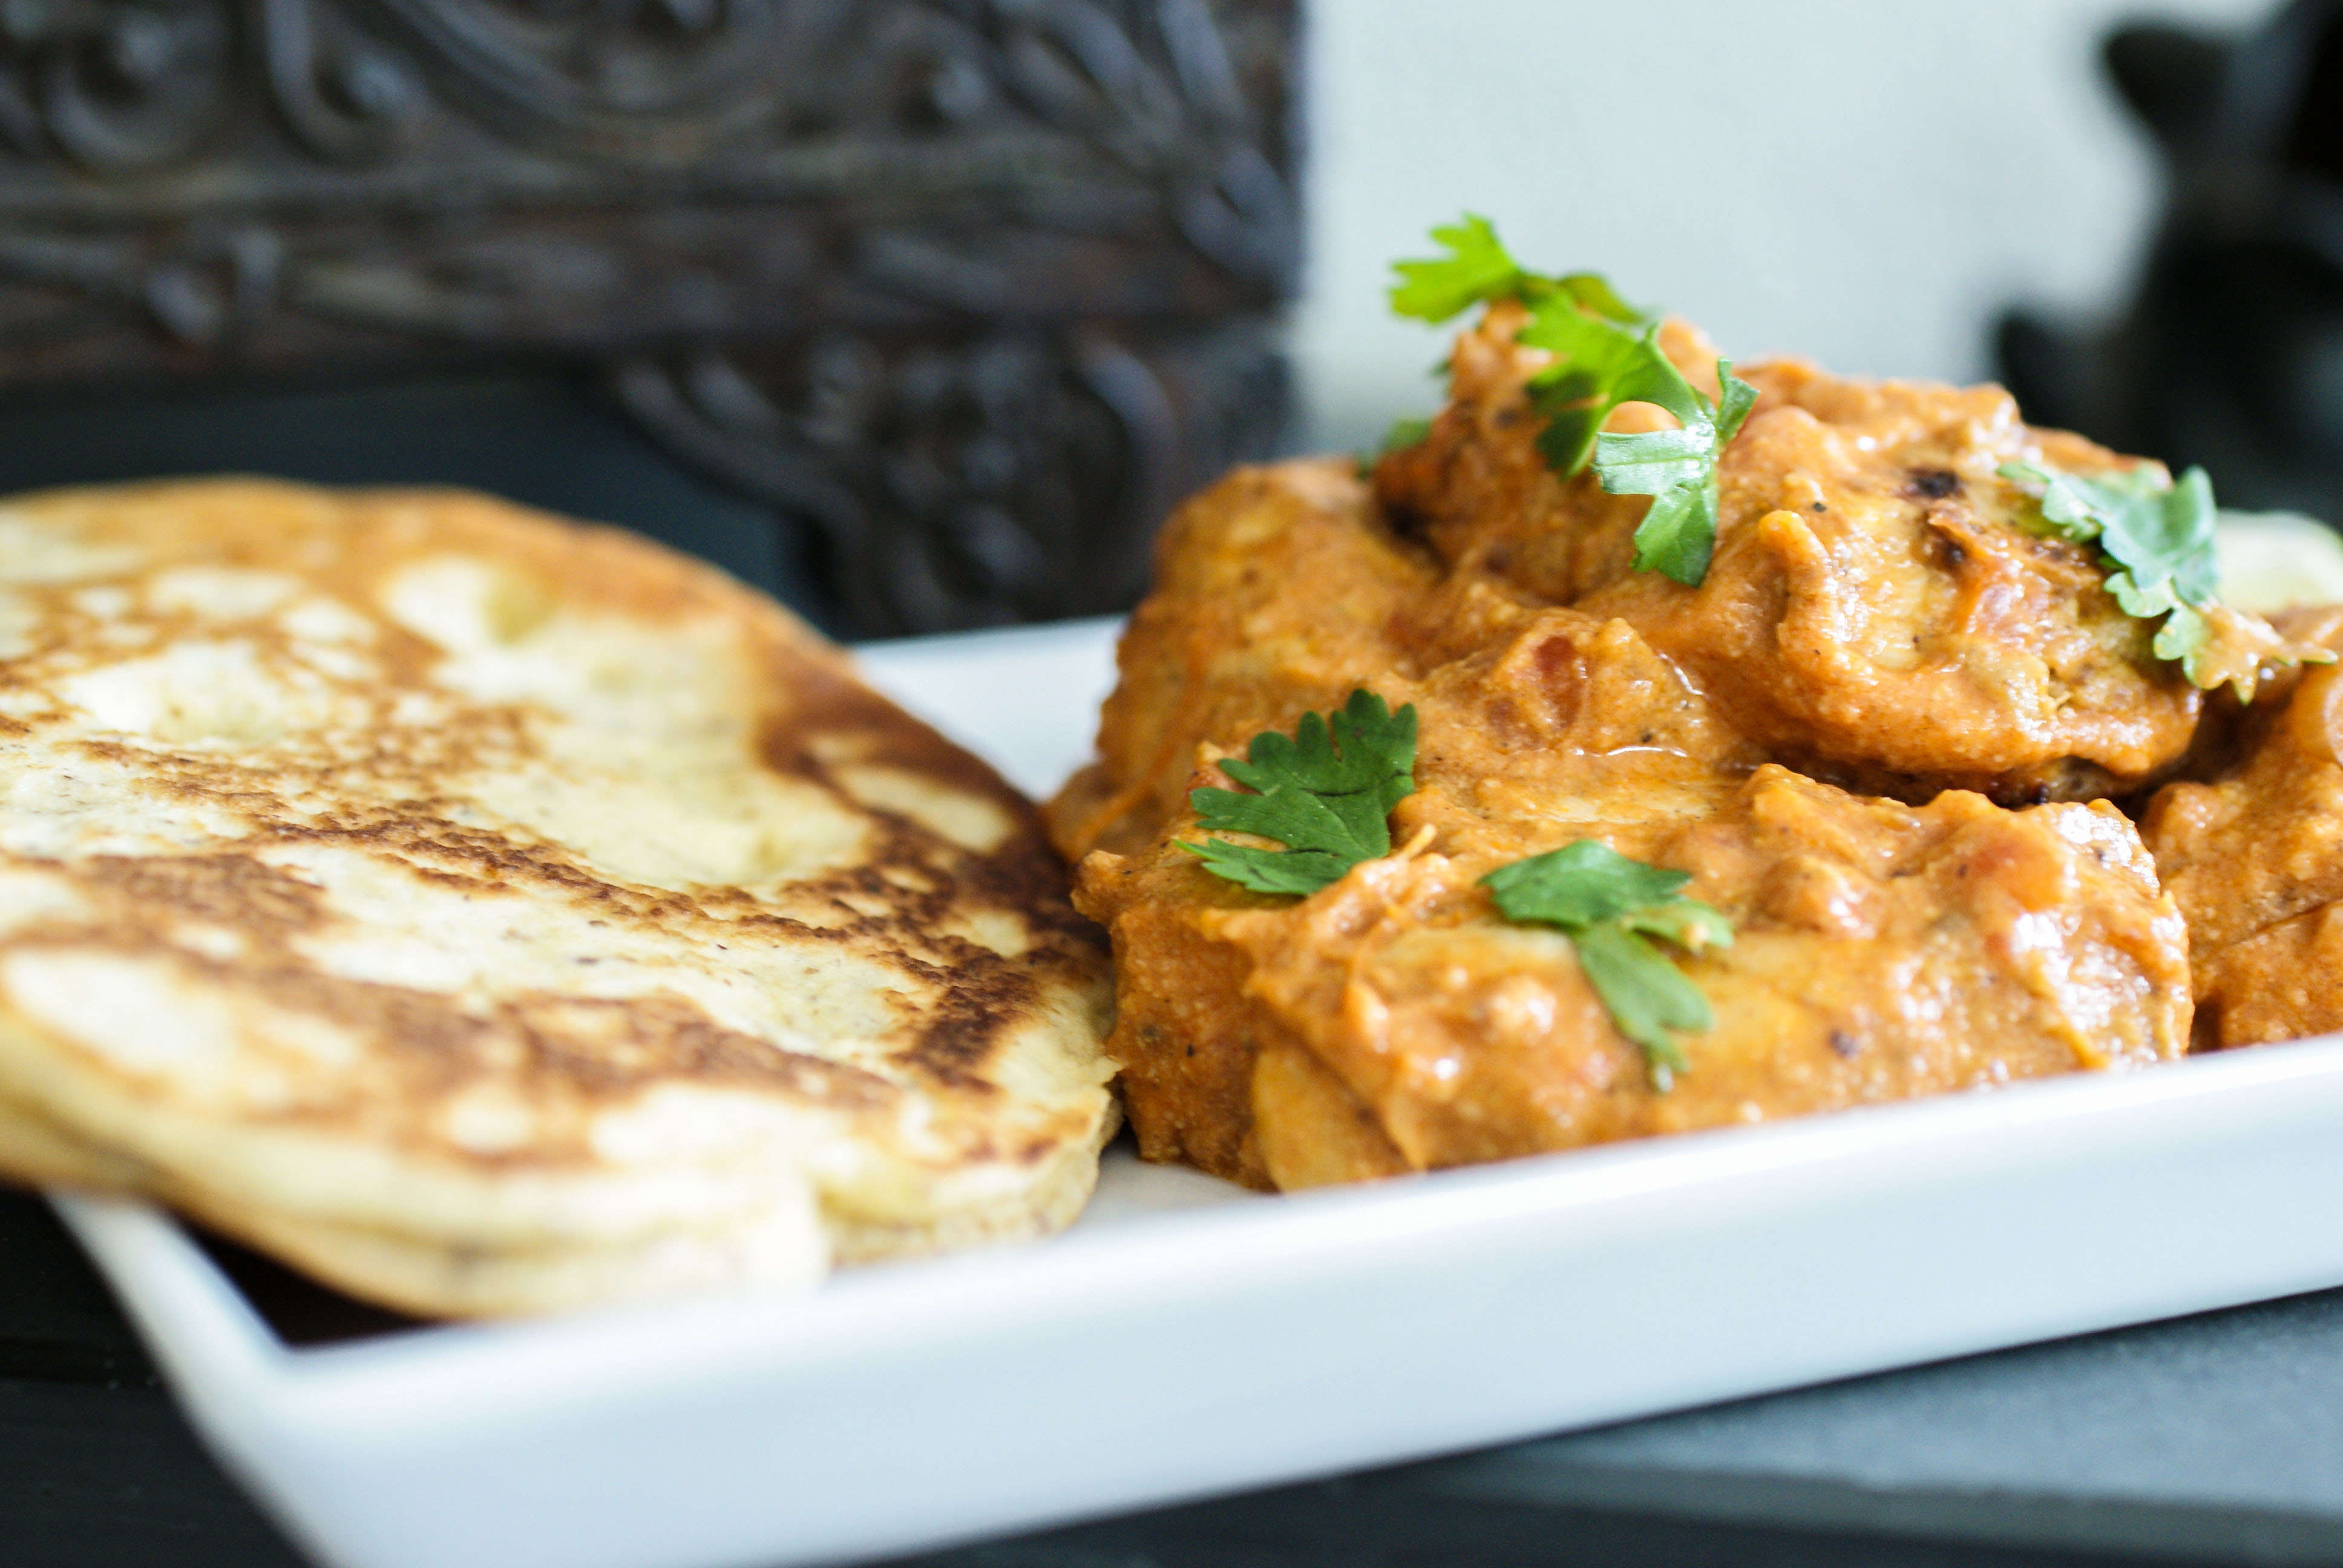
Tikka Masala with Naan Bread
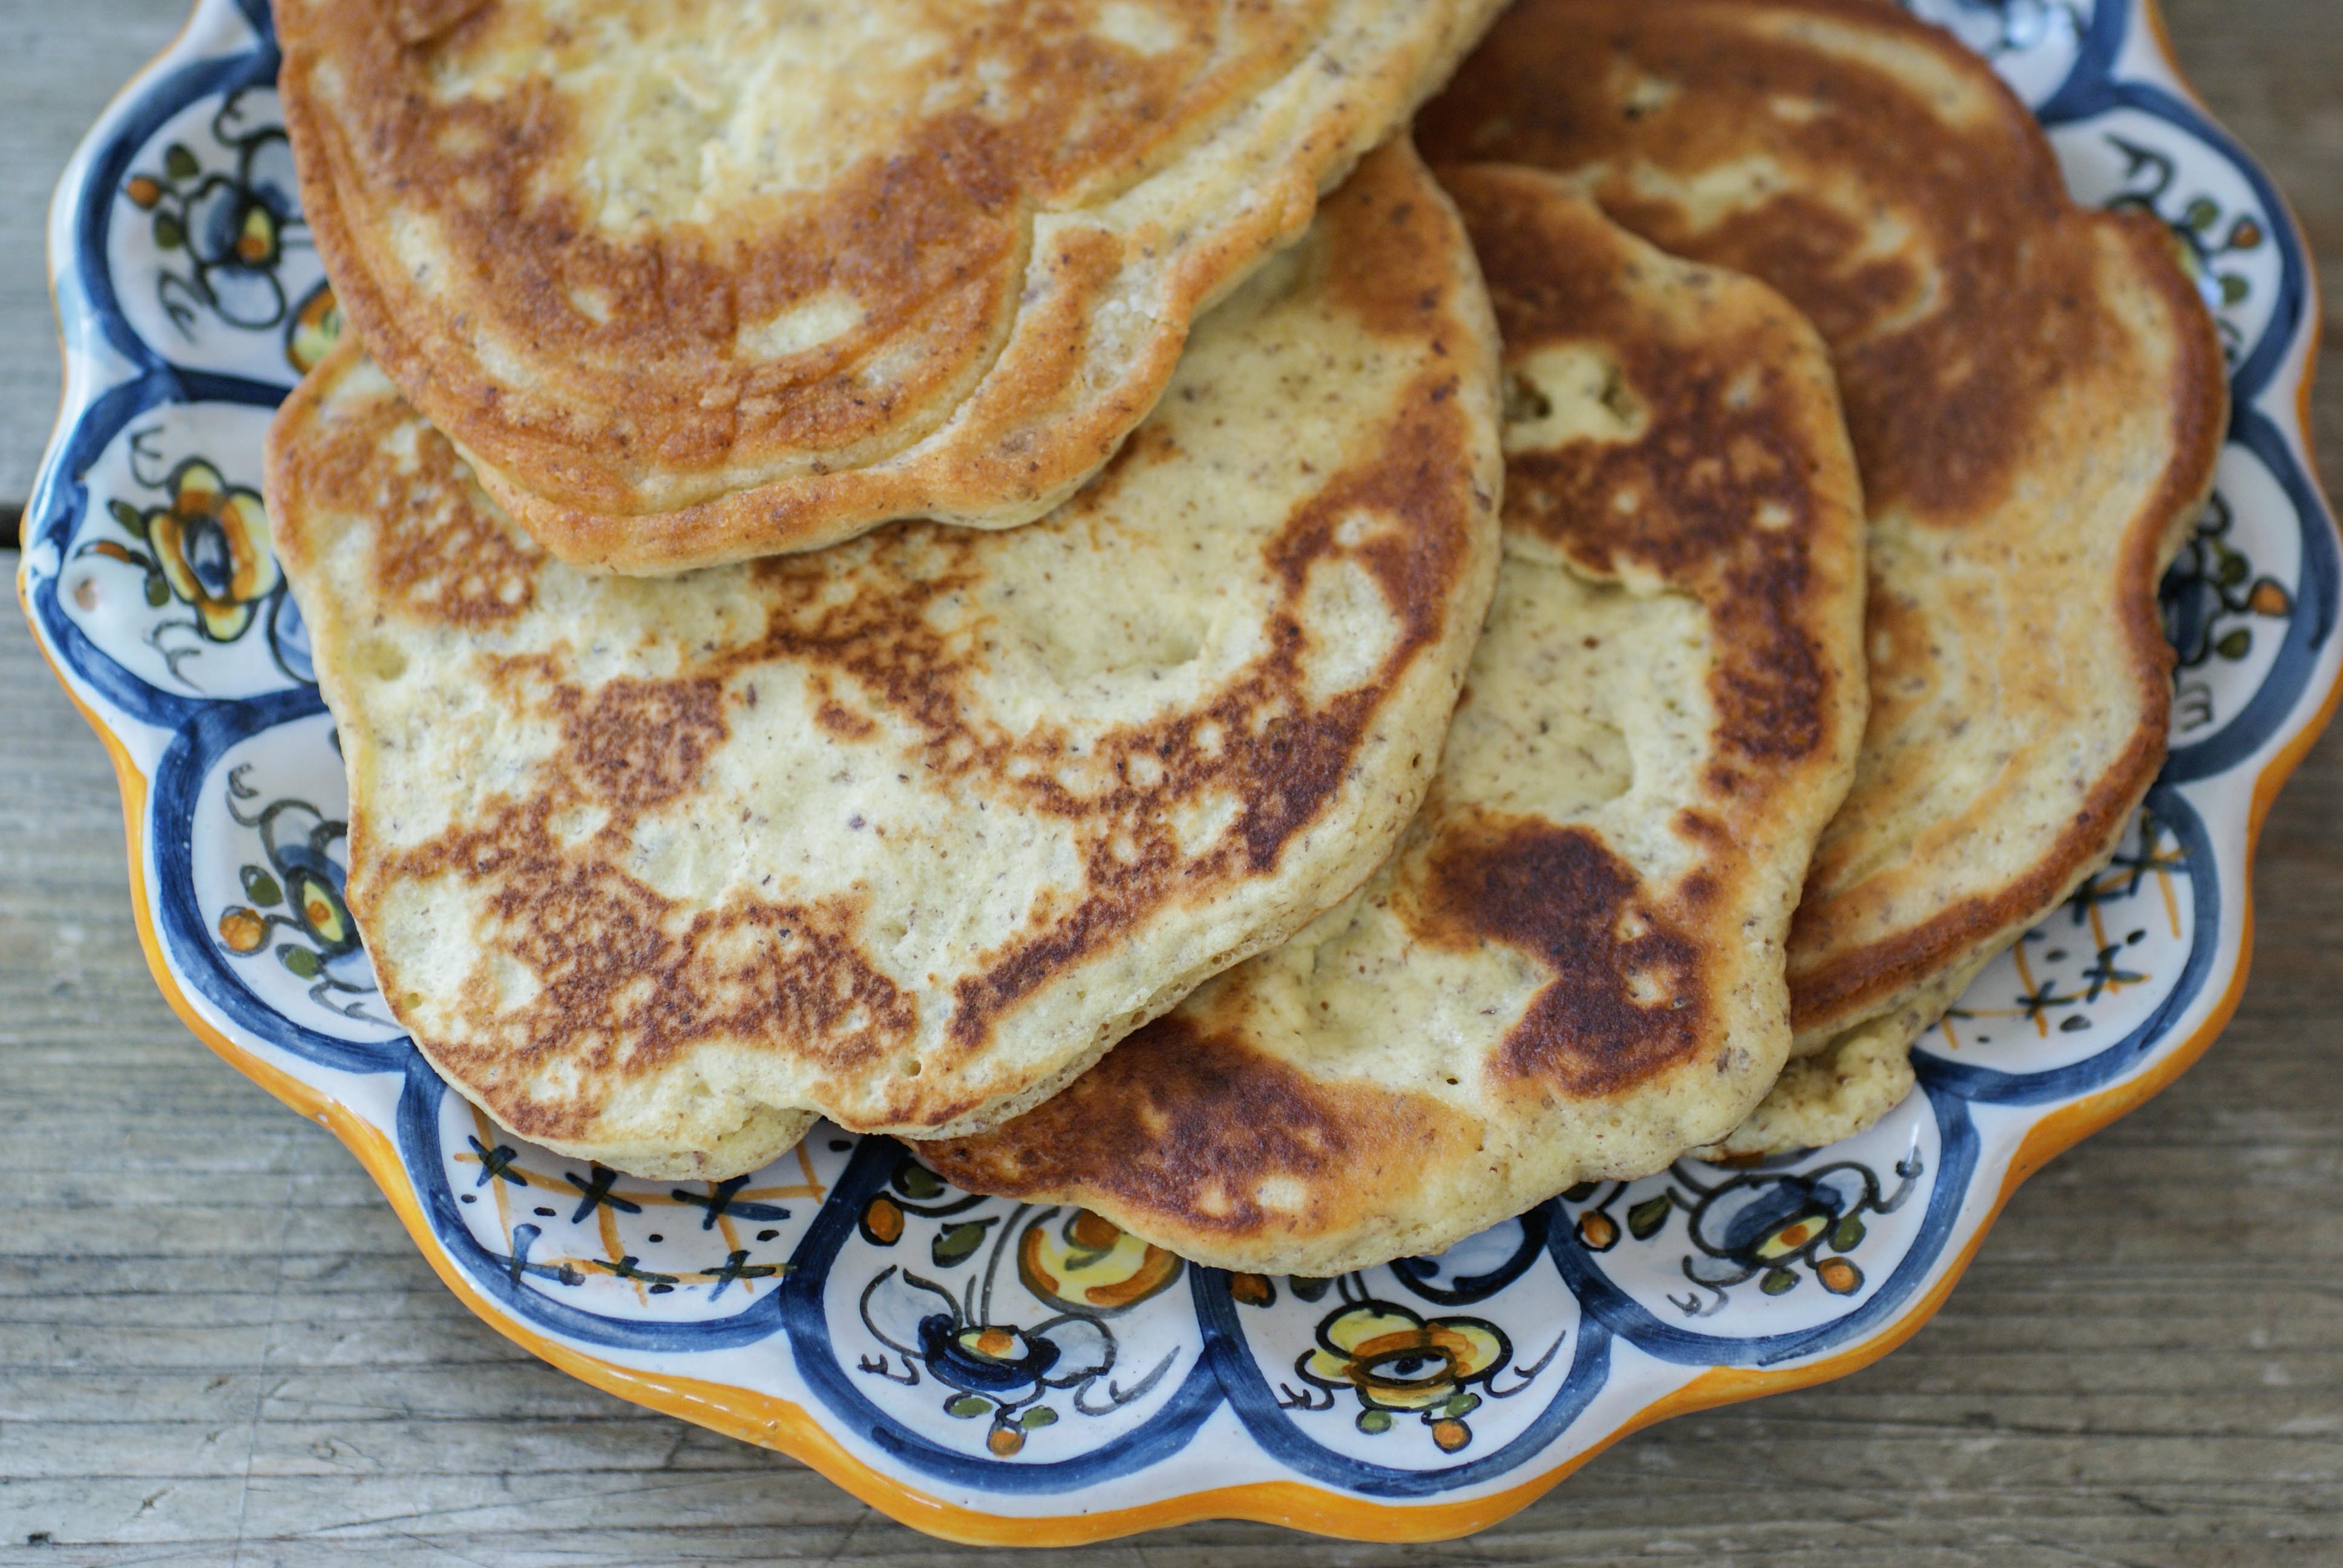
I searched around the internet looking for different recipes (grain-free and traditional) to get an idea of how to go about making my own. I don’t know about you, but I generally never expect paleo bread type recipes to turn out really good. I know they will be edible and might even taste good, but I rarely expect them to taste non-paleo. They will invariably be a bit coconutty, almondy or eggy. This actually tasted like bread to me! Oh happy day 🙂 Who knows though….it’s been years since I’ve had real bread, and even longer since I’ve had authentic Naan, so maybe I’m just forgetting what it actually tastes like. I wish that would happen with chocolate.
So here you go. Paleo Naan Bread adapted a bit from this one over at Real Sustenance. By the way, you don’t have to wait until you’re having Indian food to make this. It would make a great sandwich bread or hamburger bun.

Actually tastes like bread
Ingredients
- 5 Tablespoons of ground flax seeds
- 4 eggs
- 3/4 cup plain Greek yogurt or thick coconut milk
- 1/4 cup olive oil
- 1/2 cup coconut flour
- 1 cup arrowroot powder
- 1 1/2 teaspoon baking powder
- 1/2 teaspoon salt
- 1 teaspoon apple cider vinegar
- Coconut oil or ghee for cooking
Instructions
- Put everything together in a food processor and whiz until well mixed. It is not a dough consistency but it’s also not quite as runny as pancake batter.
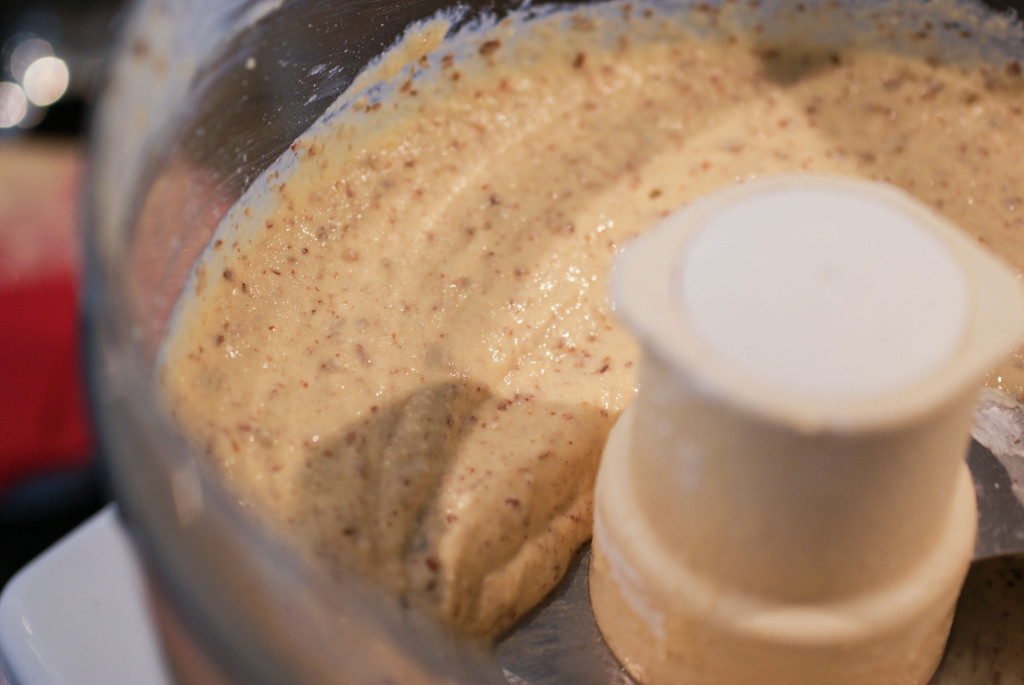
The batter
- Melt 1-2 Tablespoons of ghee or coconut oil in a skillet over medium high heat.
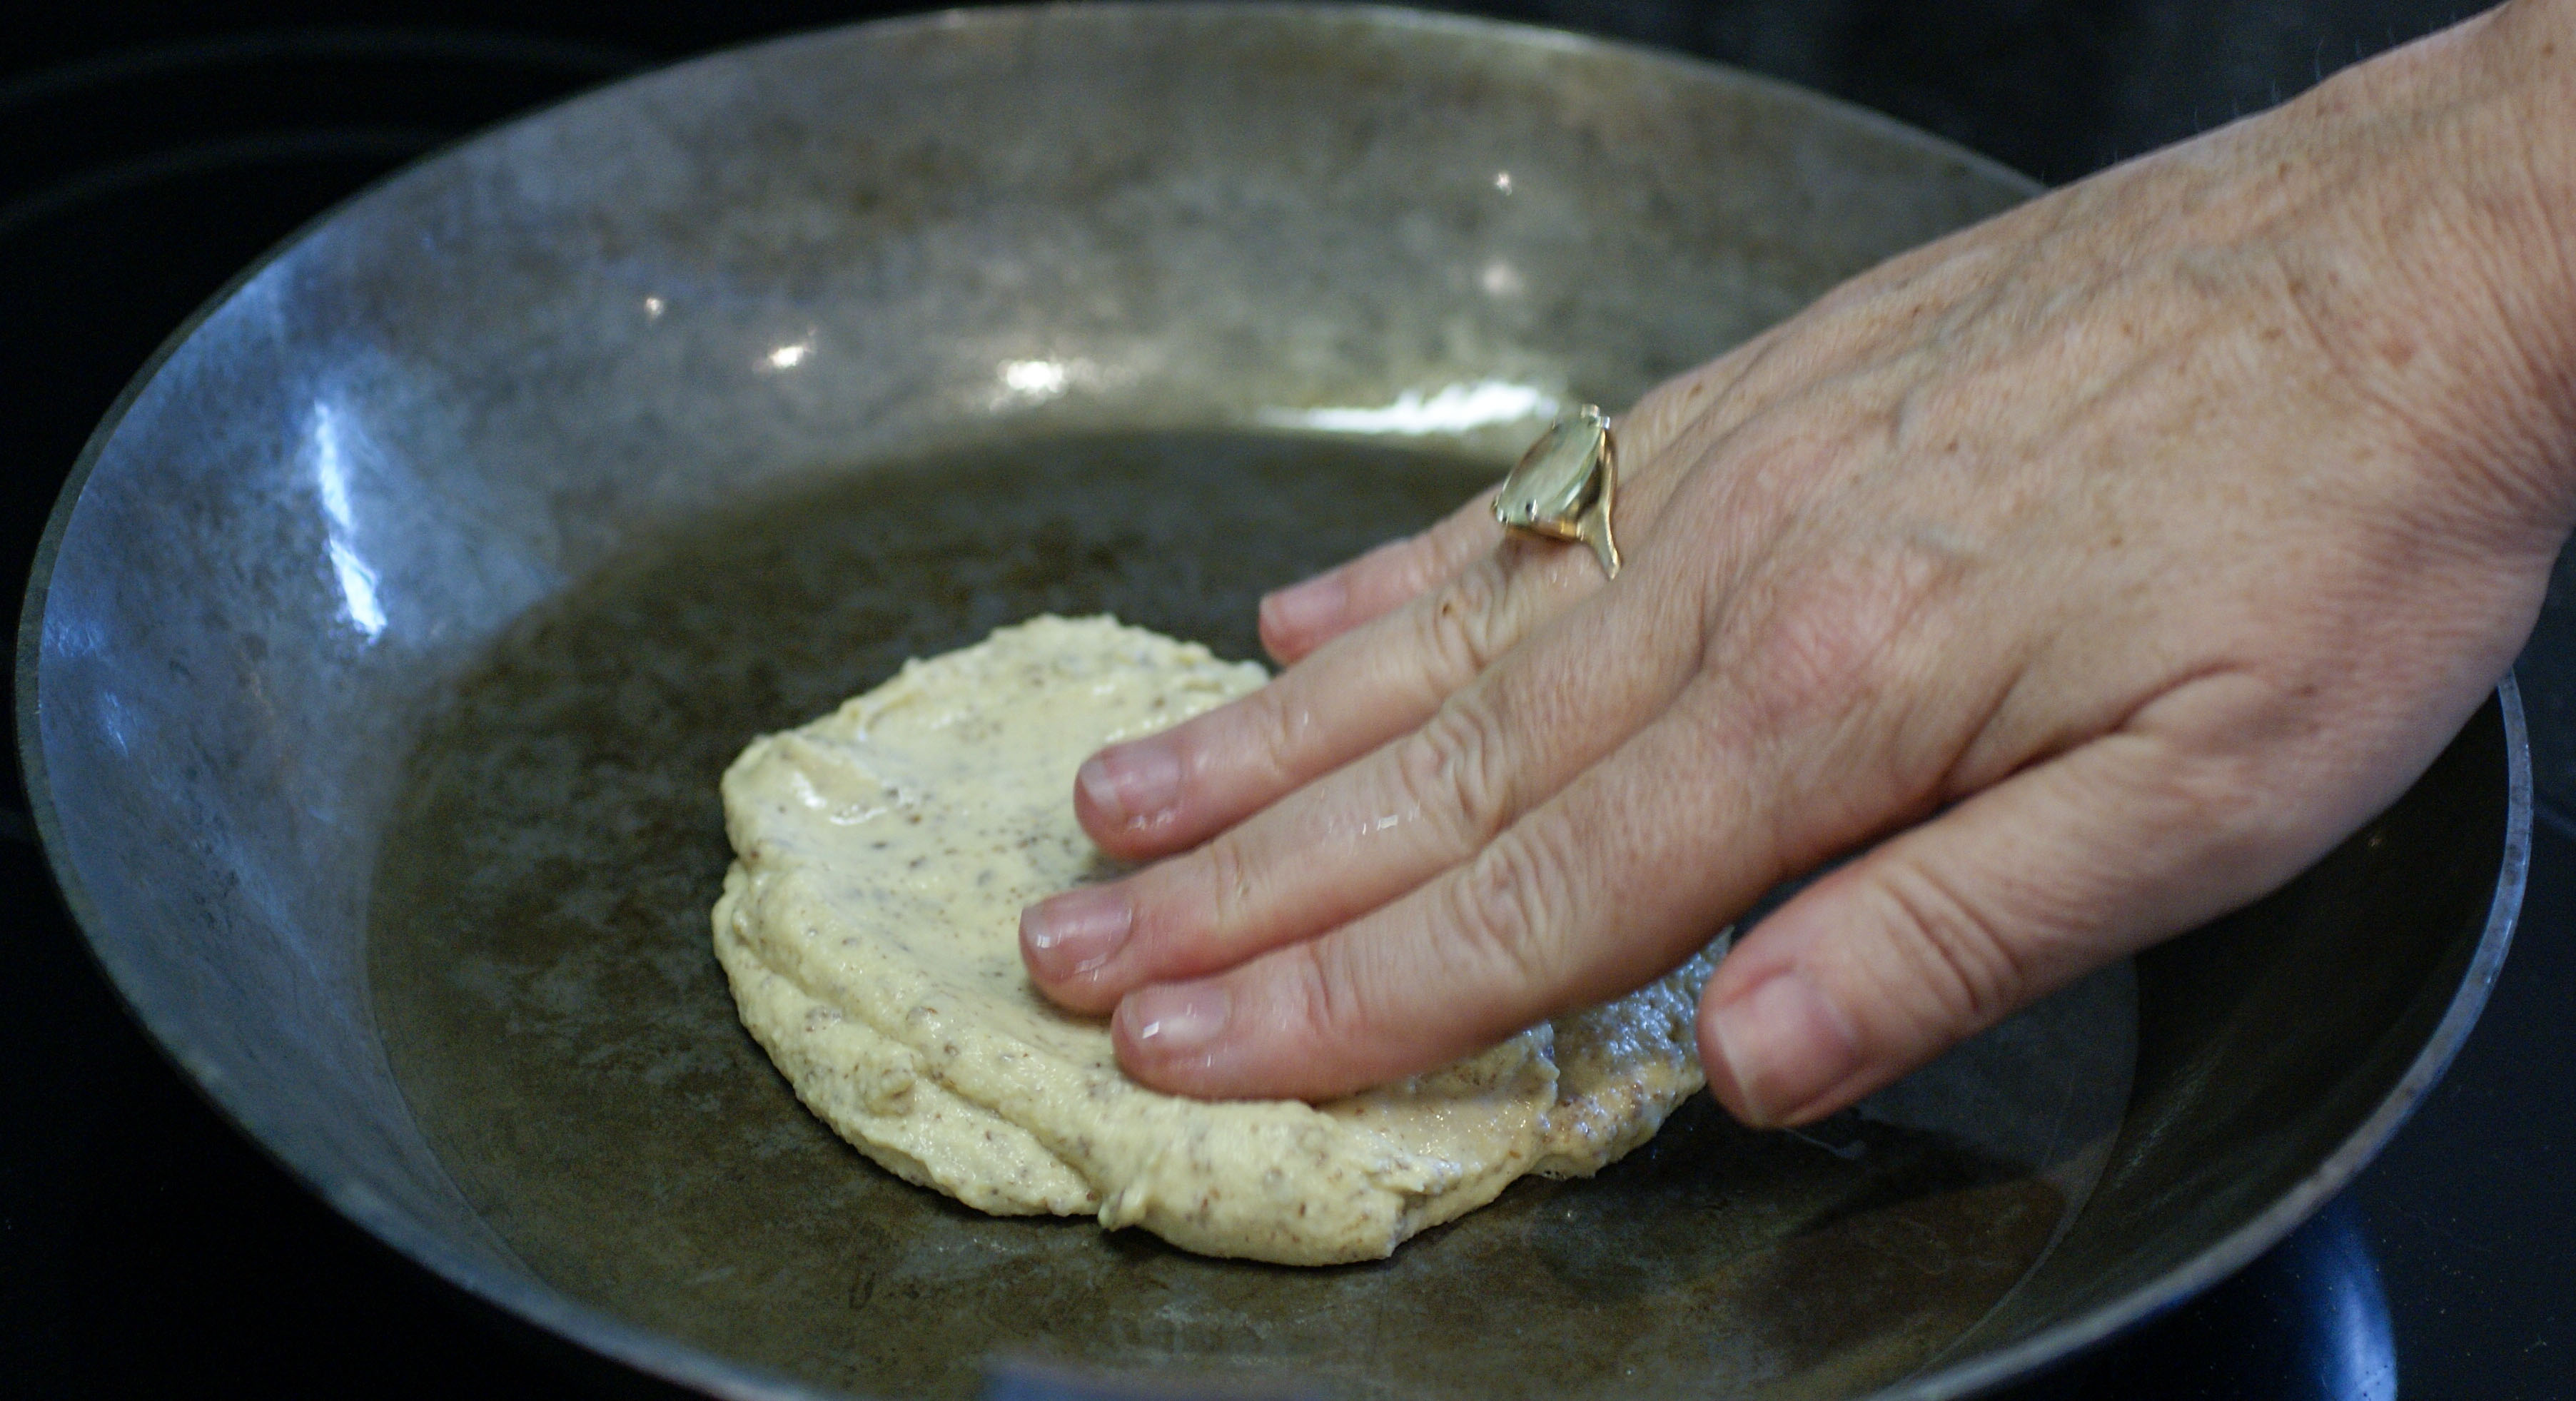
- Drop about two to three large tablespoons of batter into the hot pan.
- Quickly get your finger wet with water and tap down the batter to help spread it into a circle shape.

Get your fingers wet to spread it around
- Cook about 2 minutes before flipping. It does not make little holes like pancakes do. It’s ready to flip when it’s golden brown on the bottom.
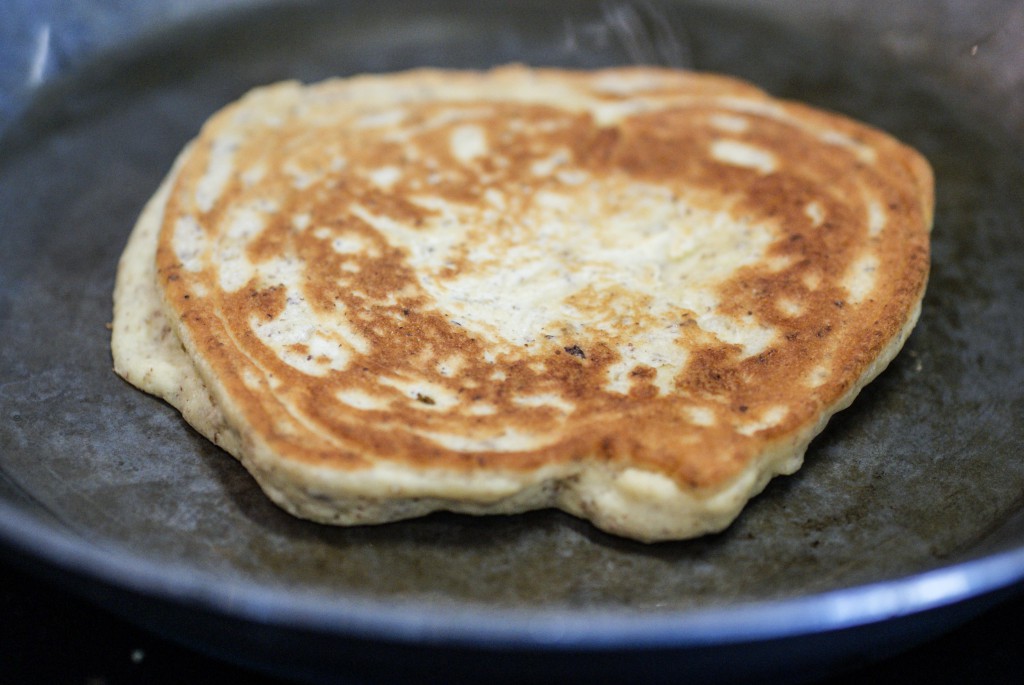
Ready to flip when the bottom is brown
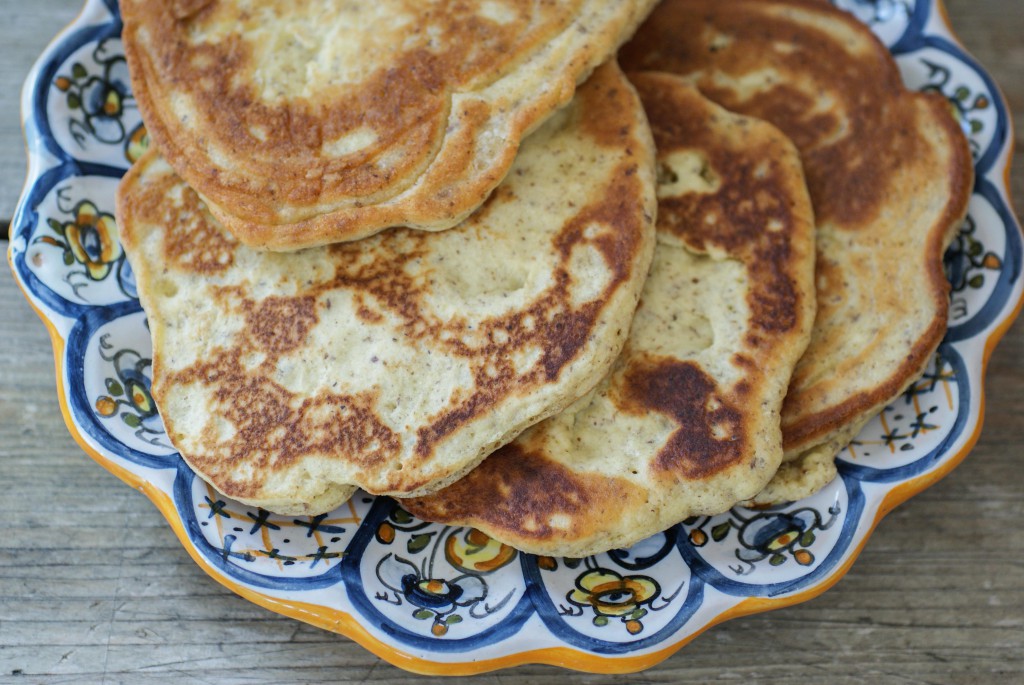
Paleo Naan Bread


Ingredients
- 5 Tablespoons of ground flax seeds
- 4 eggs
- 3/4 cup plain Greek yogurt or thick coconut milk
- 1/4 cup olive oil
- 1/2 cup coconut flour
- 1 cup arrowroot powder
- 1 1/2 teaspoon baking powder
- 1/2 teaspoon salt
- 1 teaspoon vinegar
- Coconut oil or ghee for cooking
Instructions
- Put everything together in a food processor and whiz until well mixed. It is not a dough consistency but it's also not quite as runny as pancake batter.
- Melt 1-2 Tablespoons of ghee or coconut oil in a skillet over medium high heat.
- Drop about two to three large tablespoons of batter into the hot pan.
- Quickly get your finger wet with water and tap down the batter to help spread it into a circle shape.
- Cook about 2 minutes before flipping. It does not make little holes like pancakes do. It's ready to flip when it's golden brown on the bottom.
Notes
I made half of this recipe and got four fairly large Naan Breads.
Lemon Artichoke Dip/Sauce/Pesto
I have a few pot luck get- togethers coming up soon, so I’ve been trying out a few different recipes and thinking about what I might bring. One of the things I whipped up for practice was this lemony artichoke dip. It makes a very tasty dip for vegetables or these paleo crackers. I think it would also make a nice spread inside of a lettuce leaf with some chicken and veggies for a paleo lettuce roll-up. It would probably also be good on some fried eggs. I might try dipping chicken breasts in it and then coating them in almond flour before frying. See all of the things you could make with this?

So many ways to eat this
Ingredients
- 1 can of artichoke hearts

Drain the hearts
- Juice from half a lemon
- Zest from half a lemon
- 1/2 cup olive oil
- Fresh parsley (about a handful)
- 4-6 cloves of garlic (your preference)
- 1/2 teaspoon salt (or to taste)

Instructions
- Put everything in a food processor together and whiz until smooth. You could pulse and leave it a bit chunky if you prefer.
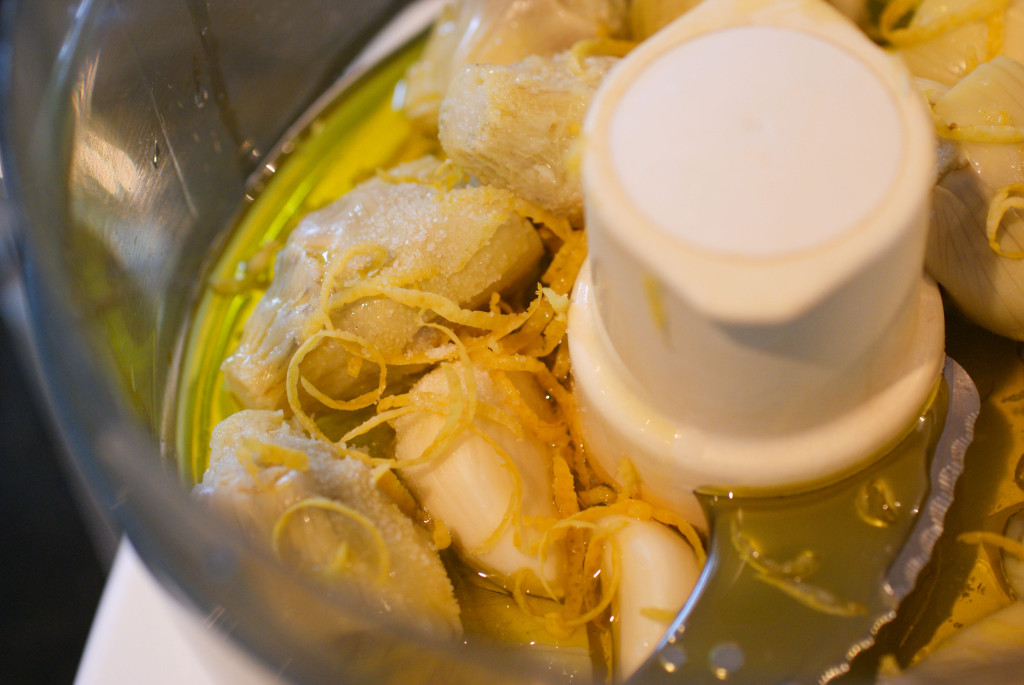
I love my food processor

Ingredients
- 1 can of artichoke hearts
- Juice from half a lemon
- Zest from half a lemon
- 1/2 cup olive oil
- Fresh parsley (about a handful)
- 4-6 cloves of garlic (your preference)
- 1/2 teaspoon salt (or to taste)
Instructions
- Put everything in a food processor together and whiz until smooth. You could pulse and leave it a bit chunky if you prefer.
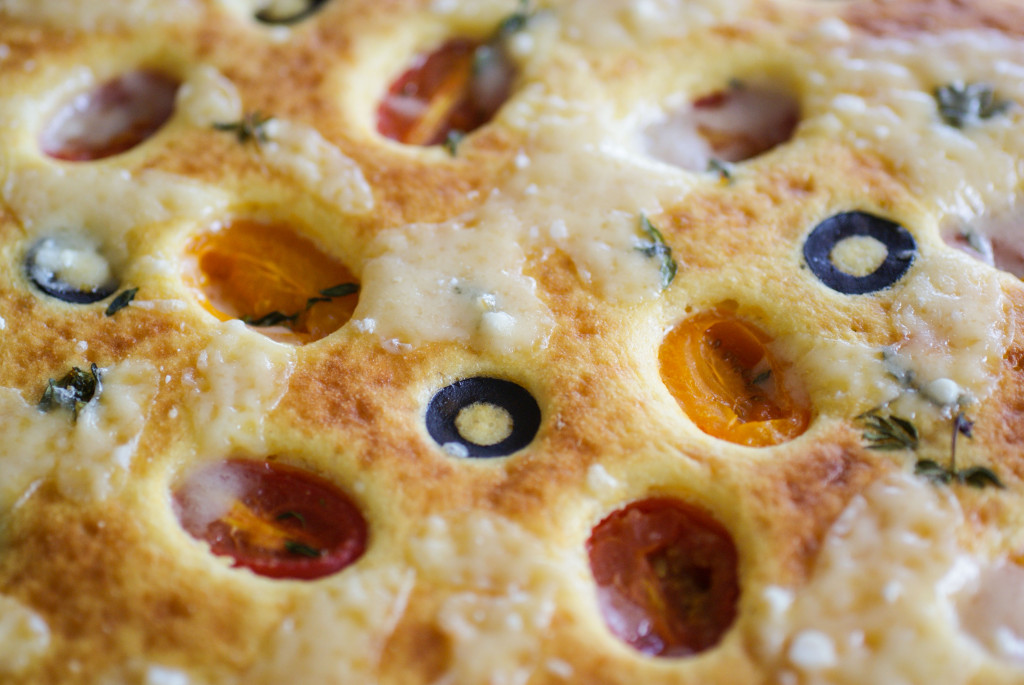
Paleo Focaccia Bread

I love focaccia bread. The first time I had it was at a cafe near the university I went to. The cafe was called Deux Gros Nez (which translates to “two big noses” in French). Keep in mind that this was in Reno, Nevada. It was the coolest place around (duh! it had a French name!) and we thought we were very cool every time we went there. Plus, everybody there seemed to be smoking….how very European!
Many years later, I had REAL focaccia bread on one of my many trips to Italy. It is possibly the best thing ever. I think the best we had was in San Gimignano, but it was also really good in the Cinque Terre. We used to buy a big square of focaccia, some olives, fresh cherry tomatoes, a hunk of cheese and some prosciutto from little grocery shops. It was much more economical than eating in a tourist restaurant(and much more delicious). Now I really thought I was cool 🙂 Here’s my daughter enjoying some focaccia high above a village in the Cinque Terre while we were hiking through olive groves.

Samantha in the olive groves enjoying some focaccia
Here’s a gluten-free (but not dairy free) version of focaccia bread for you to try out. Enjoy it with a glass of wine. Close your eyes and pretend you are in Tuscany. I found the original version of this recipe at GastroChef.
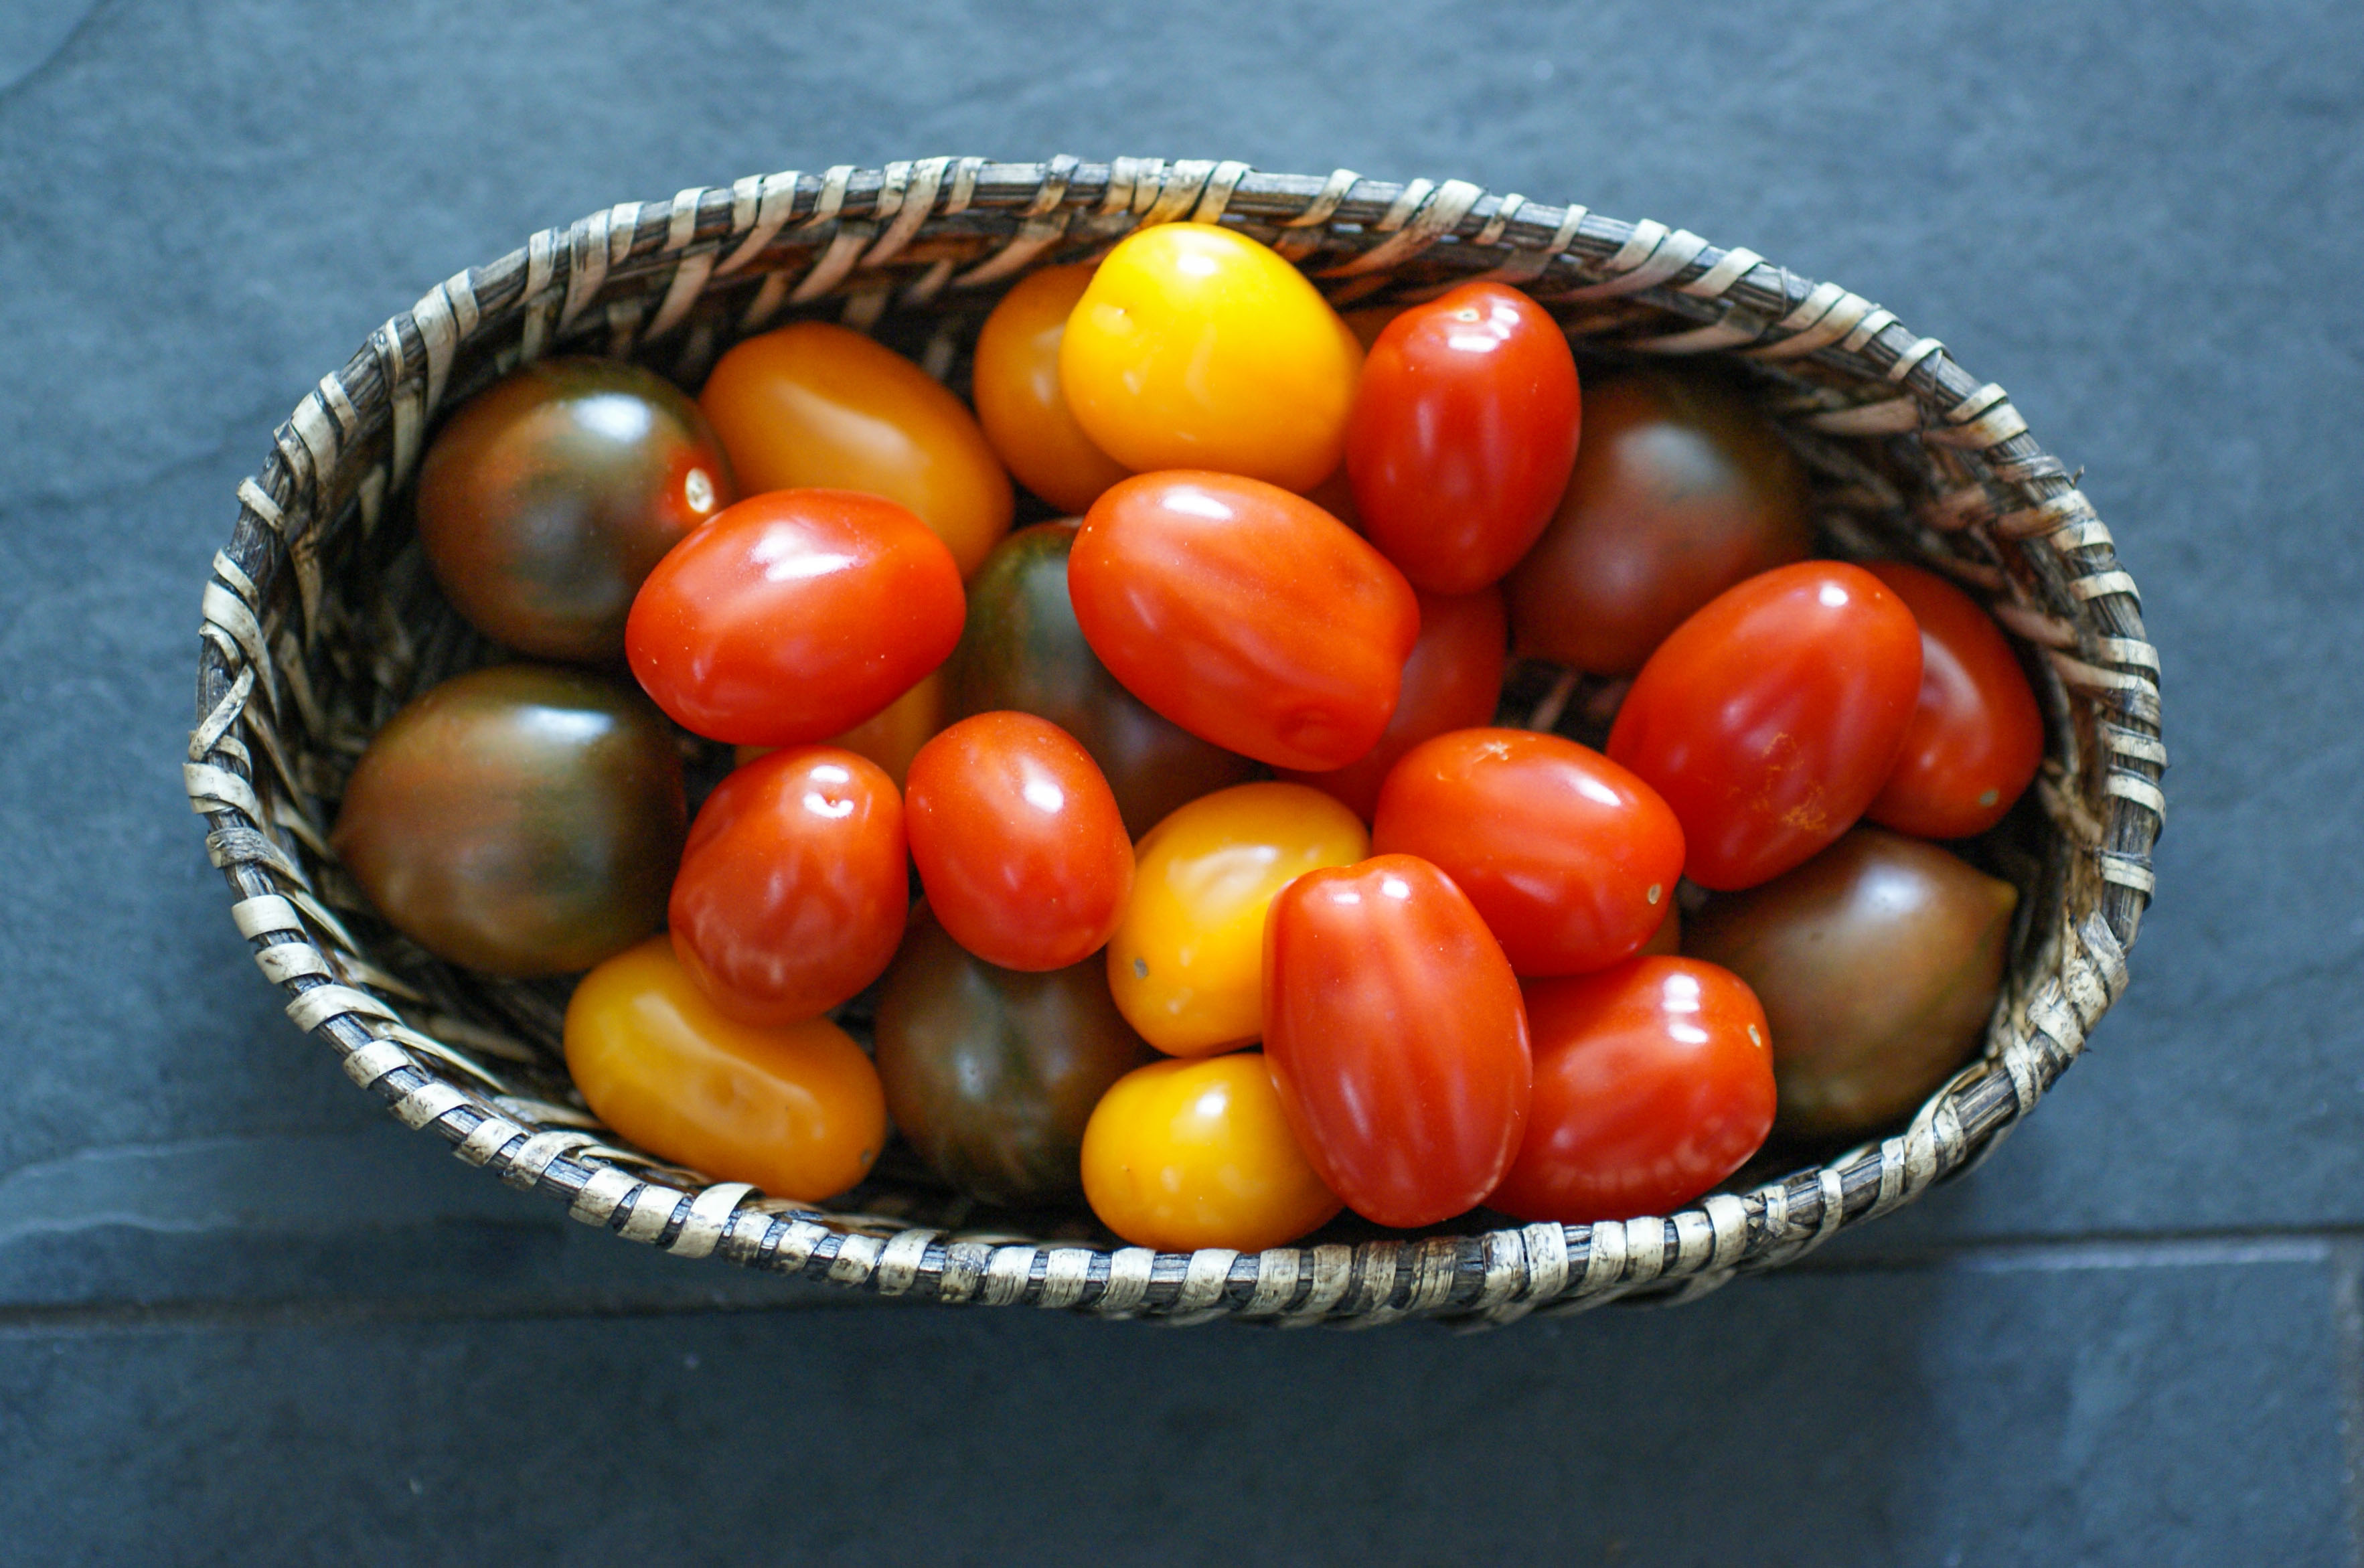
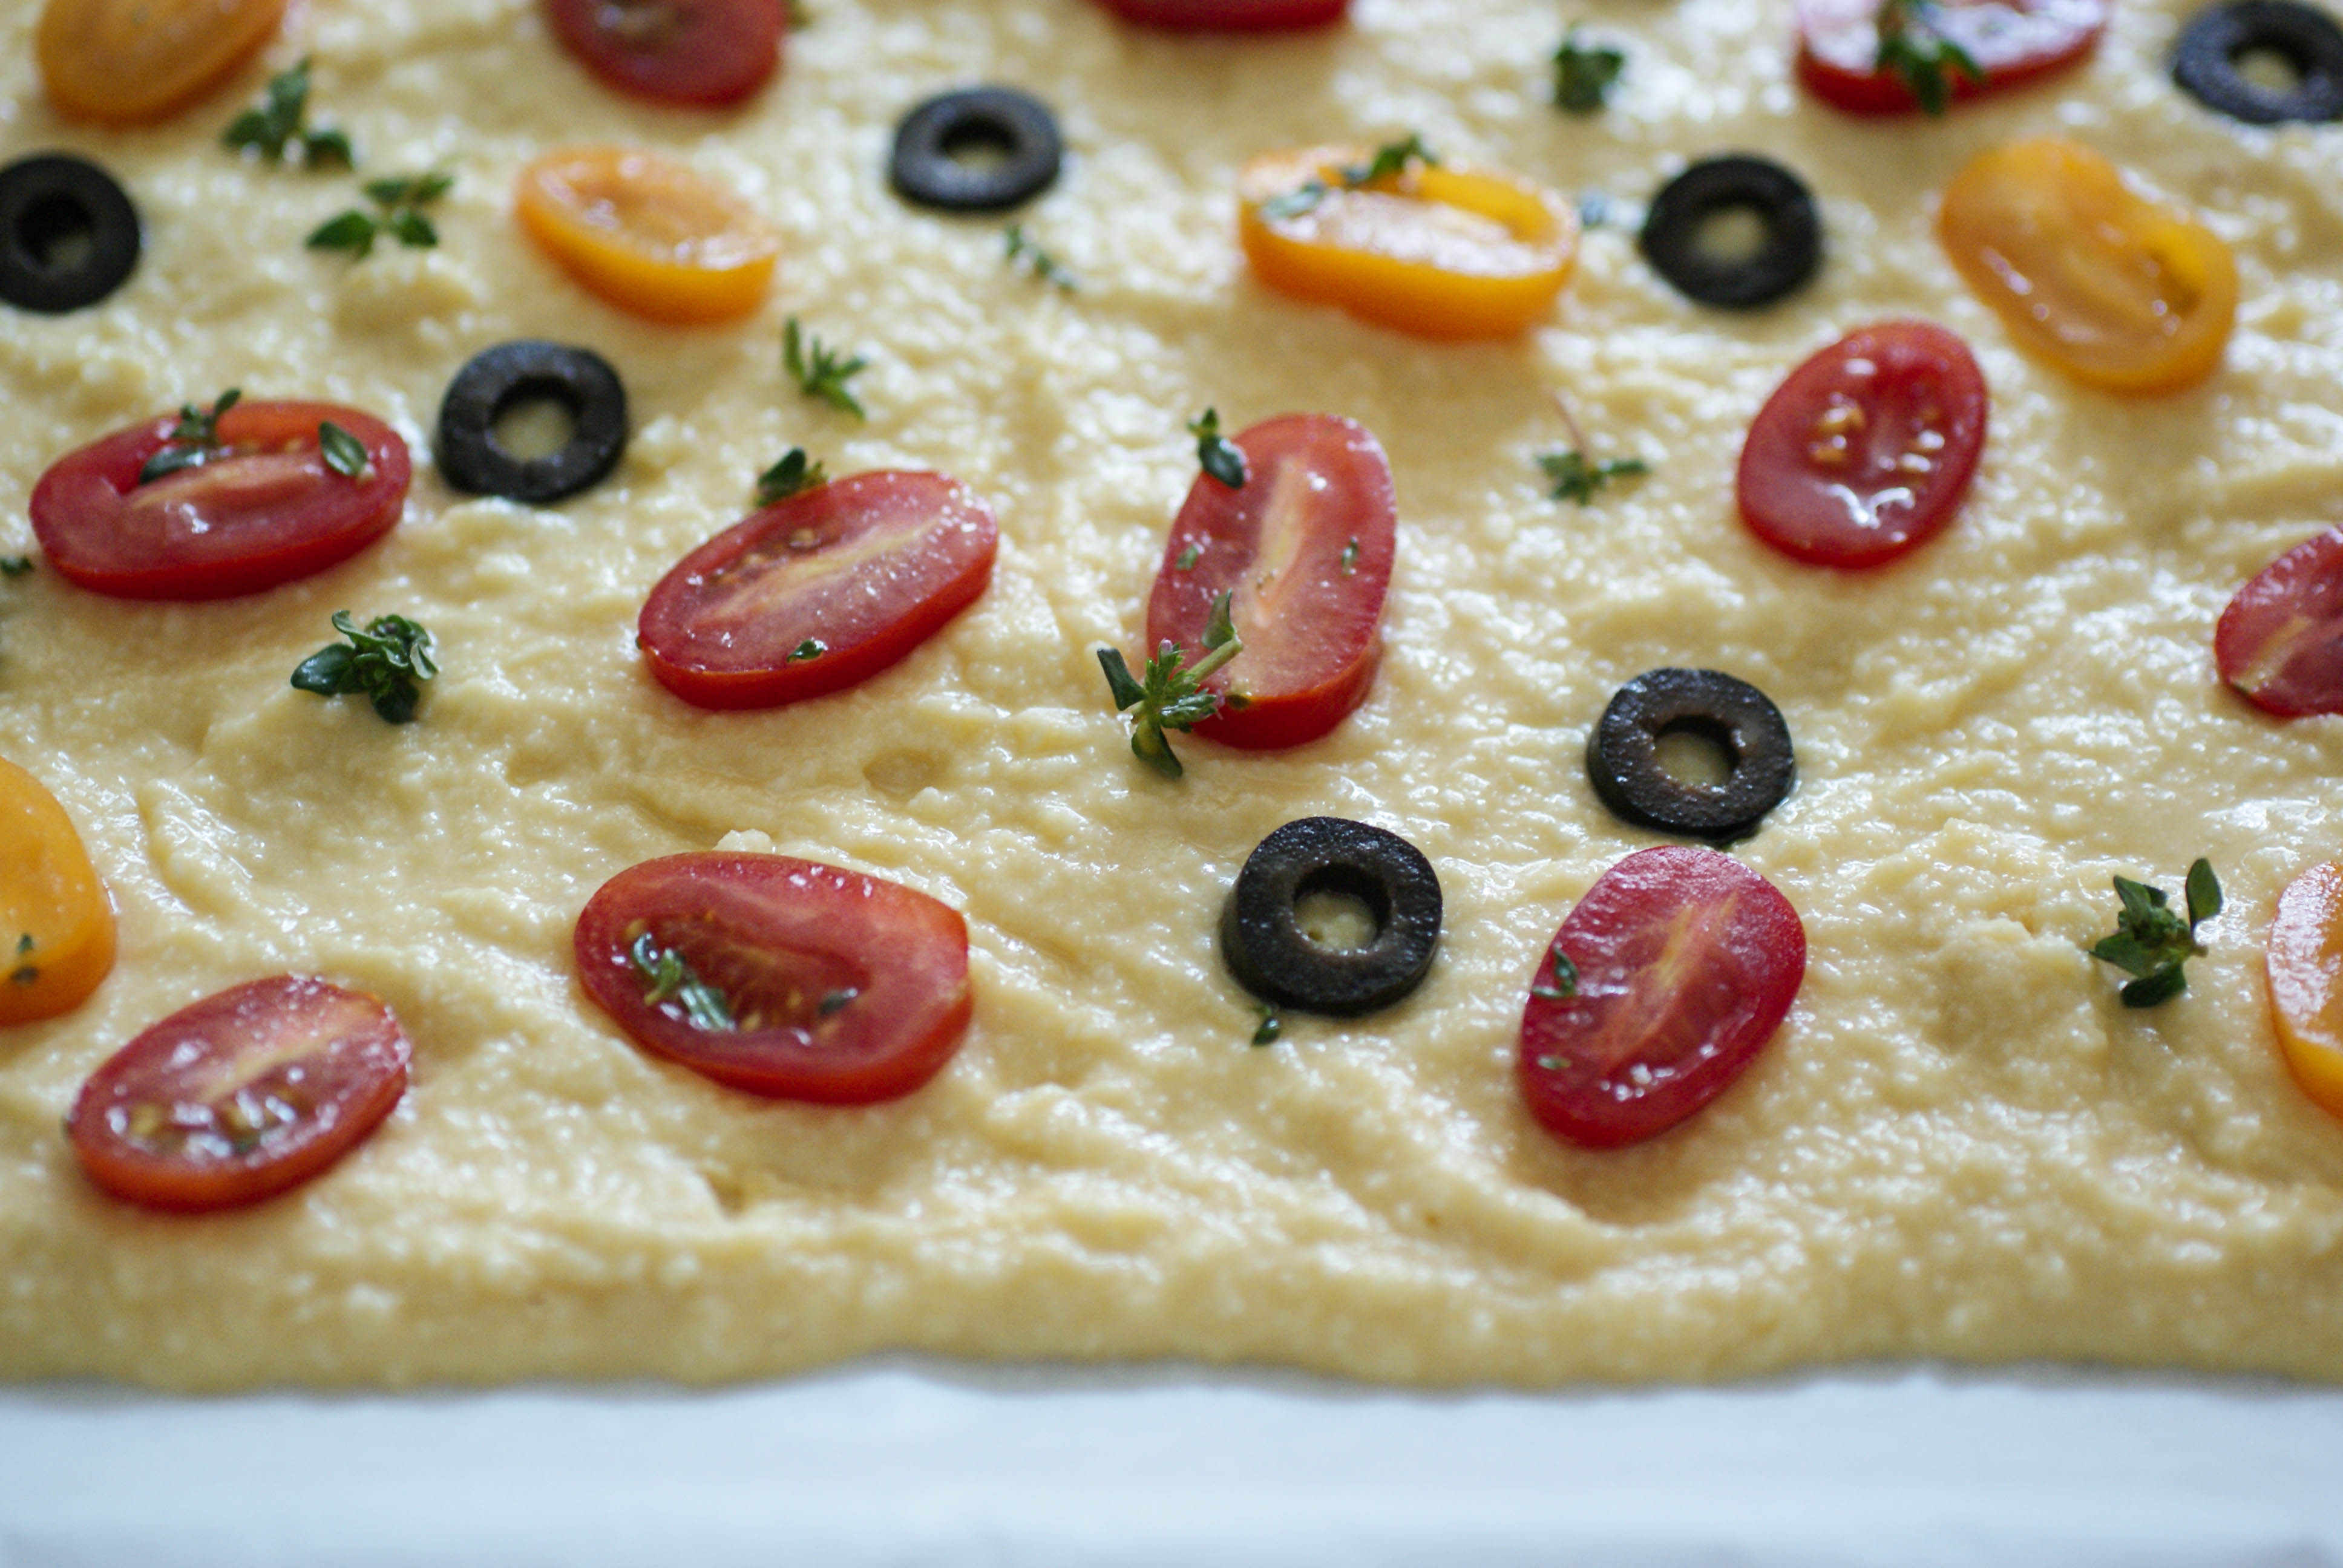
Colorful tomatoes
Ingredients
- 4 eggs
- 4 Tablespoons plain Greek yogurt or coconut milk (I used yogurt)
- 1/4 cup plus 1 Tablespoon coconut flour
- 1/4 teaspoon baking soda
- a generous pinch of salt
- 1 cup finely grated Parmesan cheese
- A handful of cherry tomatoes and black olives, chopped or halved
- 1 teaspoon olive oil
- 1-2 Tablespoons of fresh herbs (thyme, oregano, rosemary or basil…your choice)
- 1/4 Parmesan, shaved or coarsely grated

Instructions
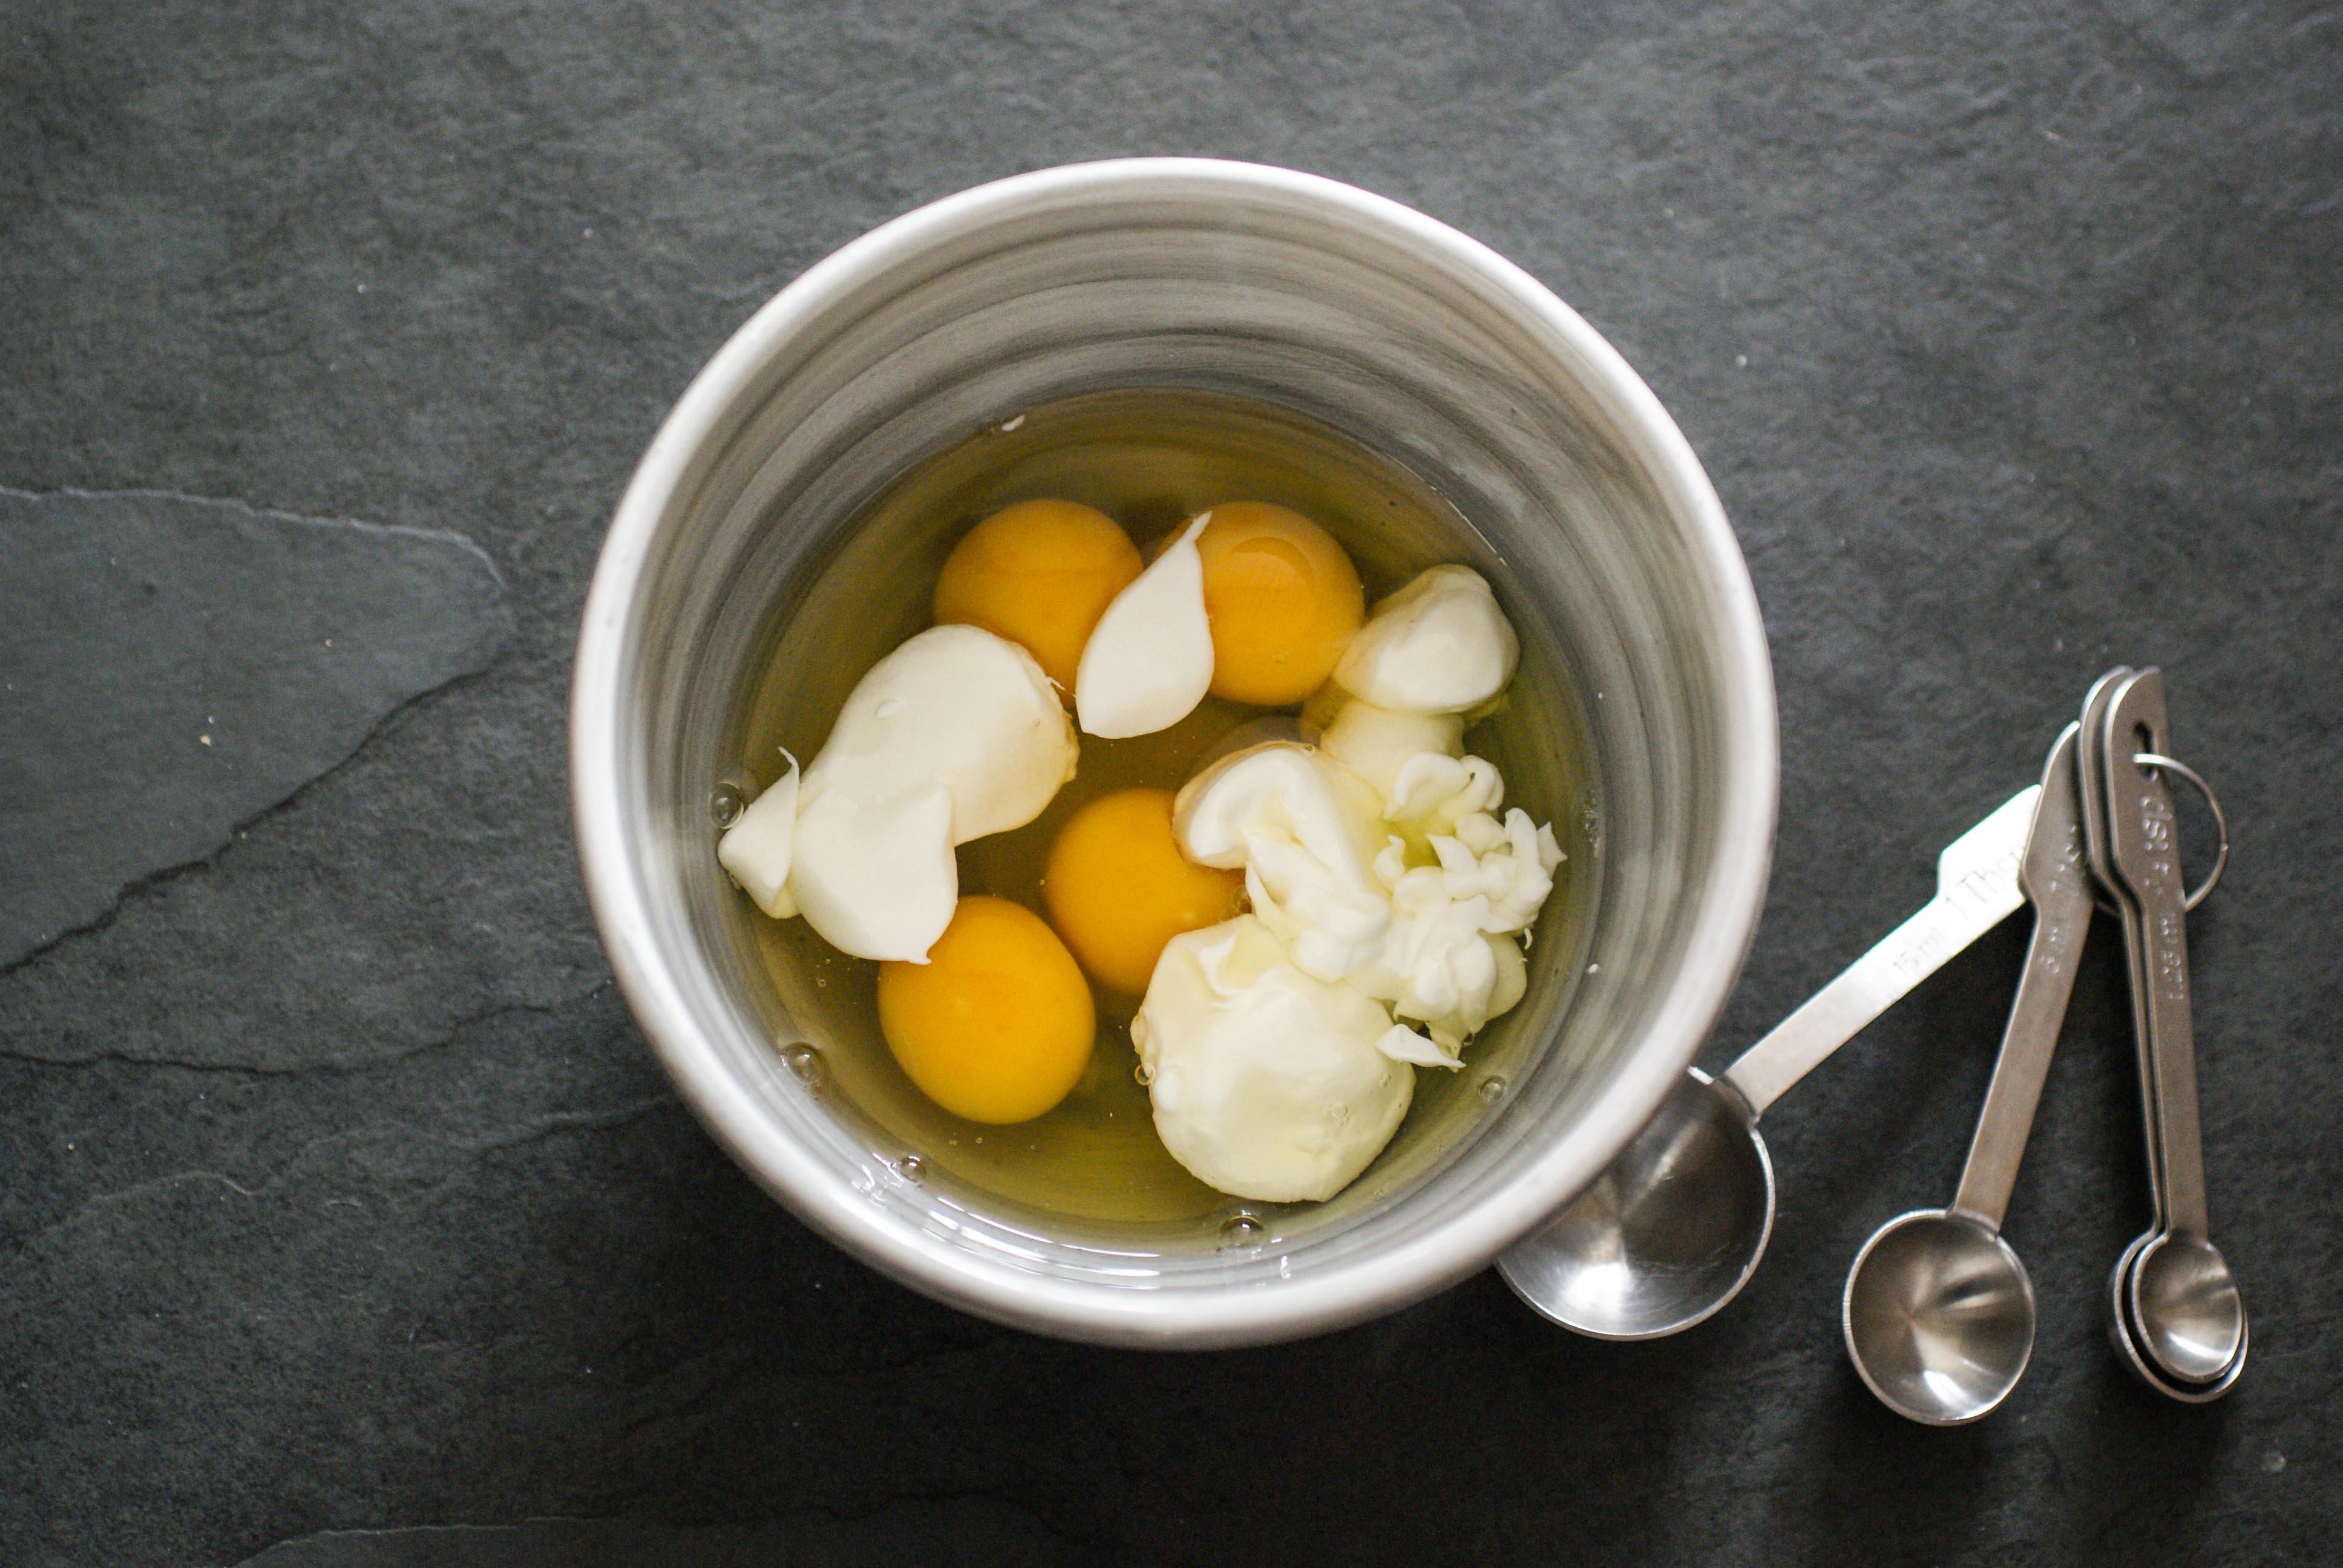
- Mix the eggs and yogurt or coconut milk together in a small bowl. I used a stick immersion blender, but a whisk would work equally well.

Eggs and yogurt
- In a medium bowl, combine the coconut flour, finely grated Parmesan, salt and baking soda.
- Add the wet ingredients to the dry and stir to combine.
- Spread your dough (it’s like a batter consistency) onto a parchment lined baking sheet. I sprayed the paper with olive oil.

Spread the batter fairly thinly
- Toss the halved cherry tomatoes, olives, herbs and olive oil together and then place them on top of your dough.
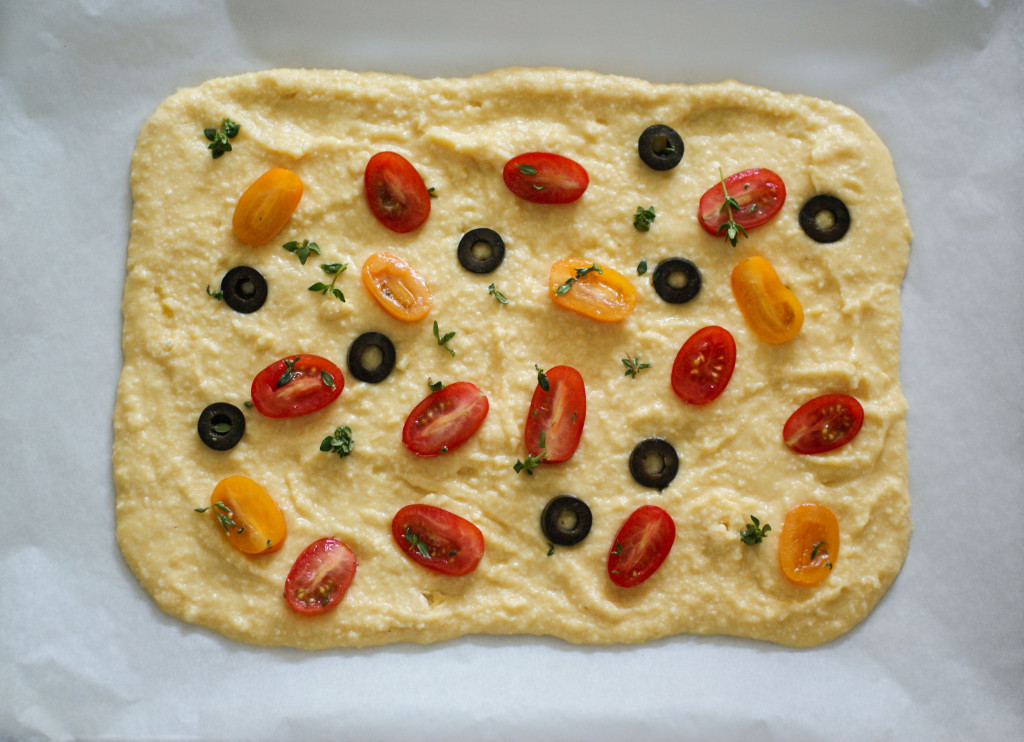
Tomatoes, olives and herbs
- Place into a pre-heated 375 F (190 C) oven for 12-15 minutes.
- Remove and sprinkle the shaved Parmesan over the top and return to the oven for an additional 3-5 minutes.
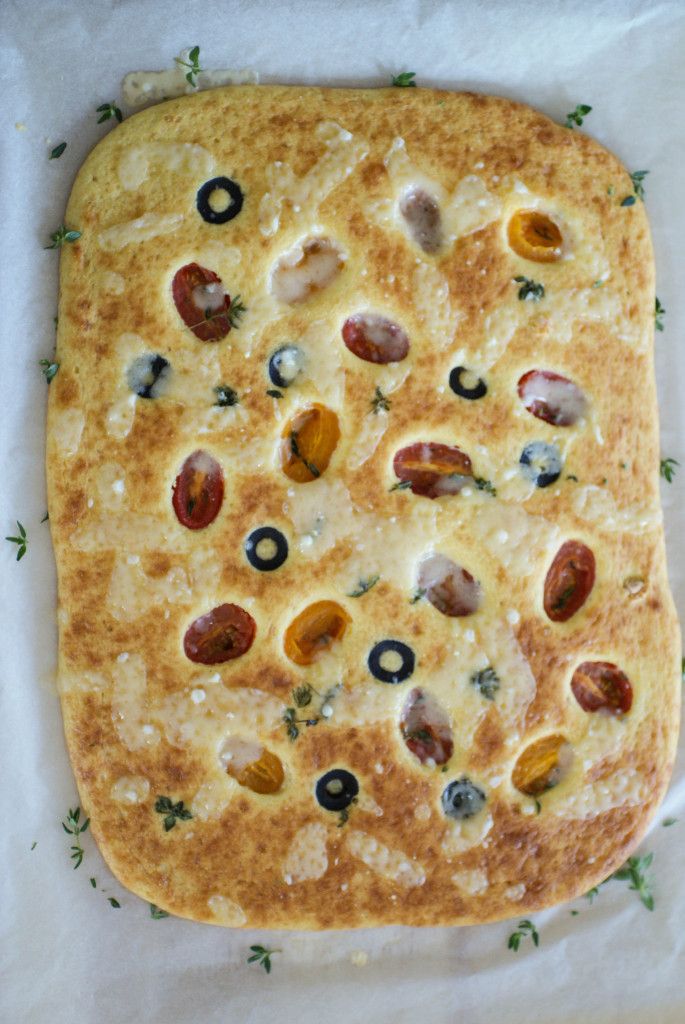
Hot from the oven


The Verdict
This was actually very bread like. Was it like real authentic focaccia? No, and I didn’t expect it to be. If you are ever in Italy, you might want to just throw caution to the wind, eat some real focaccia and suffer the gastrointestinal consequences. However, until you make it to Italy, this is a pretty darn good alternative. It’s even better when you dip it in some salted olive oil.

Light lunch or snack

Focaccia
Ingredients
- 4 eggs
- 4 Tablespoons plain Greek yogurt or coconut milk (I used yogurt)
- 1/4 cup plus 1 Tablespoon coconut flour
- Generous pinch of salt
- 1/4 teaspoon baking soda
- 1 cup finely grated Parmesan cheese
- A handful of cherry tomatoes and black olives, chopped or halved
- 1 teaspoon olive oil
- 1-2 Tablespoons of fresh herbs (thyme, oregano, rosemary or basil...your choice)
- 1/4 Parmesan, shaved or coarsely grated
Instructions
- Mix the eggs and yogurt or coconut milk together in a small bowl. I used a stick immersion blender, but a whisk would work equally well.
- In a medium bowl, combine the coconut flour, finely grated Parmesan, salt and baking soda.
- Add the wet ingredients to the dry and stir to combine.
- Spread your dough (it's like a batter consistency) onto a parchment lined baking sheet. I sprayed the paper with some olive oil.
- Toss the halved cherry tomatoes, olives, herbs and olive oil together and then place them on top of your dough.
- Place into a pre-heated 375 F (190 C) oven for 12-15 minutes.
- Remove and sprinkle the shaved Parmesan over the top and return to the oven for an additional 3-5 minutes.
Notes
You could also add some chopped red onion or some fresh pressed garlic (or even whole cloves). It's delicious with olive oil drizzled over the top after it comes out of the oven. You can also pour a little olive oil on a plate, sprinkle a little sea salt into it and dip your focaccia...YUM!
Paleo Sushi

I love sushi. It costs an arm and a leg to go out for good sushi where I live, so we don’t do it up big in a restaurant very often. I learned to make my own sushi years ago before going paleo and it was something my daughter would frequently request. She’s now a very talented sushi maker herself and it’s her absolute favorite meal.

I’ve eaten sushi (yes, with rice) a few times since going paleo (on visits to the States), but I haven’t made it myself in ages since we don’t have rice in our kitchen anymore. We make cauliflower rice all the time and I’ve seen other people use it in sushi, so I decided to give it a try.
Usually, sushi rice is made by adding rice wine vinegar and some sugar to the rice to make it sticky so it holds together. Cauliflower isn’t sticky at all and I played around with a few different things to see if adding stuff to the cauliflower made any difference to my sushi rolls. In one roll, I added a splash of cider vinegar and a little bit of honey. In another roll, I mashed some avocado with the cauliflower and in the last two rolls, I just used plain old cauliflower. In my opinion, they all worked just fine and I didn’t find much of a difference in the taste or “rollability” between the three.
Ingredients
- 1 medium head of cauliflower to make the rice
- Nori (seaweed) sheets

I got mine at Migros

Now, when it comes to fillings for your sushi, you should use the things you have on hand or like the most. We used:
- raw sushi grade tuna
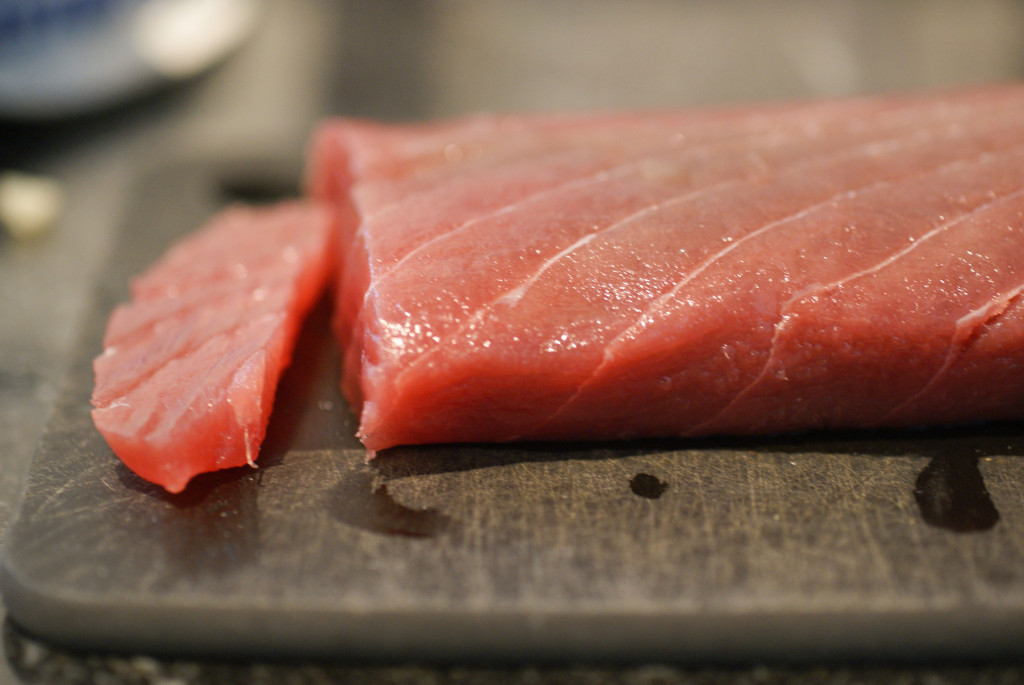
Raw tuna
- blanched carrots and green beans
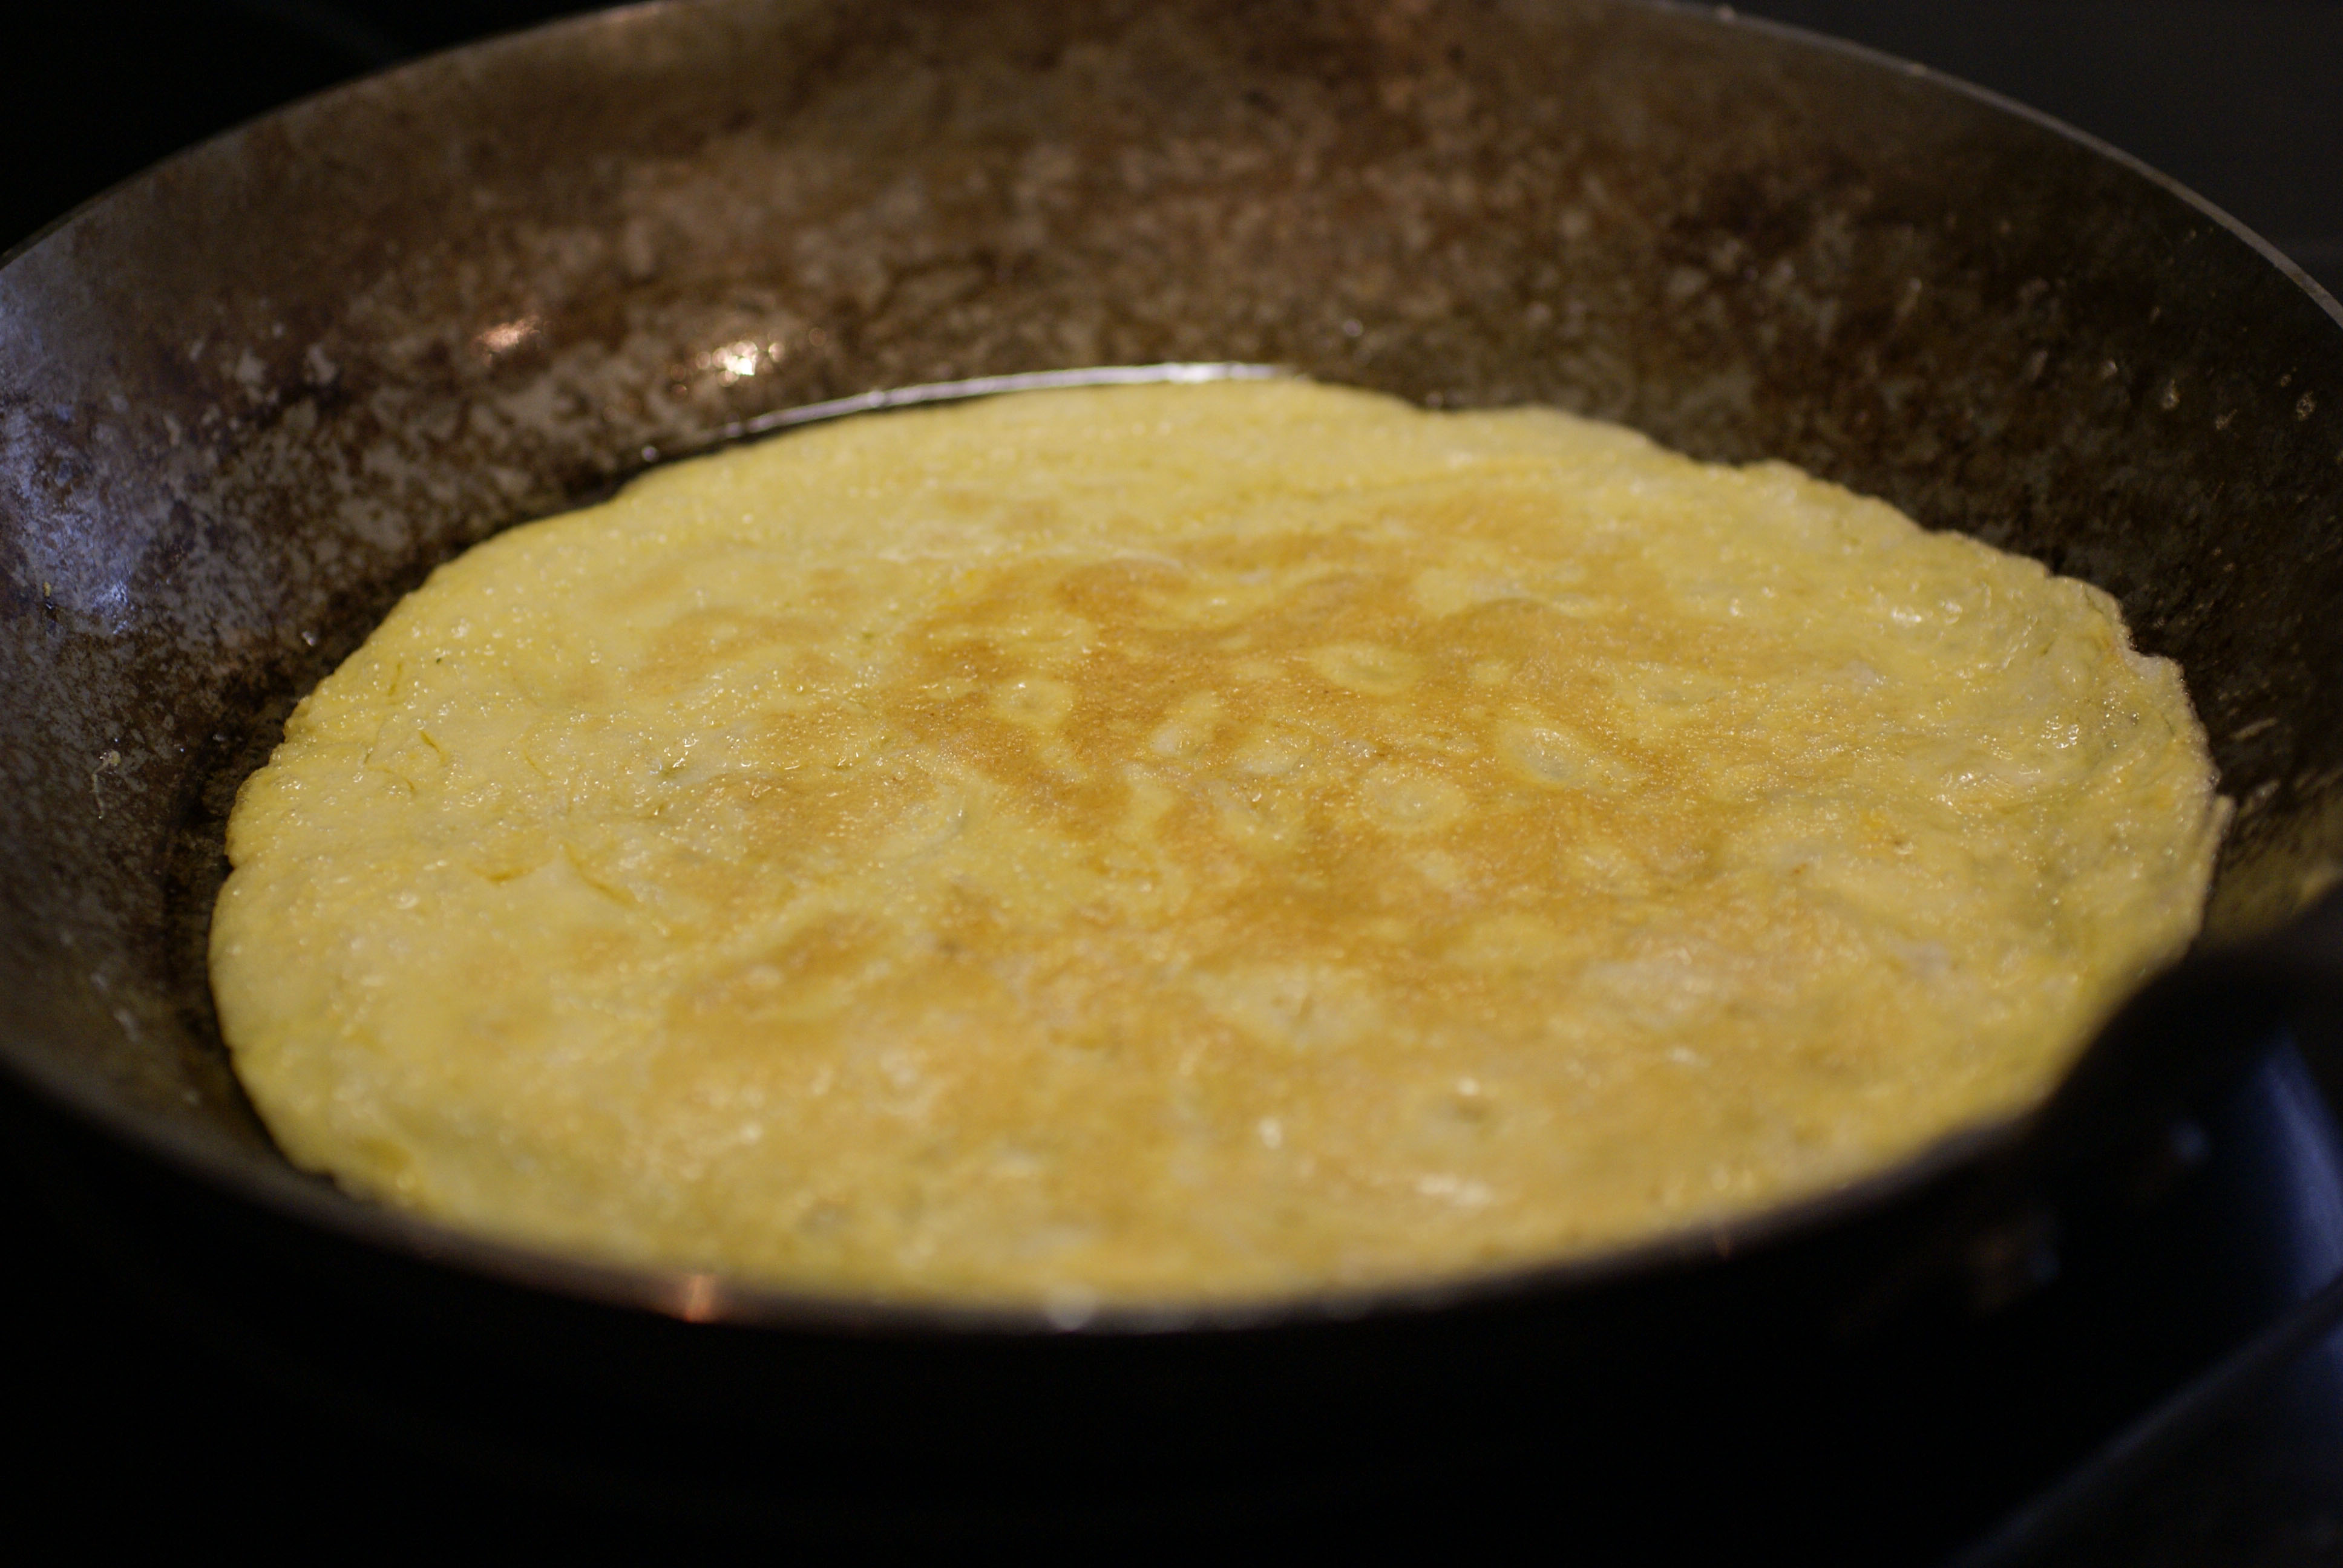
- egg omelette (whisk a few eggs together and make a flat egg omelette and then cut it into strips)
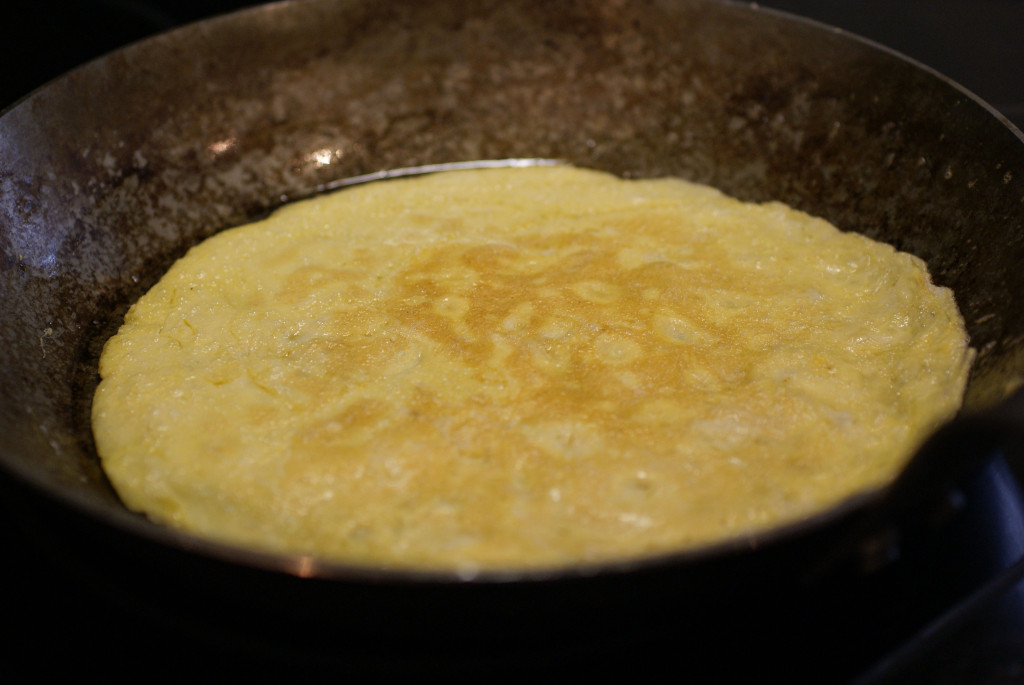
The egg
- avocado.

What to do
Make your cauliflower rice
Cut your raw cauliflower into florets and pulse them in a food processor until they are the size of grains of rice. Transfer the raw cauliflower grains to a pan with a splash of water. We use oil instead when we are making fried rice. Cover the rice and stir occasionally until it’s tender but not mushy (5-10 minutes). When we make this rice to serve as a side dish, we often add spices, onions and garlic; but for this we left it plain. Let it cool before rolling your sushi.
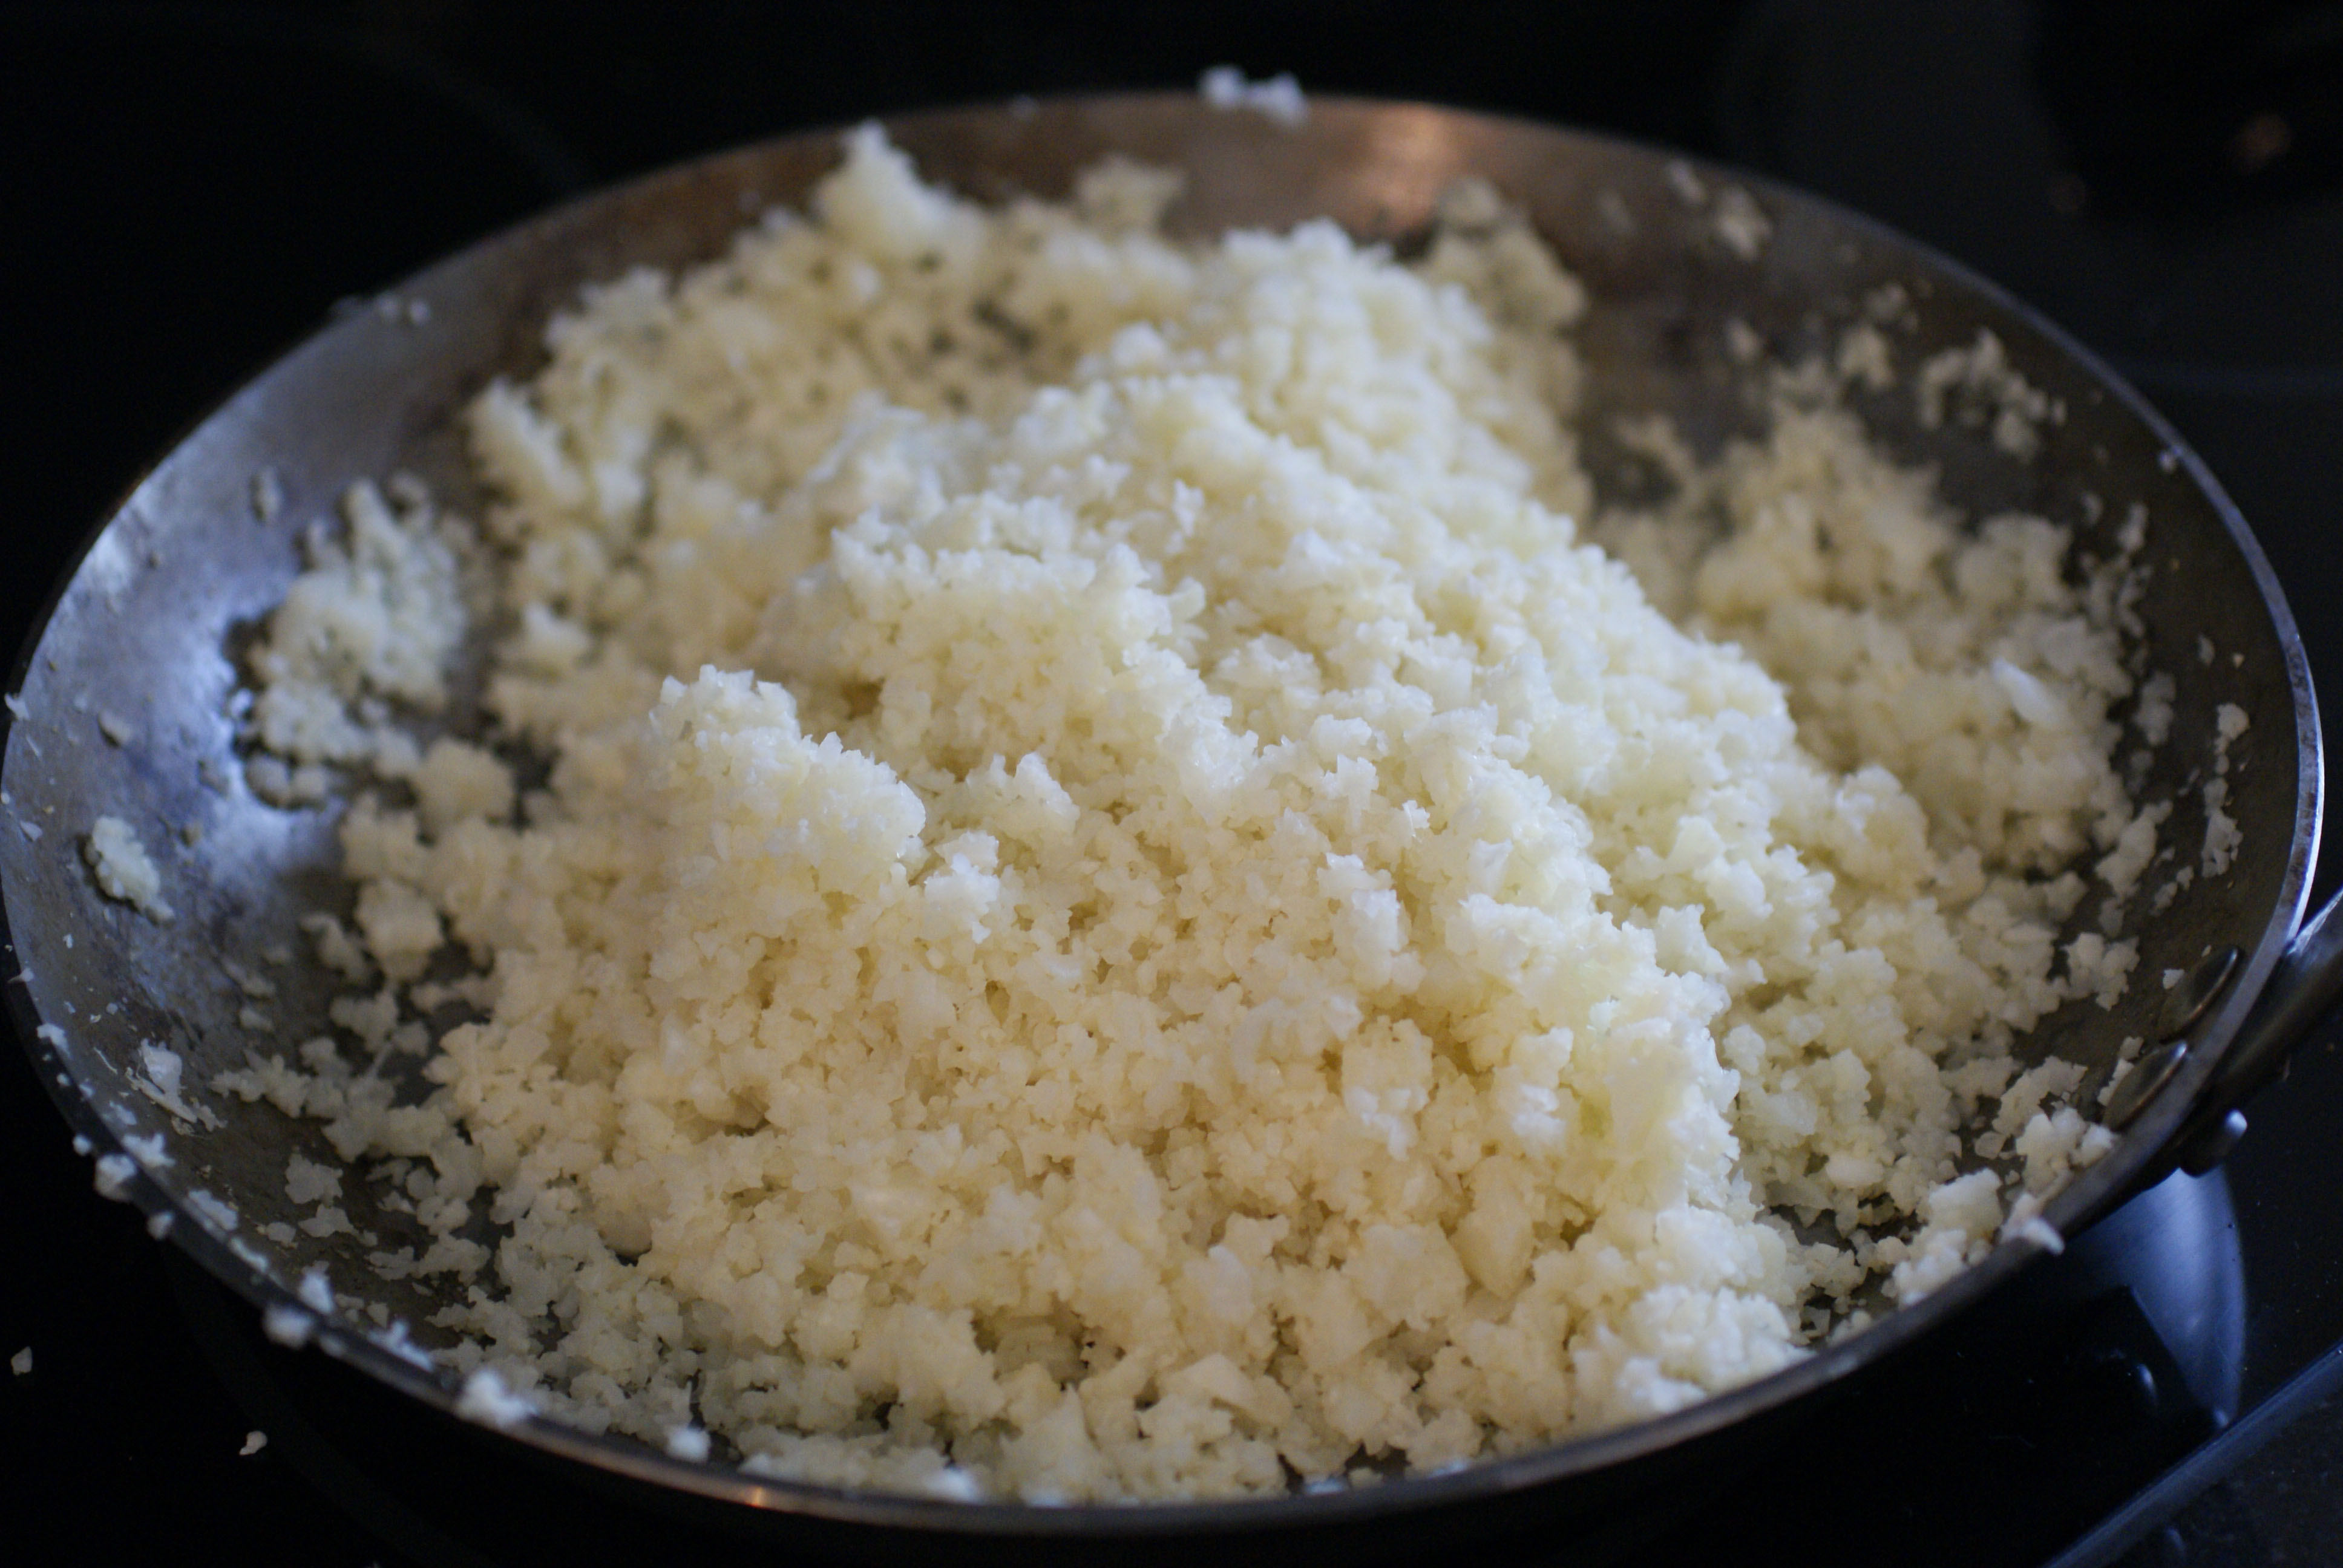
Cauliflower “rice”
Rolling the sushi
Actually seeing sushi being rolled is better than written instructions, so have a look at this video on rolling sushi.
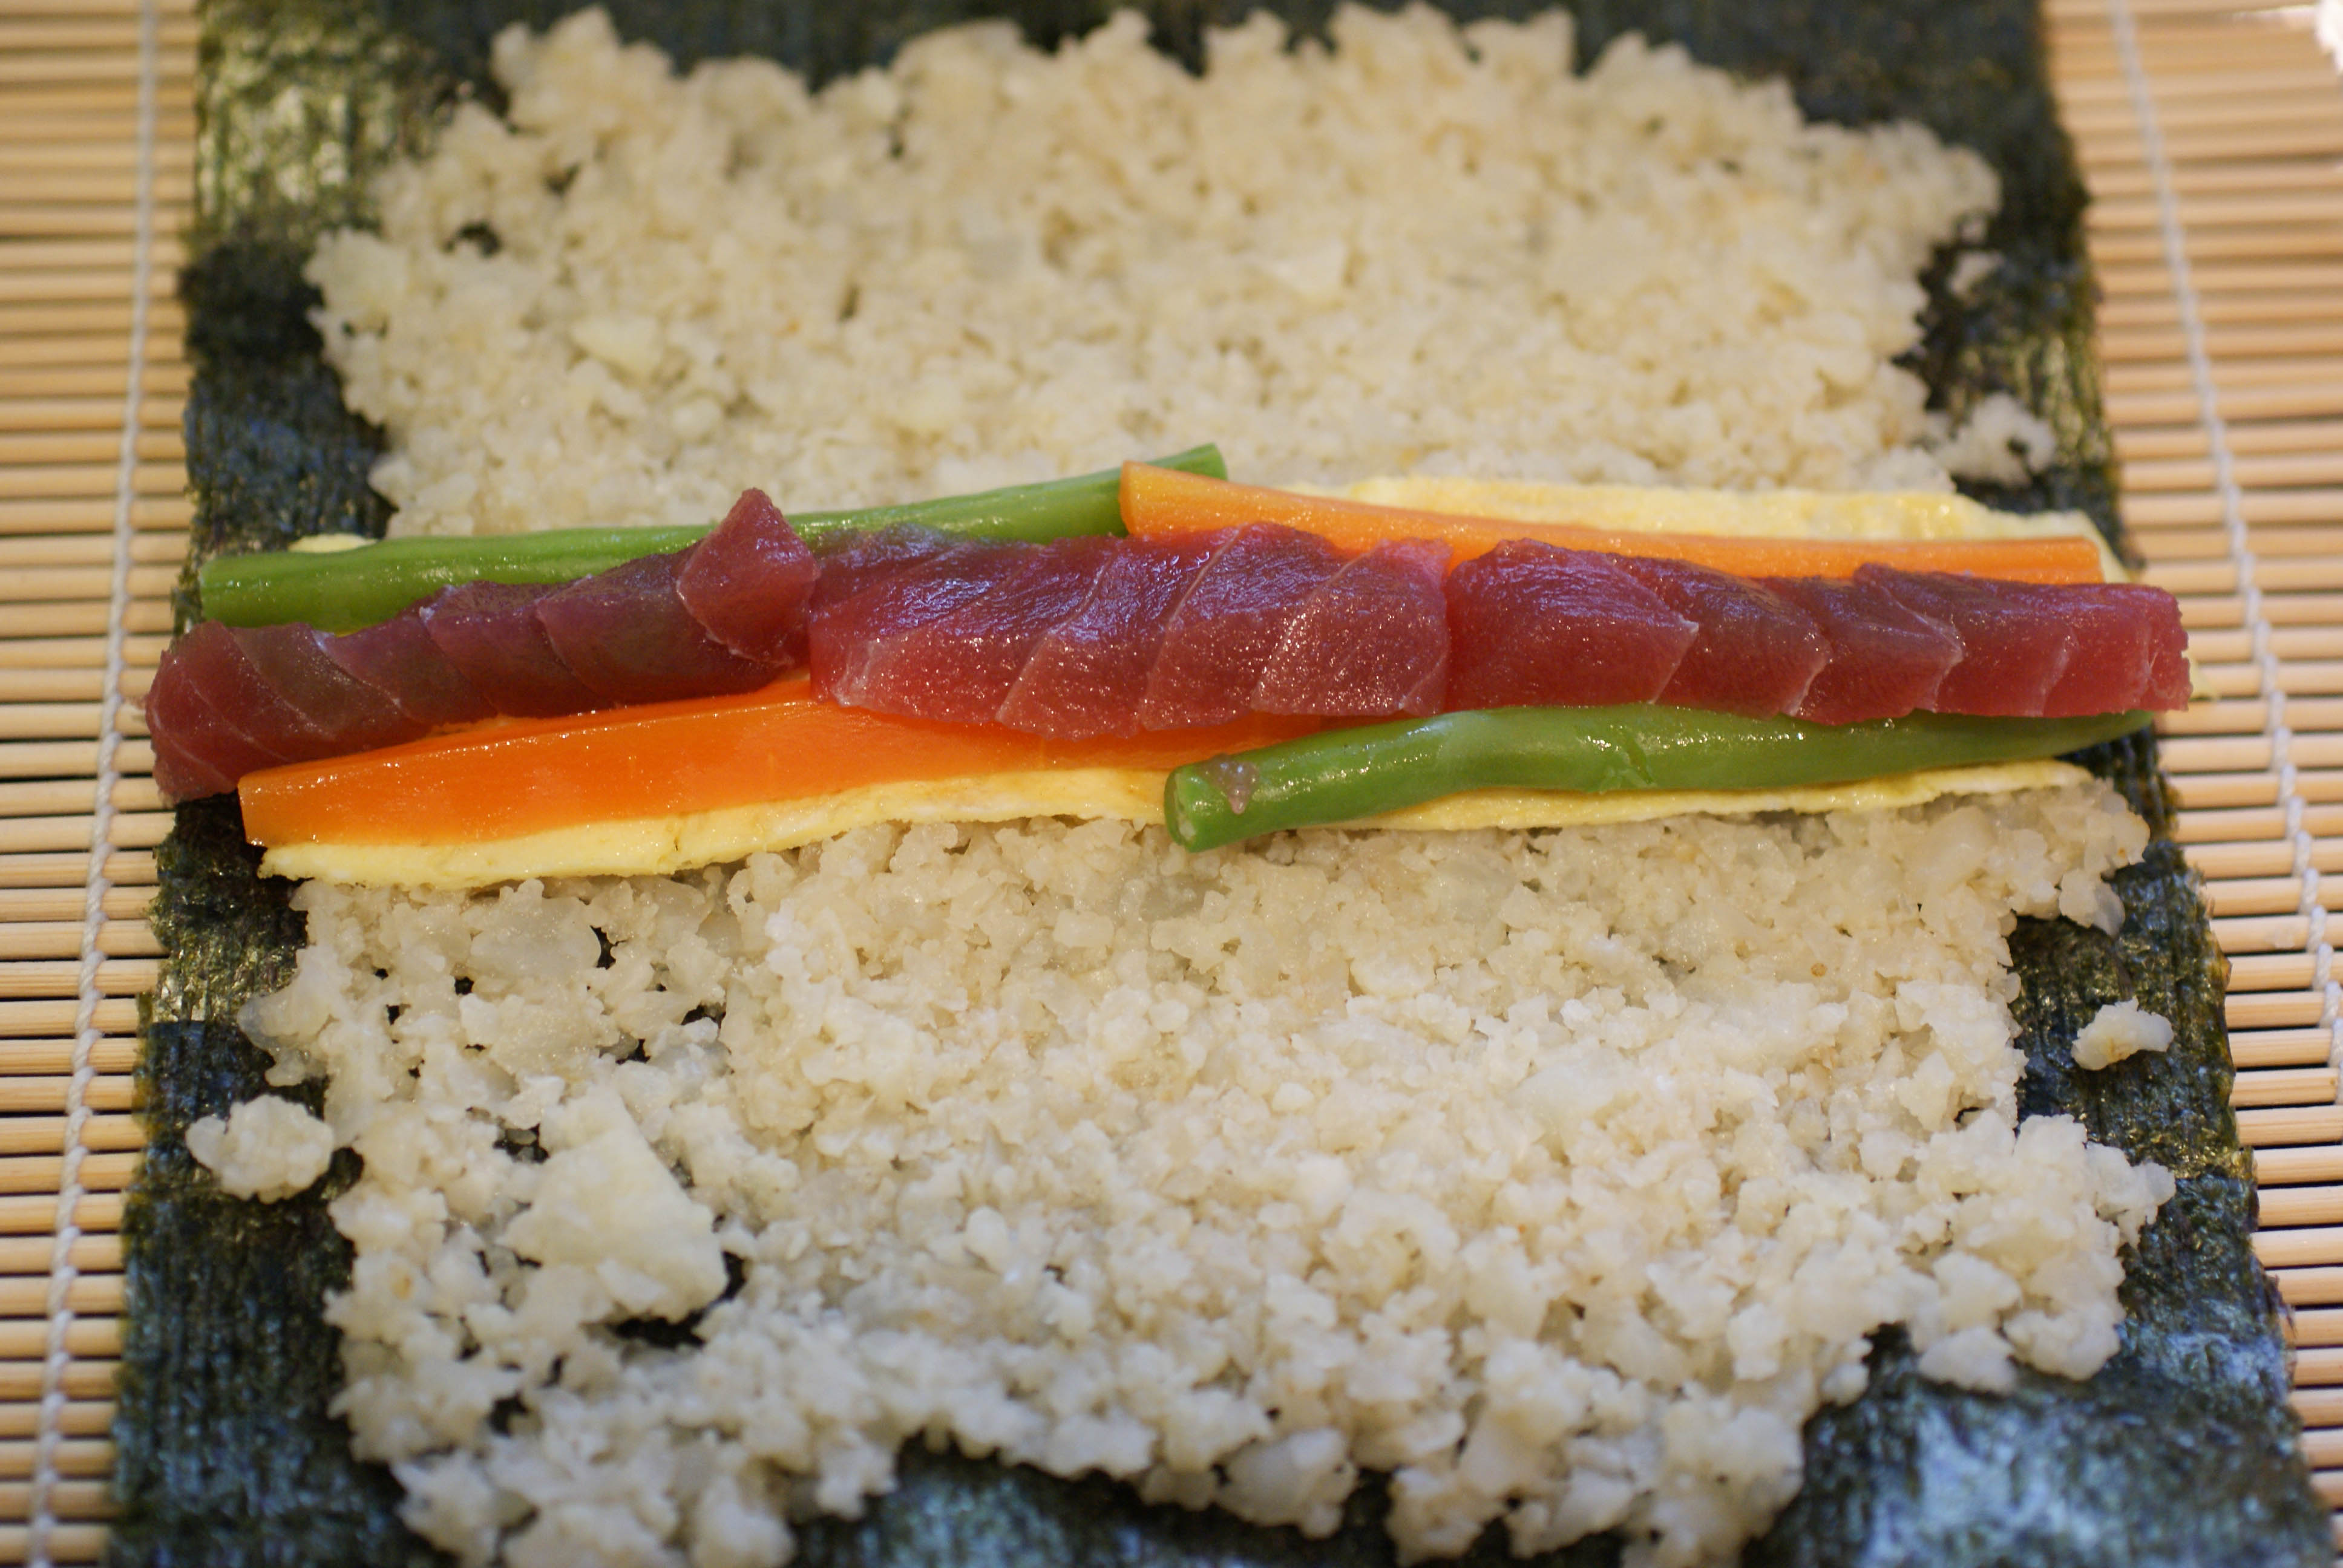
Ready to roll

The finished rolls
The verdict
We served our sushi with a side of pan seared tuna and sauerkraut because, seriously, when was the last time you actually got full just eating sushi? The sushi tasted pretty much just like sushi to me, and the rolls held together well. They even tasted good the following day as left overs.

With a side of sauerkraut
Creamy Eggplant Dip

Eggplant is one of my favorite vegetables. I like it roasted, grilled and added into curries. So far, my favorite way to eat eggplant comes from something we ate on our trip to Greece. We came home and made our own version, which you should definitely try sometime. I think I could eat it every day and not get tired of it.
I used to make hummus all the time for my daughter. It was always an easy and delicious dip to make, but my chickpea days are over. Today, I thought I’d try making an eggplant dip as an alternative to hummus since I’d never had it before.

Beautiful eggplant
Ingredients
- 1 eggplant
- olive oil
- juice from half a lemon (about 1/4 cup)
- 1/4 cup tahini (sesame seed butter)
- 2-3 cloves of garlic, crushed
- salt to taste
What to do
- Cut your eggplant in half length wise.
- Lay the eggplant on a baking sheet with the cut side up and the skin side down.
- Drizzle with olive oil and grind on some sea salt and pepper.

Ready for the oven
- Bake in a pre-heated 200 C (400 F) oven for 25 minutes.
- Remove and let cool.

Let it cool
- Scrape the cooled eggplant out of the skin and into a food processor.
- Add in the tahini, lemon juice and garlic.

Put it all together and whiz
- Whiz until smooth.
- Taste and add salt as needed.
- Put the dip into a small serving bowl and drizzle olive oil over the top.

Drizzle with olive oil


I had every intention of making paleo herb crackers to eat with this dip, but then I was just too lazy. We ate it up with celery sticks and carrot sticks instead. Hmmm…I’m still craving those crackers…

Dip away with crackers or vegetables
Avocado Fries

I love avocados. I’ve always been a huge guacamole fan and I recently made a really delicious green chicken salad with avocado. I also just like to eat them plain, with a spoon, straight out of their skins. Well, why not make them into fries? I love sweet potato fries, so I was pretty sure I would also love avocado fries.
We served these up with Nom Nom Paleo’s sriracha sauce. I didn’t have the red jalapeno peppers that the recipe called for, so I subbed in 4 red Thai chilies and one whole red bell pepper instead, and it worked perfectly (I also halved the rest of the ingredients). The sauce is so dang good I’ve been eating it on everything.

Avocado Fries
Ingredients
- 1 firm avocado
- 1 egg, beaten
- 2 Tablespoons arrowroot flour
- 2 Tablespoons coconut flour, divided
- 3 Tablespoons almond flour
- 1 teaspoon salt
What to do
- In bowl #1, mix together the arrowroot flour and 1 Tablespoon of coconut flour.
- In bowl #2, beat one egg.
- In bowl #3, mix 1 Tablespoon of coconut flour, 3 Tablespoons of almond flour and 1 teaspoon of salt.

Three step dipping
- Slice your avocado into wedges. I did this with the skin still on and then removed the skin after it was in wedges and ready to be dipped.

Avocado wedges
- Dip each slice of avocado in bowl #1, then bowl #2 and finally in bowl #3.
- Place each coated slice onto a parchment lined baking sheet.

Ready for the oven
- Spray with oil (I use an oil mister) and sprinkle with a little bit of salt.

My oil mister filled with EVOO
- Bake for 20 minutes in a 200 C (400 F) oven.

Best hot out of the oven


