Home Brewed Kombucha
by lisa | 2 January 2013 20:40
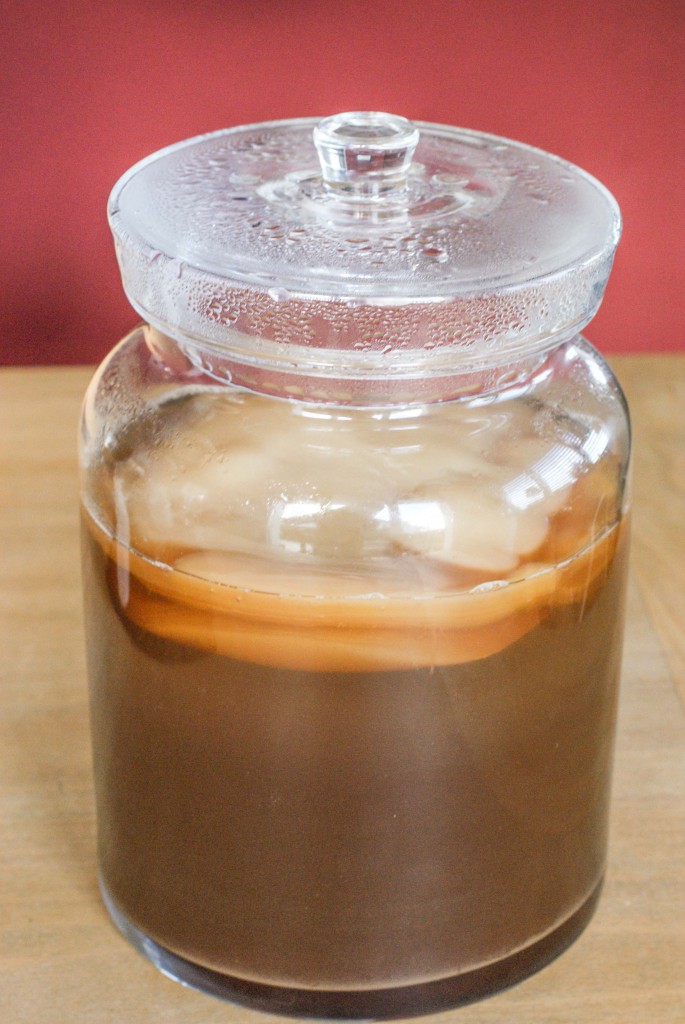
For Christmas this year, my sneaky husband ordered a SCOBY from the UK (from here), bought a big glass jar and then secretly started brewing a batch of kombucha in his office. I have the best husband ever. He even wrapped it and put it under the tree….with very strict instructions not to shake it, touch it, pick it up or even breathe on it.
**UPDATE** You can order a scoby and starter set here in Switzerland from the following site http://www.aprovital.ch/kombucha
I had kombucha for the first time this past summer while we were in Boston attending the Ancestral Health Symposium (which you can read about here, here, here and here). It seems pretty widely available in the States and we found it at every health food store we went into. The only kombucha I’ve found here in Switzerland is a drink called Carpe Diem which is pasteurized and probably no longer has any of the benefits of real kombucha. I’ve been wanting to make my own, but have been a little intimidated by the whole process. Besides, all my friends already think I’m just a little crazy with the whole paleo thing. They would think I was truly off-my-rocker, lola-granola hippie crazy if I started growing bacteria cultures in my closets, right?
I’m not going to go into all of the health benefits of kombucha, I’ll leave that to the experts over at Kombucha Kamp. If you would like to learn about kombucha, have a look at their informative page here.
Here is the recipe we followed and here are some important tips to be aware of before you get started:
What You Need
- A glass container/jar of some description, we used a big glass cookie jar with a glass lid that holds approx 2 to 2.5 liters.
- Tea bags – we used organic back tea, and it is imperative that all brewing is done using a base of ‘real’ tea, be it green, black, white etc. The acids in fruit and herbal teas aren’t good for your scoby.
- Sugar. We used organic raw cane sugar. The sugar is the food for the bacteria cultures (scoby). They eat it all and not much is actually left in your finished kombucha.
- A SCOBY, of course!
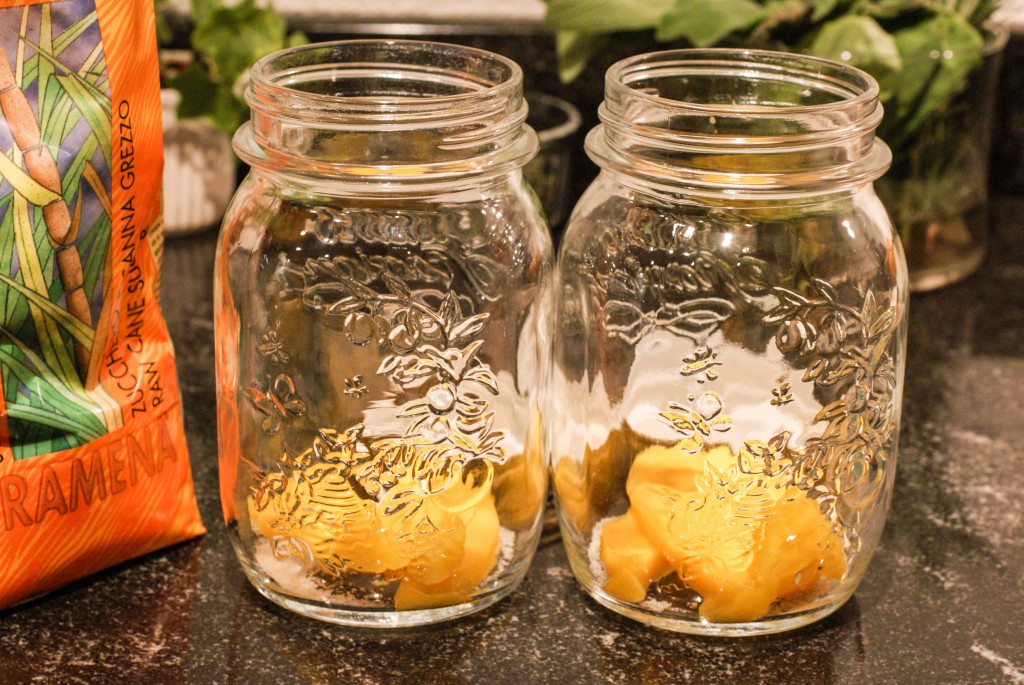
- Jars or bottles to store your finished kombucha in. I use mason jars.
What to do
- Place your tea bags (we used 7 bags for 2.5 liters of water) and 230 grams of sugar in a large pot, NOT the glass jar you will be brewing in.
- Boil a kettle of water. We used 2.5 liters of boiling water.
- Pour your boiling water over your tea bags and sugar and let it steep for 30 minutes before removing tea bags.
- Stir after steeping to make sure all of the sugar is dissolved.
- Wait until the tea is cool to touch, by that I mean, if you stick your little finger in, it feels no more than barely warm, and closer to cold. This could take several hours.
- Pour your cool tea into the glass brewing jar and then slide your scoby in.
- Cover the opening of your glass jar. You can use an upside down plate or some cotton fabric (cut from an old t-shirt) secured with a rubber band. Our glass jar happens to have a lid that covers the opening but still allows air in and out (which is what you want). The idea is to have a cover that is unsealed but provides protection from dust and bugs.
- Now you need to put your kombucha someplace out of direct light (in the closet or a cupboard). It should also be kept from any extreme temperatures.
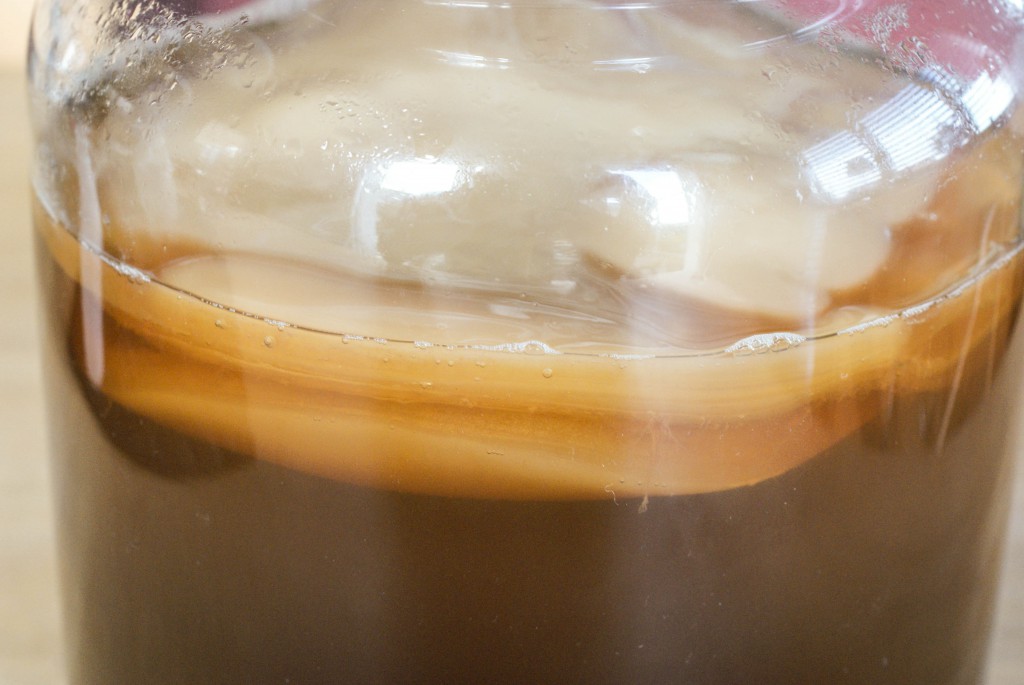
Your Kombucha will take between eight and ten days to brew. Take a look at the color of the tea when you first put your Kombucha into it, then note how the liquid becomes cloudier over the passing days. My recommendation is that, after six days you pour a very small amount into a glass (or stick a straw in) and have a sip. If the brew tastes fruity and not tea like, it’s ready, if not, leave it another day and try again. Everybody will have a different preference for the “doneness” of their kombucha. It’s ready when it tastes good to you.
To make different flavors, you’ll go on to complete a second fermentation:
- Once the kombucha is at a desired level of tartness/sweetness from the first round of fermentation, pour it into your bottles or mason jars.
- Next, you can add fruit slices, whole berries, fruit puree or herbs/spices (like ginger or lavender). We added mango this time around, but you can bet we will be trying all sorts of flavors! Then close the jars and re-place them in a dark, cool spot. Allow them to ferment another 5-7 (or more) days to your taste.
Flavor Combinations I’m going to try soon:
- lemon-ginger
- ginger-blueberry
- raspberry-apple
- strawberry-banana
Leave a bit of the tea in your brewing jar with your scoby and put it back in the cupboard until you are ready to add more tea and brew another batch. Don’t put your scoby in the fridge. Our scoby made a “baby”—a whole new layer of scoby on top of the original. Now we can brew two batches at once…as soon as I can get my hands on a second jar!
Source URL: https://swisspaleo.ch/home-brewed-kombucha/
