
Blog
Salted Dark Chocolate Cashew Butter

I should never have made this. It turned out really yummy and I had to take it to the gym to share so that I wouldn’t just sit myself down with a spoon and eat it all. I wish I had taken some pictures of the process so that you could see what it looked like at each stage. You really (really) have to have patience if you are making this with a food processor. I think it took me about 15-20 minutes with my food processor. Lucky you if you own a Vitamix or Blendtec, as they are much faster.
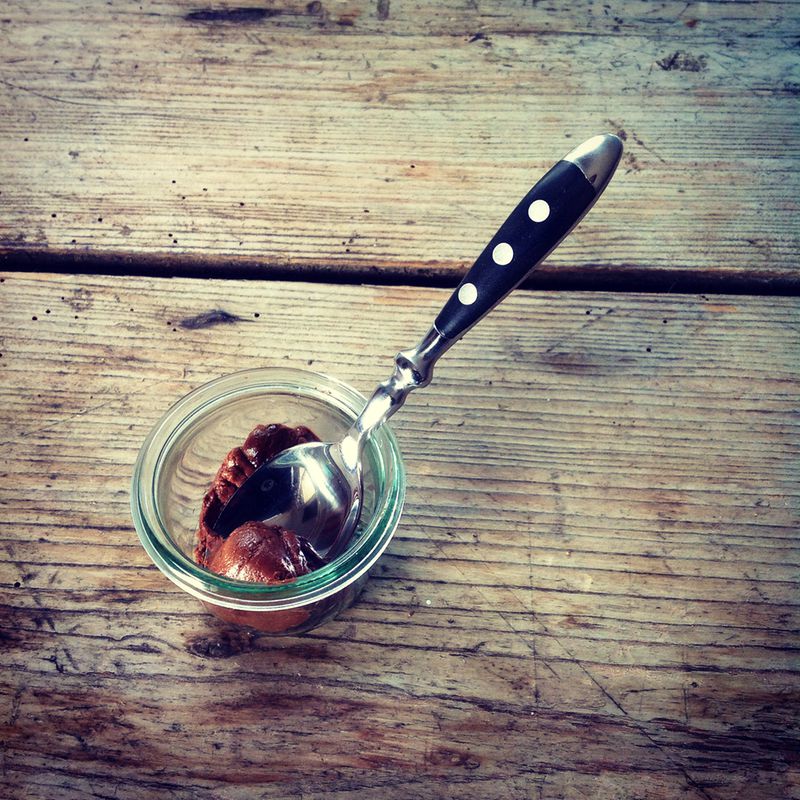
At first it looks like you’ve just made cashew crumbs. Then it turns into cashew flour. Eventually it sort of starts to clump together like a cashew dough and then, just when you are ready to give up and dump it all in the bin, it starts looking like a butter. Once it starts looking like nutbutter, you still have to keep at it to really release the oil from the nuts or it will be dry and pasty. You really will eventually end up with a finished nutbutter that is super creamy and very spreadable. Honest. I swear. Just keep going…
Ingredients
- 250 grams raw unsalted cashew nuts*
- 50 grams of 85% dark chocolate (I used half of a Lindt bar)
- 1 Tablespoon coconut oil
- Optional 1-2 Tablespoons honey (if you like it sweet)
- 1/4 teaspoon salt
Instructions
- Spread the nuts out on a baking sheet and roast in a pre-heated 180C oven for 10 minutes.
- While the nuts are roasting, melt the chocolate in a sauce pan with the coconut oil and salt (and honey if using). You could also use a microwave (I don't have one). Stir until just melted and set aside.
- Remove the nuts from the oven and dump them into your food processor.
- Press start and just. keep. going. See above notes about what it looks like at various stages. You will periodically need to stop your machine and scrape the sides down. You might also need to give your food processor little breaks so that you don't kill it.
- When you think you've reached a butter consistency, add in the melted chocolate and whiz for a few minutes more.
Notes
* I start with raw cashew nuts because the ones that come pre-roasted and salted tend to be roasted in the wrong kind of oils.
Beet Greens
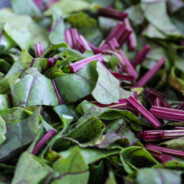
I picked up a bunch of beets from the Farmer’s Market the other day and was excited that all the greens were still attached. Whenever I get beets from the store, the greens have already been removed. I consider them a “bonus” that comes with the beets—kind of like the prize in the cereal box—two things for the price of one.

Farmer’s Market Beets
Beet greens are super nutritious. Here’s what I dug up on them:
“Besides supplying good amounts of protein, phosphorus, and zinc, beet greens are also a great source of fiber. Packed with antioxidants, they’re high in vitamin B6, magnesium, potassium, copper, and manganese, and low in fat and cholesterol. Based on a 2,000 calorie diet, daily values of beet greens contain: 220% of vitamin A, 60% of vitamin C, 16% of calcium, and 15% of iron.
As if that weren’t enough, studies have also shown that the vitamin K in beet greens contains blood clotting properties, helps ward off osteoporosis, works with calcium to boost bone strength, and may also play a role in fighting Alzheimer’s disease. Beet greens have a higher iron content than spinach, and a higher nutritional value than the beetroot itself.
The vitamin A content in beet greens helps strengthen the immune system and stimulates production of antibodies and white blood cells. The beta-carotene in vitamin A is a known antioxidant that can fight the effects of free radicals in the body along with cancer and heart disease. Doctors often recommend vitamin A to patients at risk of developing night blindness.”
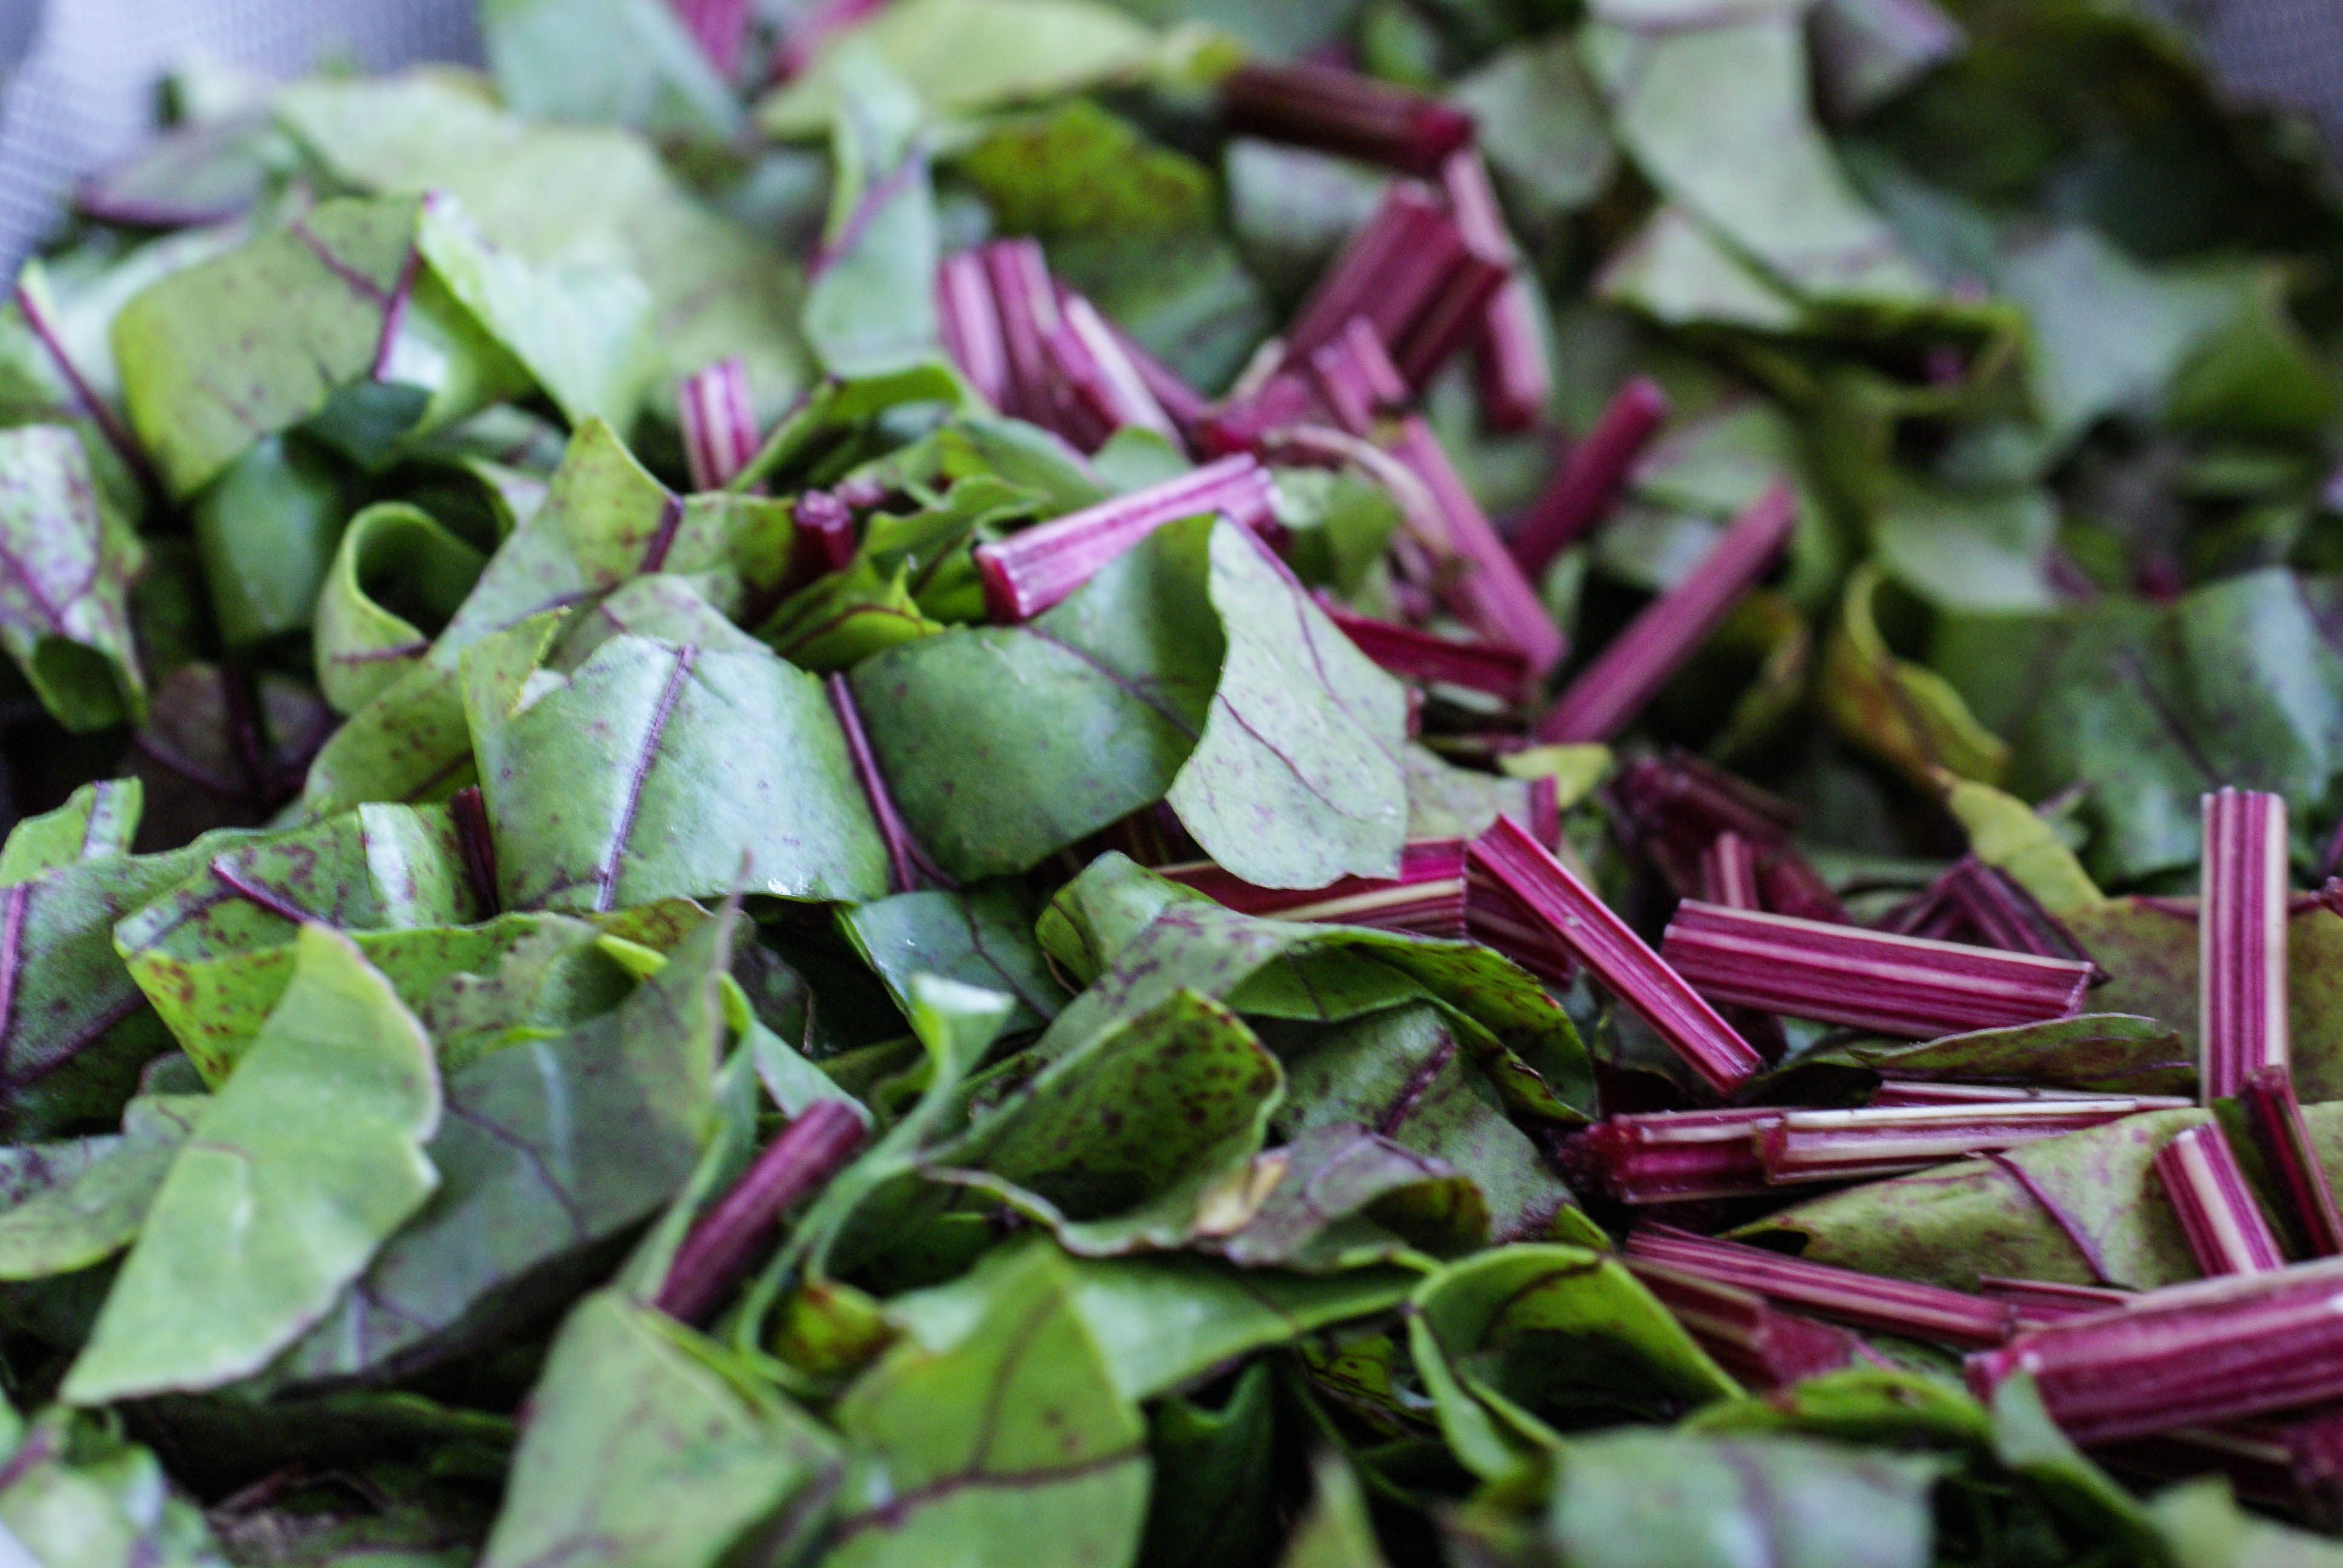
Cleaned, chopped and ready to cook
I love that they’re good for me, but I love how they taste even more.
Ingredients
- Greens and stems from 6 beets, washed and chopped
- 1 onion, diced
- 2 cloves garlic, minced
- 2 Tablespoons coconut oil
- Juice from half a lemon
- Salt and pepper to taste
Instructions
- Heat the coconut oil in a large frying pan over medium high heat.
- Add the onion and cook until translucent.
- Add in the garlic and cook until fragrant.
- Toss in the washed and shopped greens. Six beets seems like it makes a ton of greens, but it cooks down like spinach.
- Cook until wilted and until the stems are tender.
- Add the juice of one lemon and salt and pepper to taste.
- These are really good served cold the next day as well 🙂

Served with spare ribs, parsnip chips and fresh tomato
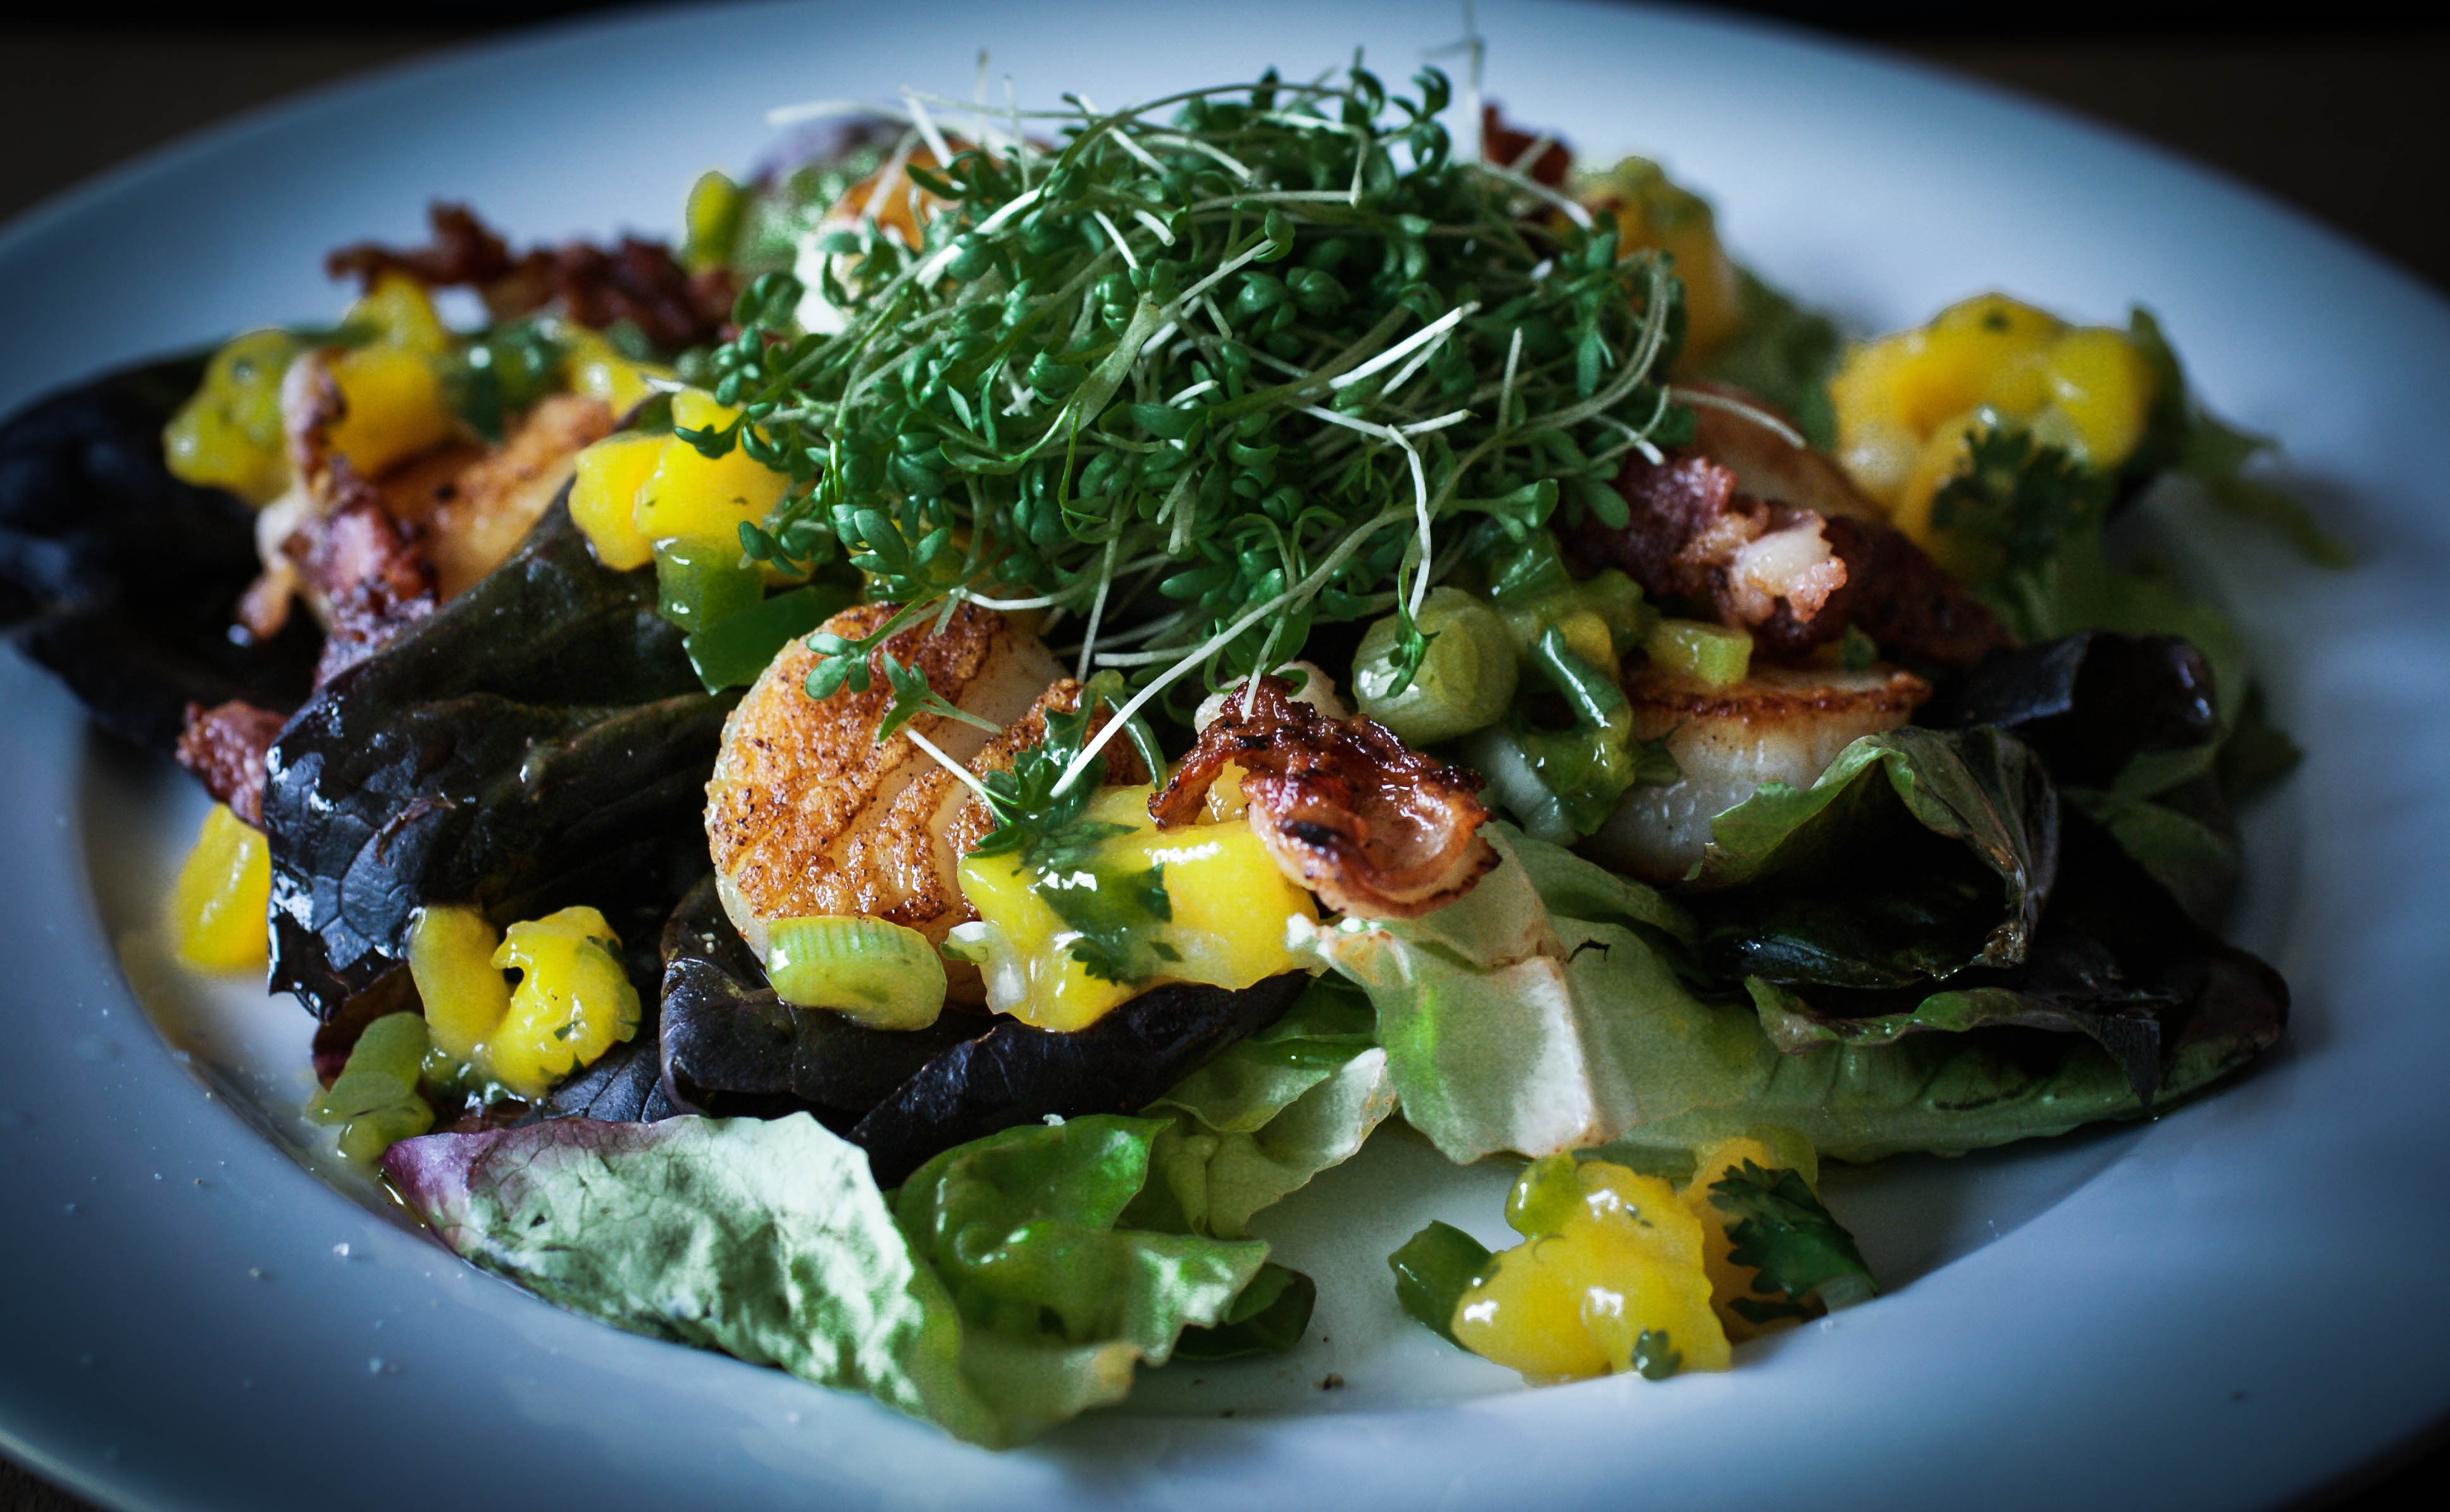
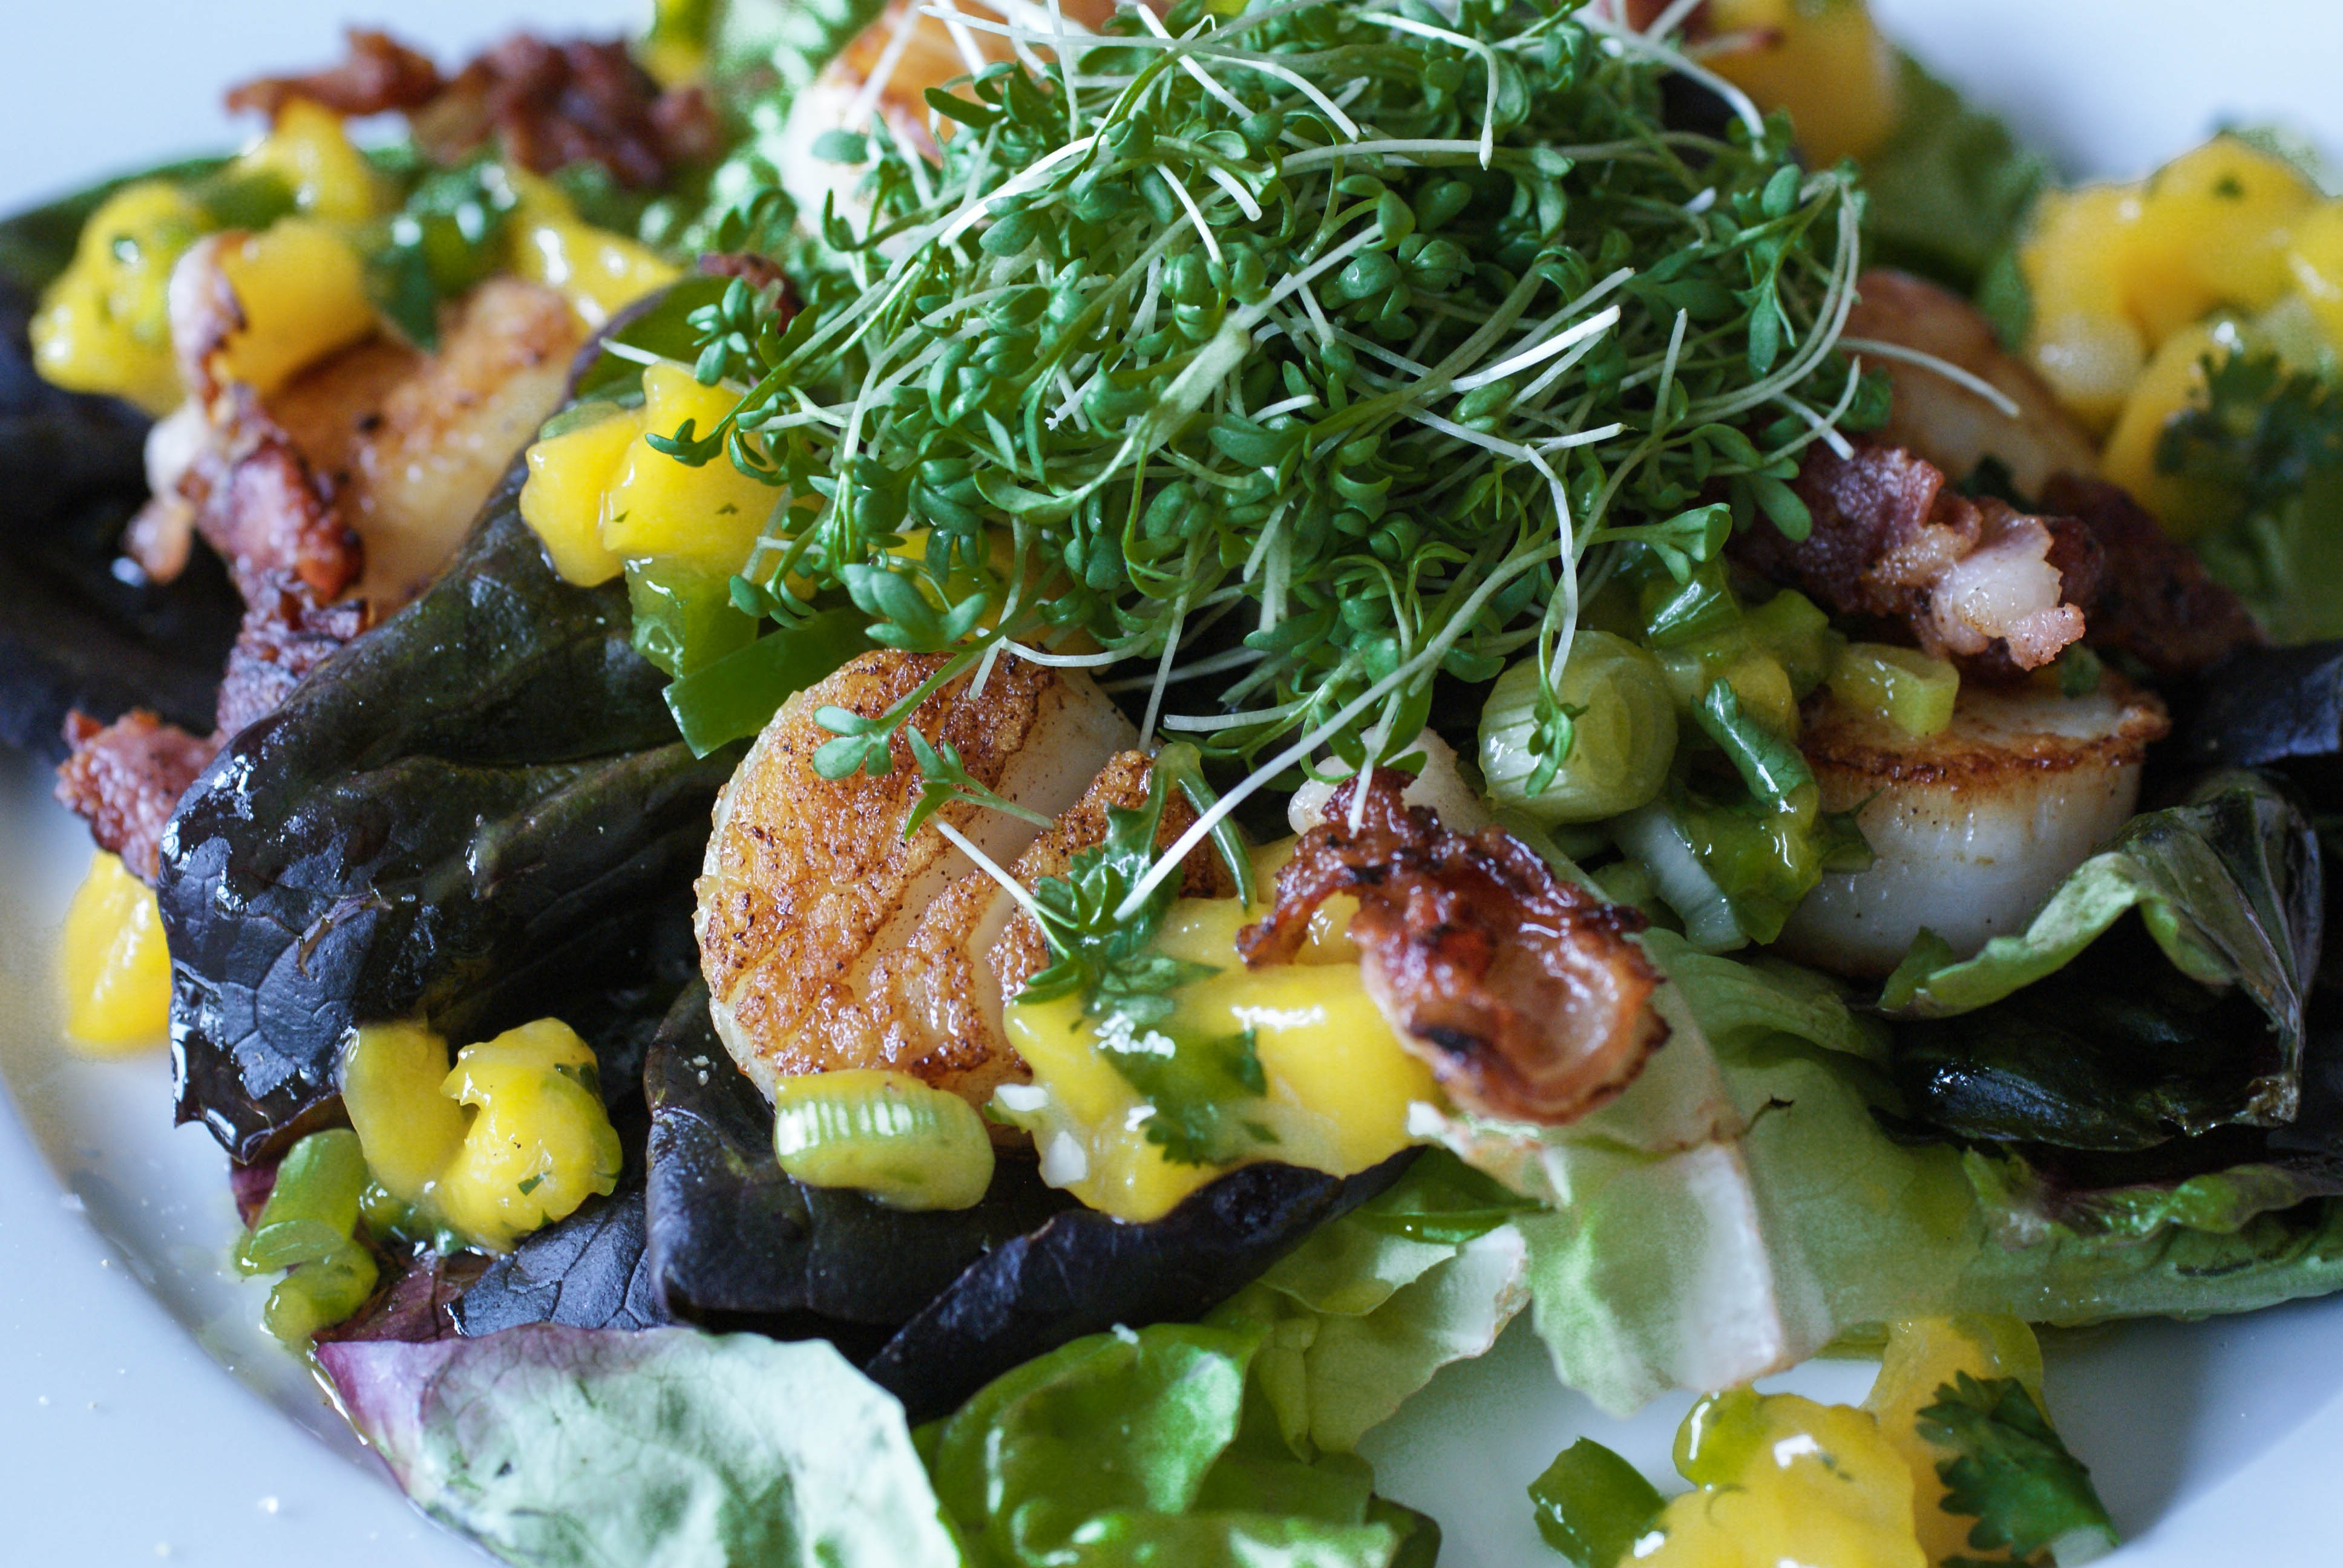
Seared Scallop Salad with Bacon Crisps and Mango Salsa
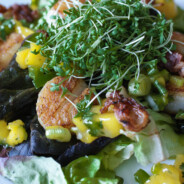
I made this for lunch and surprised myself with how good it was and how fancypants it looked. I didn’t have much on hand and had no plan when I started out, but I did have some left over mango salsa (as a topping for a seared tuna with poppyseed crust a few days ago) and I did have some scallops. I am in love with elegant salads!
Here is a little video on how to get beautiful seared scallops with a lovely brown crust.
Ingredients
- 200 grams scallops (which was 11 small scallops for me)
- 1 Tablespoon butter or ghee to pan sear the scallops in
- 4 thin pieces of bacon, cooked crispy and then crumbled
- salad greens of choice, about 2 cups per person
- 2 Tablespoons of Mango Salsa (or more if you want) per person
- Water cress, cilantro or some other sprouts to garnish (optional)
- 1 ripe mango, diced
- 1 spring onion, chopped
- Cilantro, chopped (about a handful or 1/4 cup)
- 1 Tablespoon olive oil
- 1/4 teaspoon red pepper flakes
- salt and pepper to taste
- Juice of one lime
Instructions
- Pat your scallops dry and lightly sprinkle with salt before searing. Sear your scallops in the butter or ghee until golden brown (see video above for technique).
- Place the scallops on top of a plate of salad greens.
- Sprinkle the crispy bacon crumbles over the top.
- Mix all of the dressing ingredients together and then spoon it over the top.
- Garnish with water cress, cilantro or sprouts.
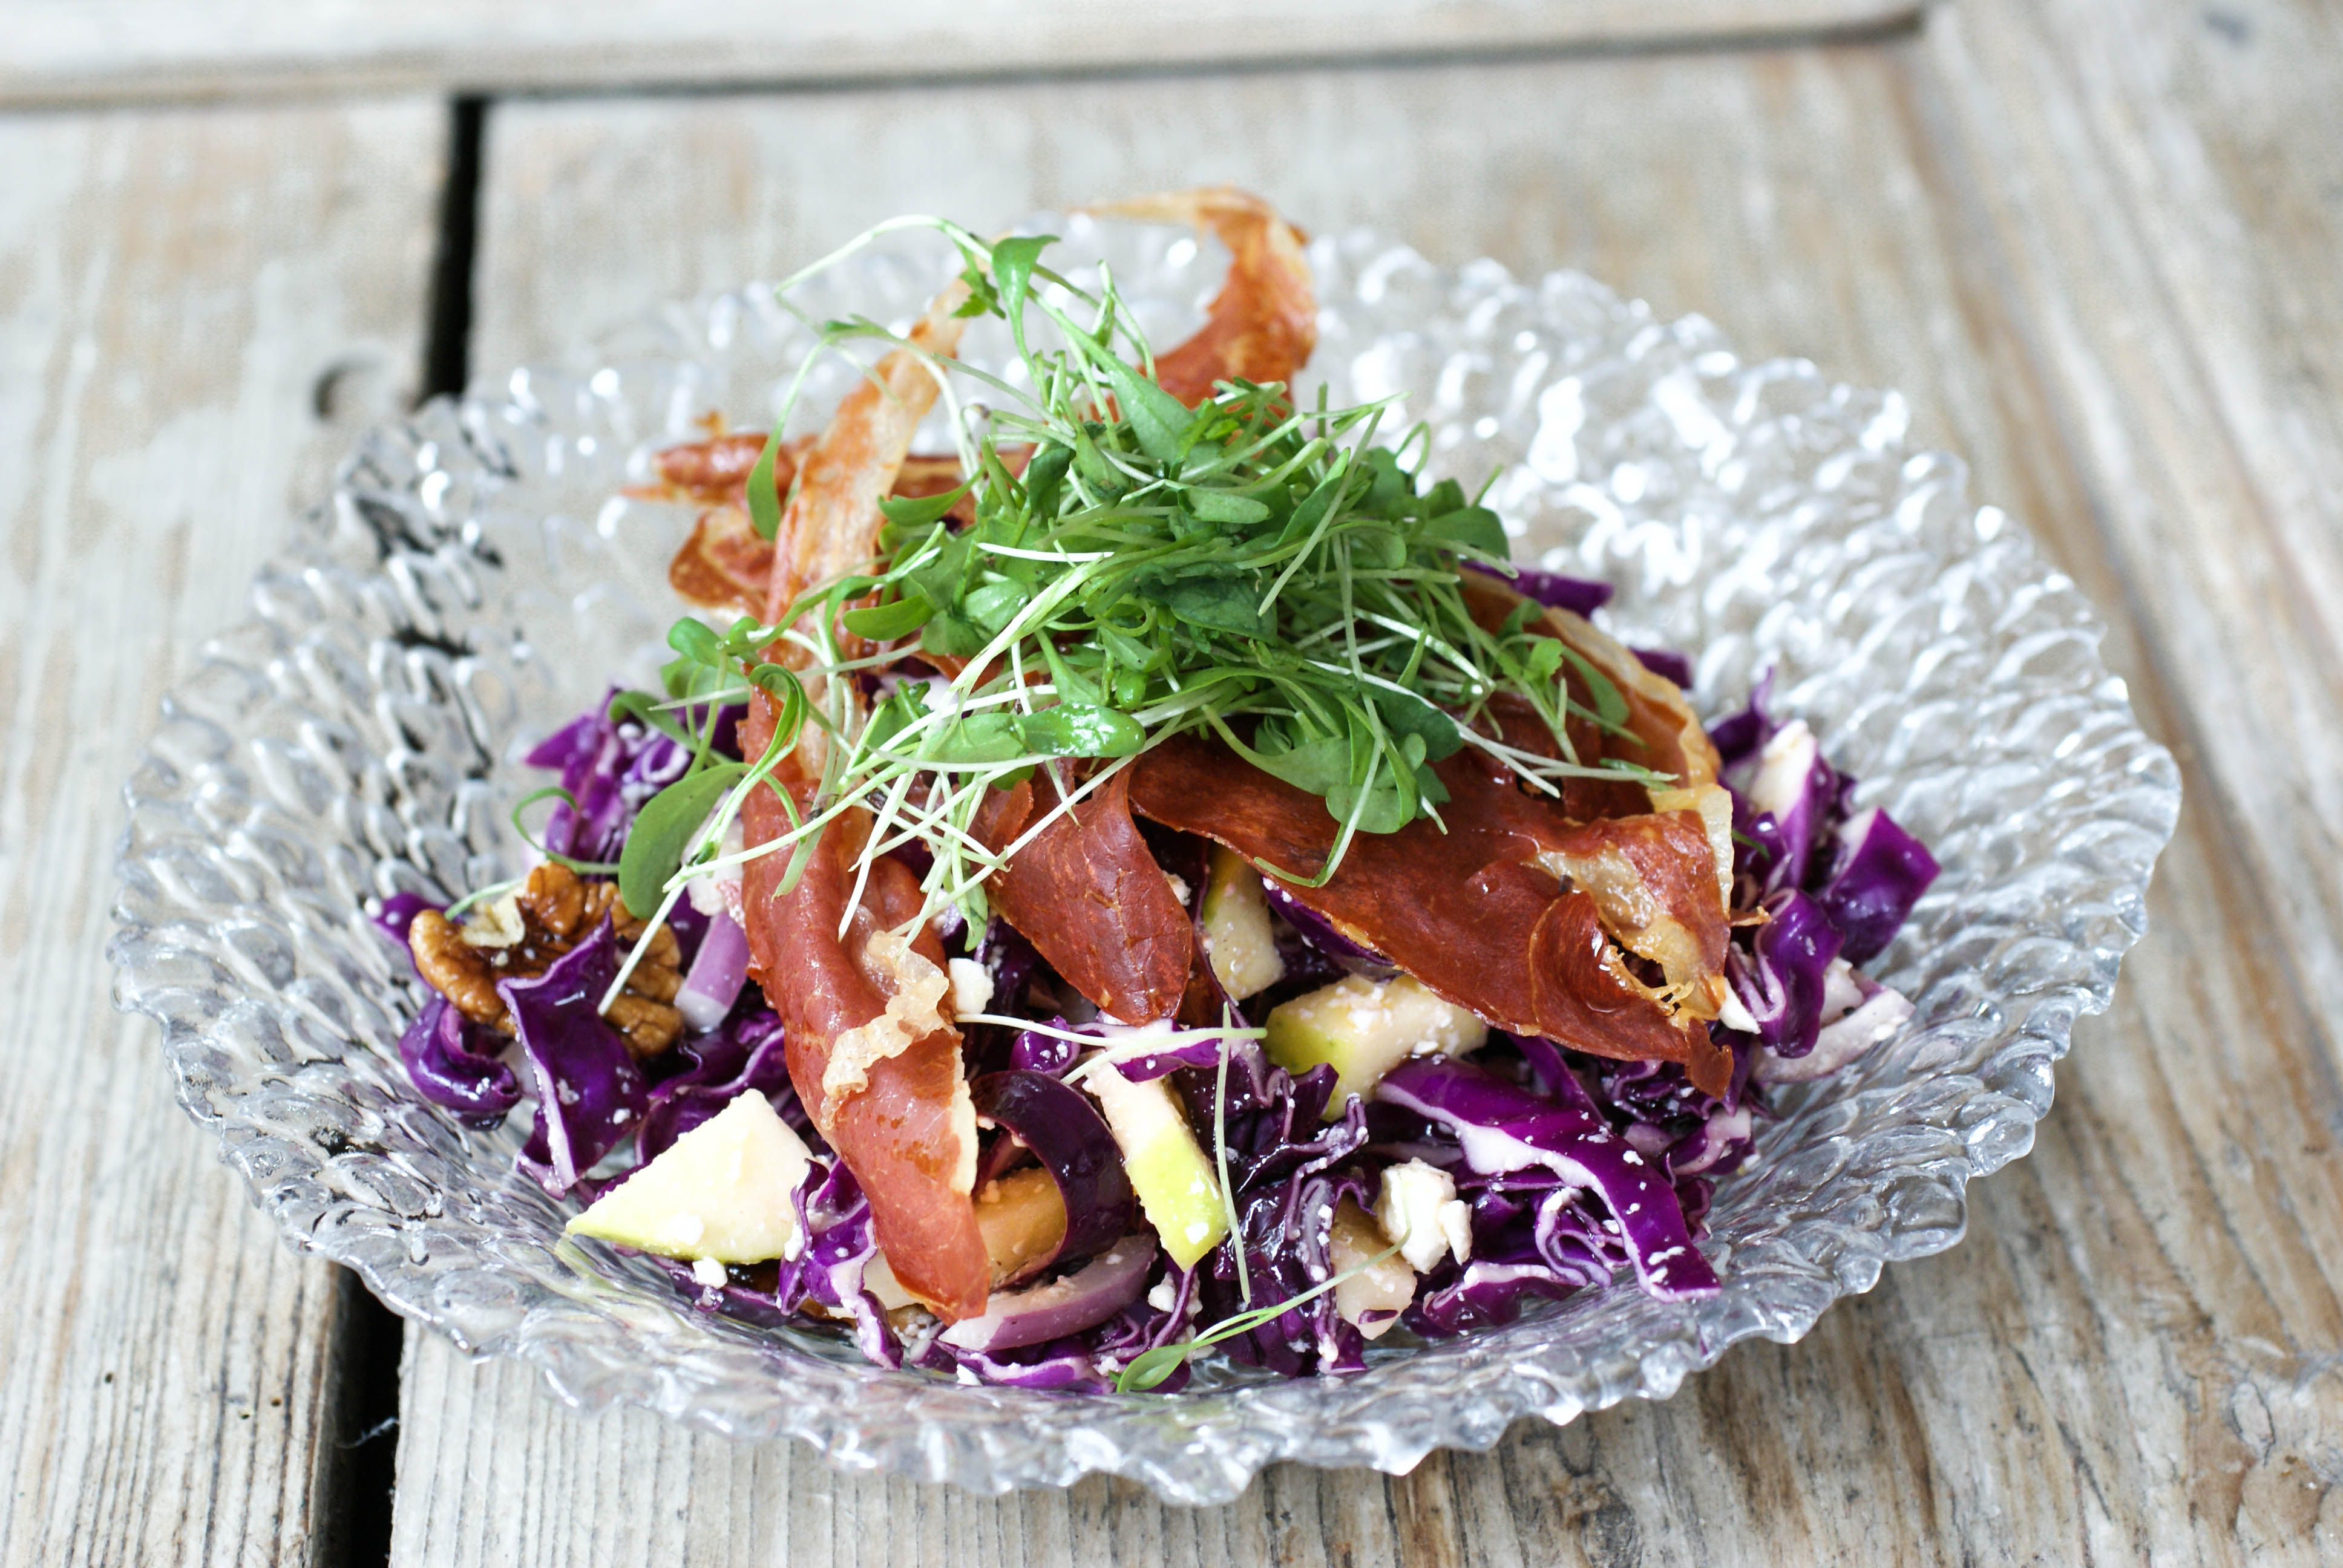
Paleo Purple Salad
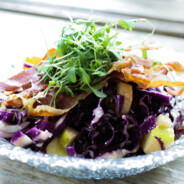
I regularly get together for lunch with my friend, Julie, and we often have some sort of variation on this salad. I love it and could probably eat it every day. It’s really easy to change this salad around by adding in whatever protein you want. You can also use any kind of nuts or seeds and whatever fruit you like.
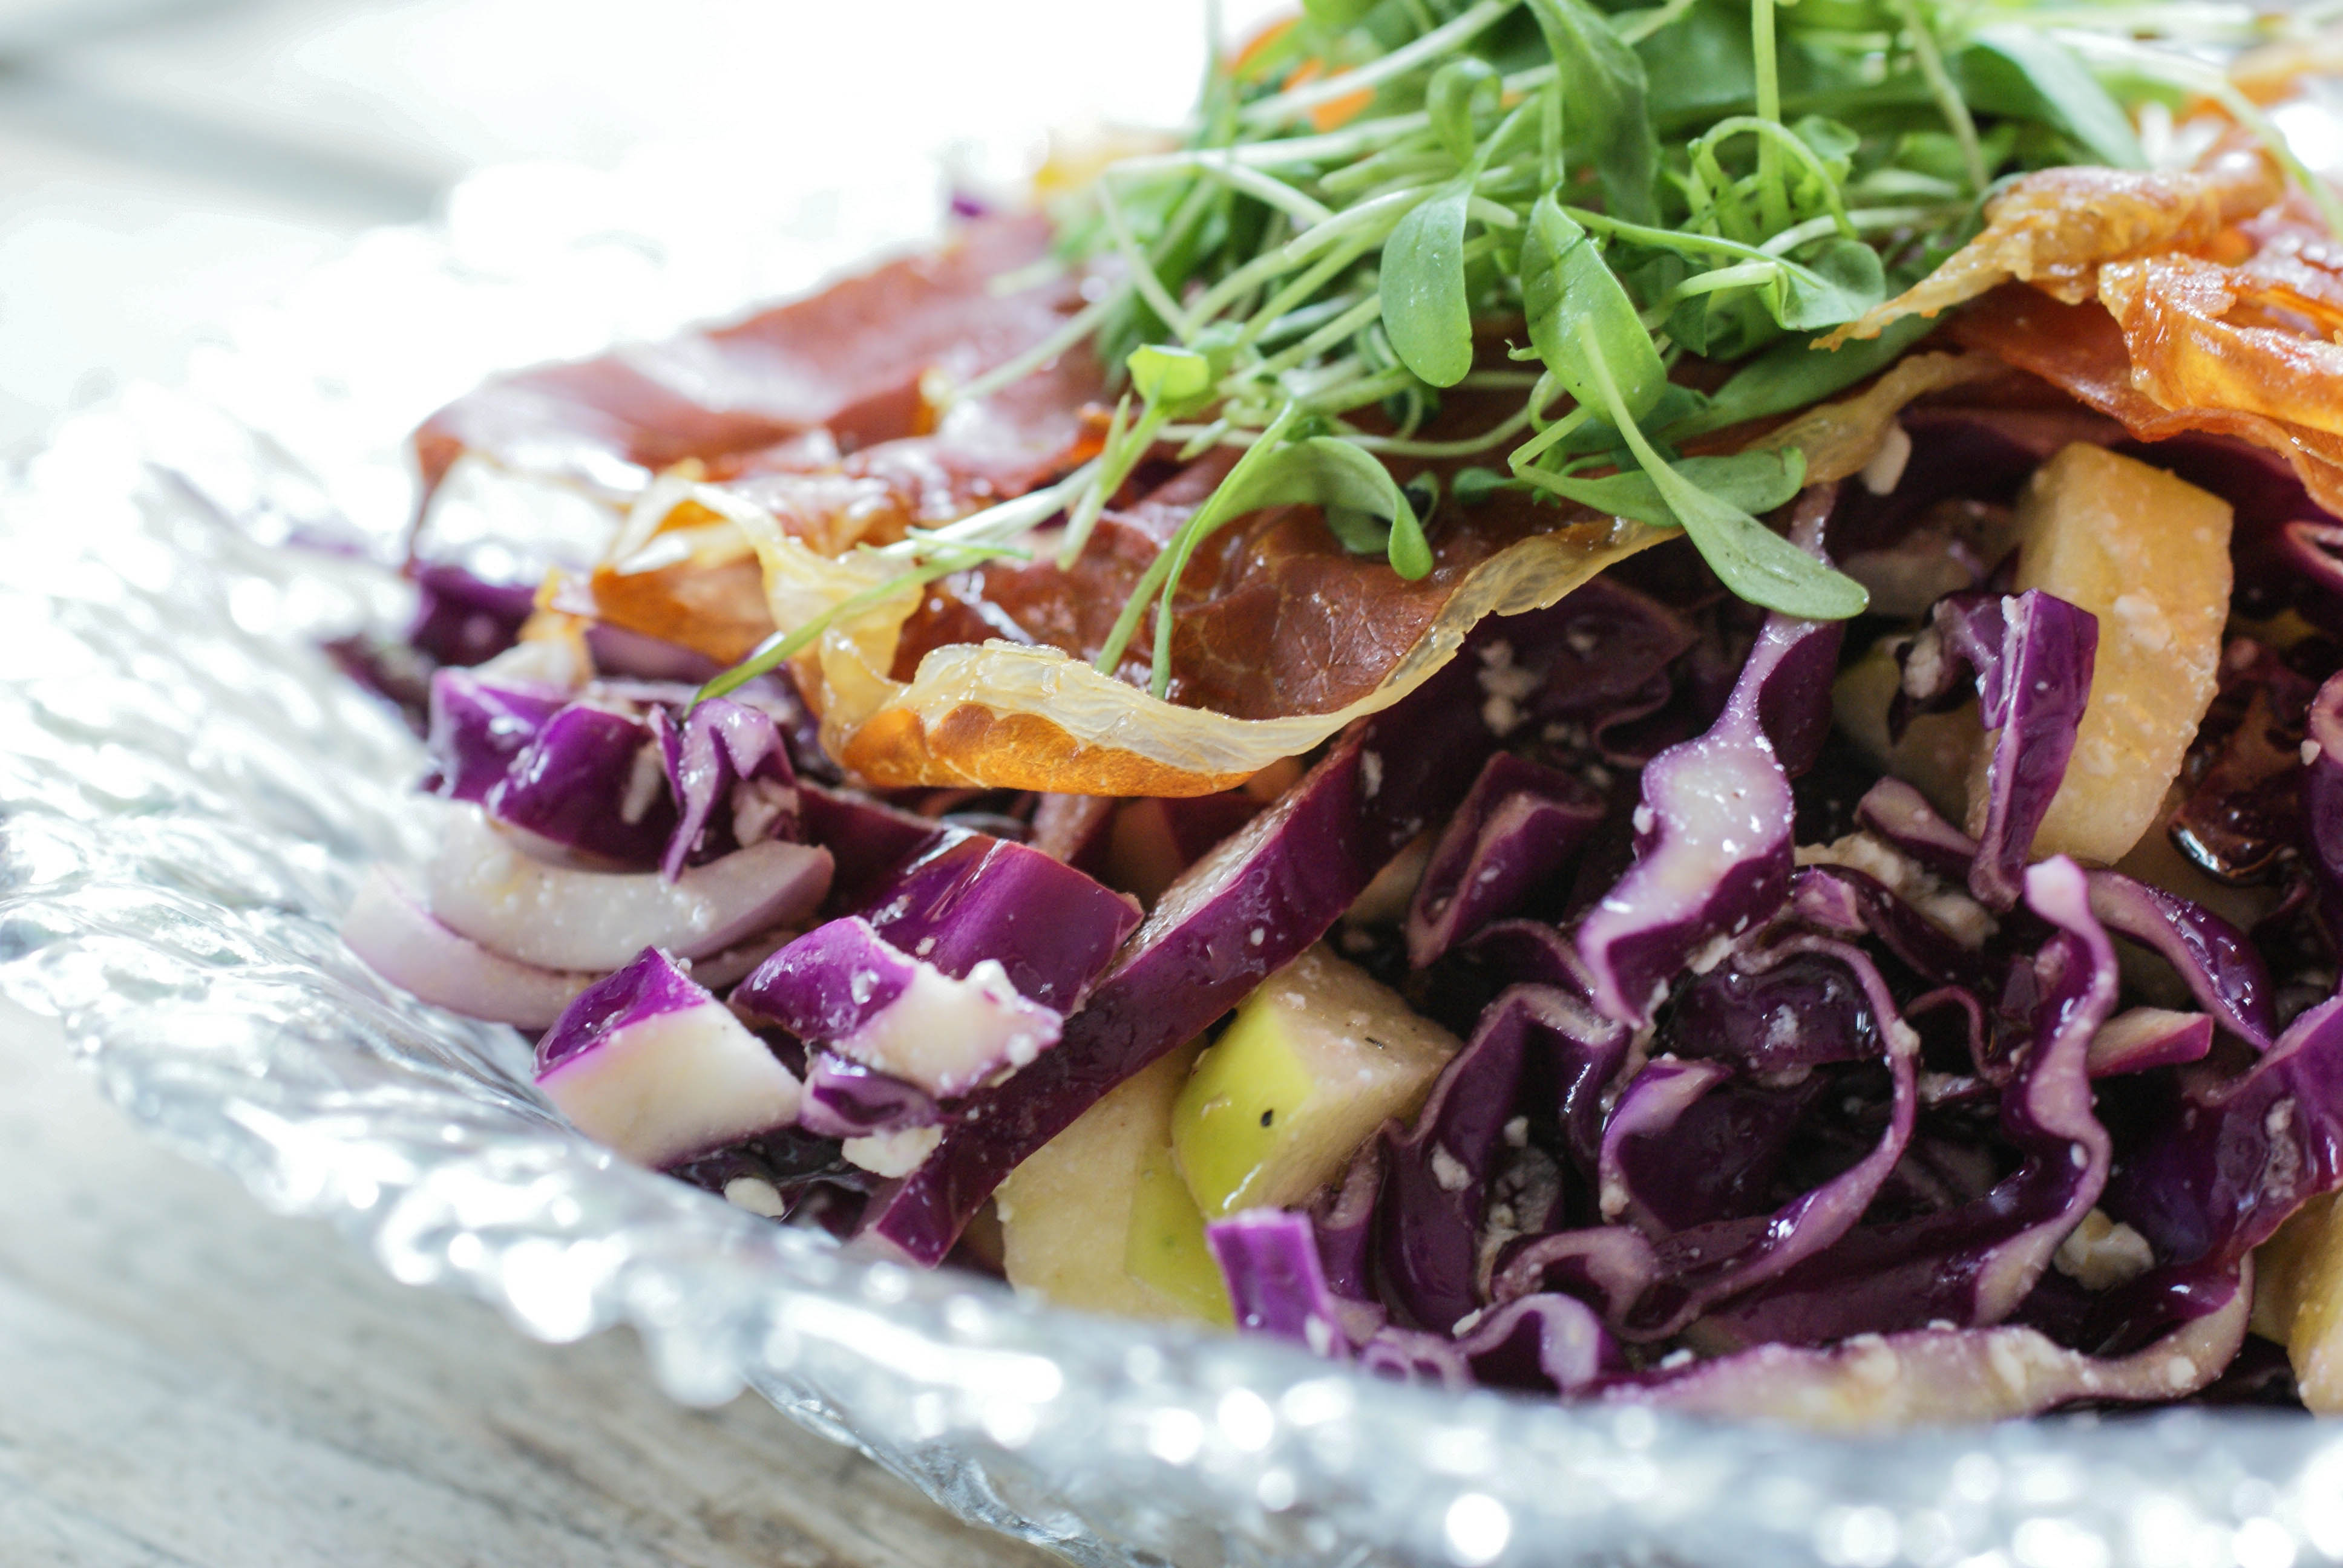
Here’s how I made it this time (probably my favorite way):
Ingredients
- 1 medium head of purple cabbage, cut into strips (shredded)
- 1 medium red onion, chopped
- 1 green apple, diced
- 1/2 cup toasted pecans
- 2 ounces (60 grams) feta cheese, crumbled (optional)
- Prosciutto (cooked into crispy chips)
- Water cress to garnish
- 1/2 cup olive oil
- 1/4 cup apple cider vinegar
- 1 teaspoon honey
- 1 clove garlic, crushed
- 1/2 teaspoon grainy mustard
- salt and pepper to taste
Instructions
- To make the crispy Prosciutto chips, line a baking sheet with parchment paper and lay out your pieces of thinly sliced Prosciutto. I used 2 pieces per person. Place in a preheated 350 F (175 C) and cook for 10-15 minutes.
- While that's cooking, slice up your cabbage, apple and onion and toss in a large salad bowl.
- Add on the toasted pecans (toasted in a skillet on the stove top until browned and fragrant) and the crumbled feta (optional if you tolerate dairy otherwise leave it out).
- Mix all of the dressing ingredients together with a small whisk (or put them in a jar and shake the bejeezus out of it).
- Pour the dressing (I used about 3/4 of total amount) over the salad and toss to mix well.
- Garnish the salad with the Prosciutto chips and water cress.
Notes
Fruit ideas: slices of orange or grapefruit, black berries, blueberries, raspberries, watermelon, nectarine slices You could also add in salad greens, spinach, kale or rucola
Paleo Grocery Delivery with Recipes!

One of the biggest problems many people face is finding the time to do grocery shopping and then knowing what to cook. I personally spend quite a bit of time shopping. I get some things direct from the farm, some things from farmers markets and some things from the two large grocery chains (Migro and Coop) or local health food stores. That’s a lot of running around (especially if you have kids to drag around with you)!

I recently met up with Marko Vidmar, who owns and operates Vidis Kochtüte (Vidis Cooking Bag). He’s got the perfect solution to all of those problems. He is young, enthusiastic and passionate about food quality. His service will do the shopping for you, deliver it to your doorstep and provide you with recipes. He uses the highest quality ingredients around and delivers them to you personally. All of his fruits and vegetables come from Pico Bio. Pico Bio supplies all organic (bio) produce from regional farmers with an emphasis on seasonality. His meat is Fidelio certified and 100% Bio (read about it here), and all of the chicken is from KAGFreiland.

Marko Vidmar of Vidis Kochtüte
Not only are the ingredients sourced for you and delivered, but everything is specially hand packaged and labeled to go with easy to follow recipes cards that are included in the delivery. This is perfect for anybody who is short on time or hates that daily dilemma of “What should I cook for dinner tonight?”. It would also be a really easy way to get started on Paleo.
After several customer requests for Paleo recipes, Marko contacted me to discuss the possibility of offering a Paleo option. We met and talked Paleo for a few hours (who knows, I might even convert him!) and I’m excited at the prospect of helping him design meal plans and come up with recipes.
If this sounds like a luxury lifestyle service, you’re right. However, the prices are incredible. You don’t have to be rich and famous to afford it. I’m not even sure I can get better food prices buying the ingredients myself (let alone having them delivered with recipes).
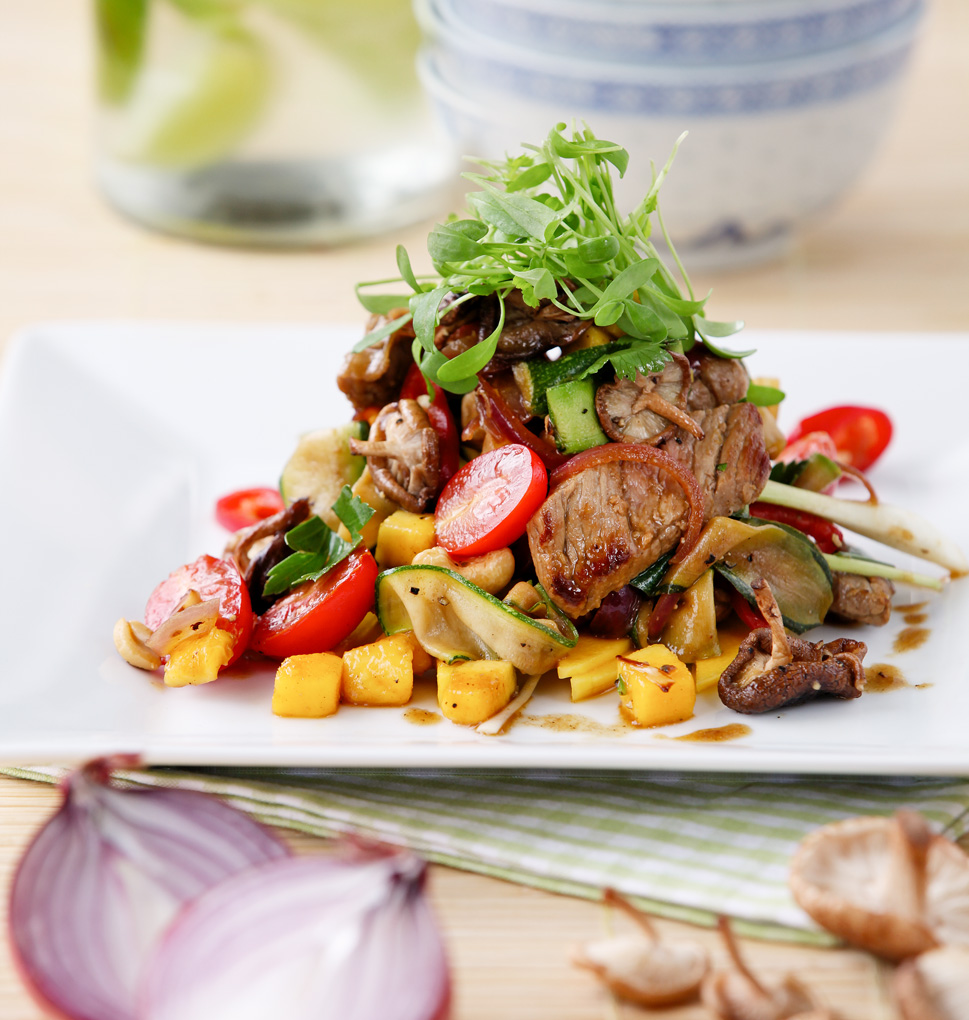
An example of one of Marko’s recent recipe selections: Thai Beef Salad with Mango and Roasted Shitake Mushrooms
At them moment, Vidis Kochtüte is available to the greater Zürich region, but Marko has plans to ship his fresh food throughout Switzerland in the very near future. I’ve been busy gathering some really delicious Paleo recipes for him, so a cooking bag full of Swiss Paleo approved recipes could be arriving on your door step soon. You know I like to keep it pretty simple and delicious, so all recipes will have a start to finish time of 45 minutes or less.
Just in case anybody out there is wondering, Marko did not pay me to write this, I just really like his concept of quality ingredients to go along with Paleo recipes that you can cook at home. I’m always happy to endorse endeavors that I believe in! You can check out Marko’s website here and contact him through his website if you have any questions about his service or want to get on his list to be notified as soon as the Paleo Option becomes available.
Paleo Asian Slaw with Creamy Ginger Almond Dressing
I love Asian flavors and I love salads. Mix the two together and it’s going to be epic. I used the vegetables that I had on hand and tweaked an old recipe for an Asian peanut dressing. It turned out delicious. We served this with grilled steak, but it would work well as a side dish to just about anything.

It looks like a lot of chopping, but it really doesn’t take long
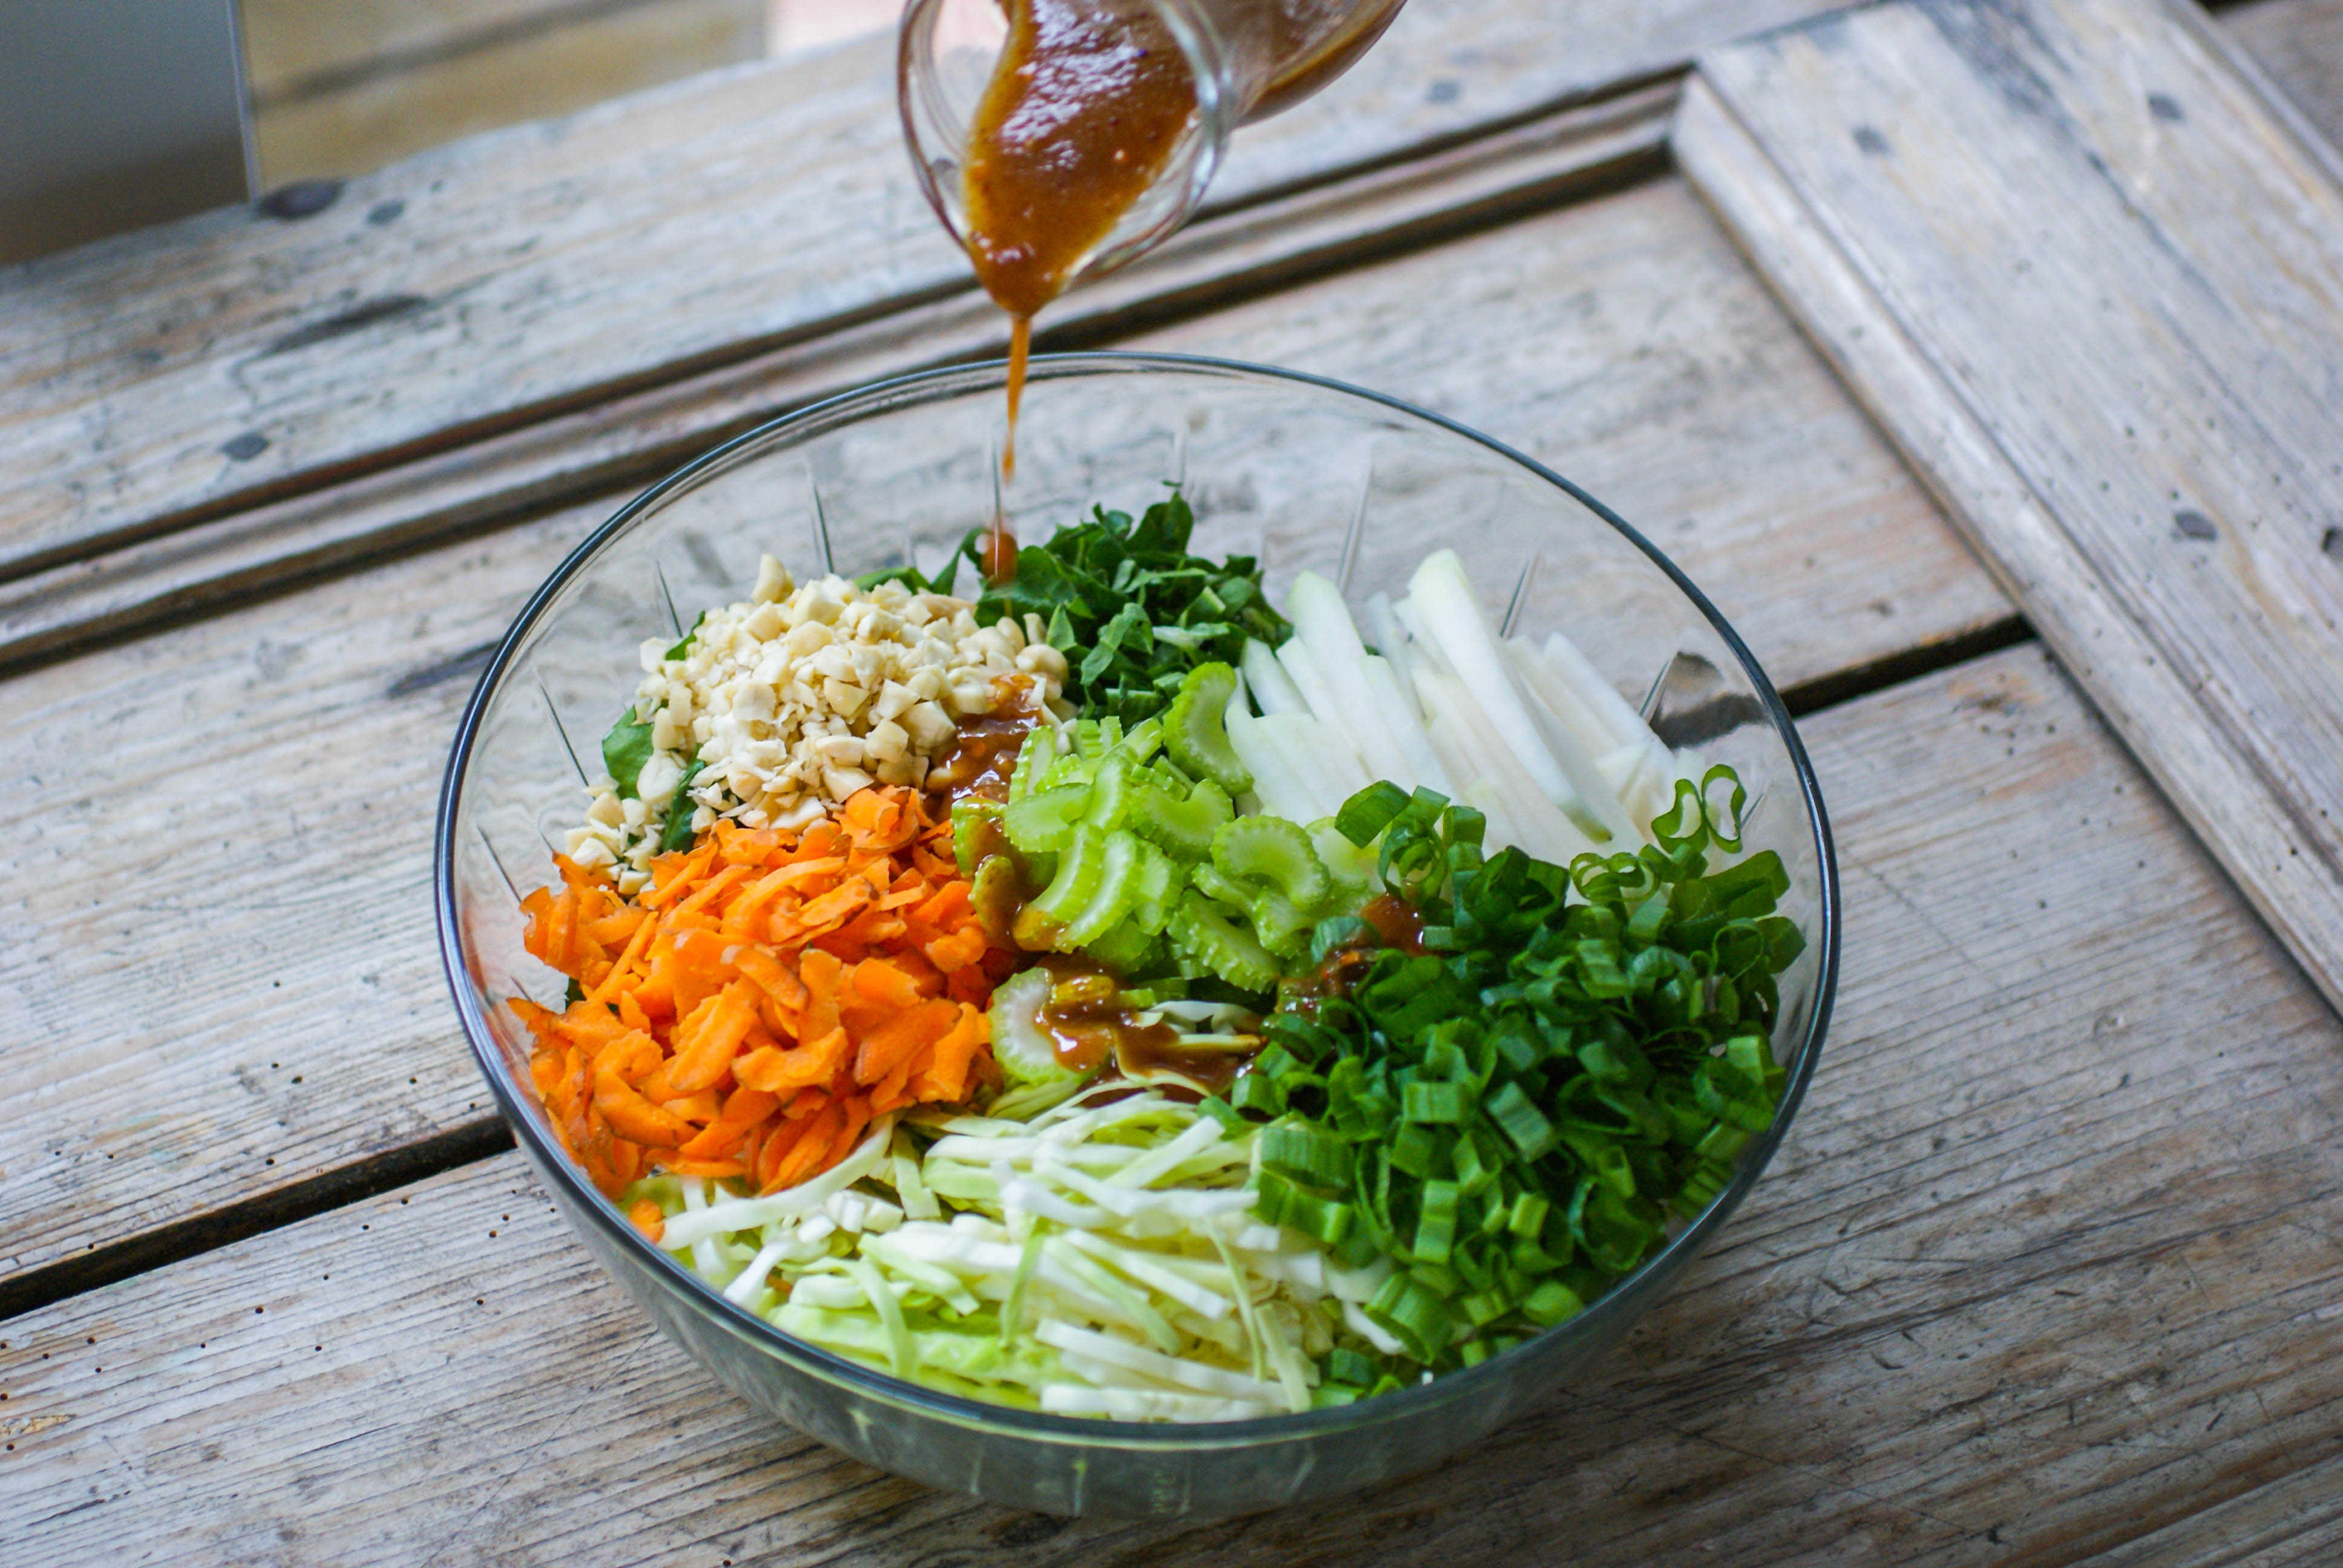
The dressing is awesome
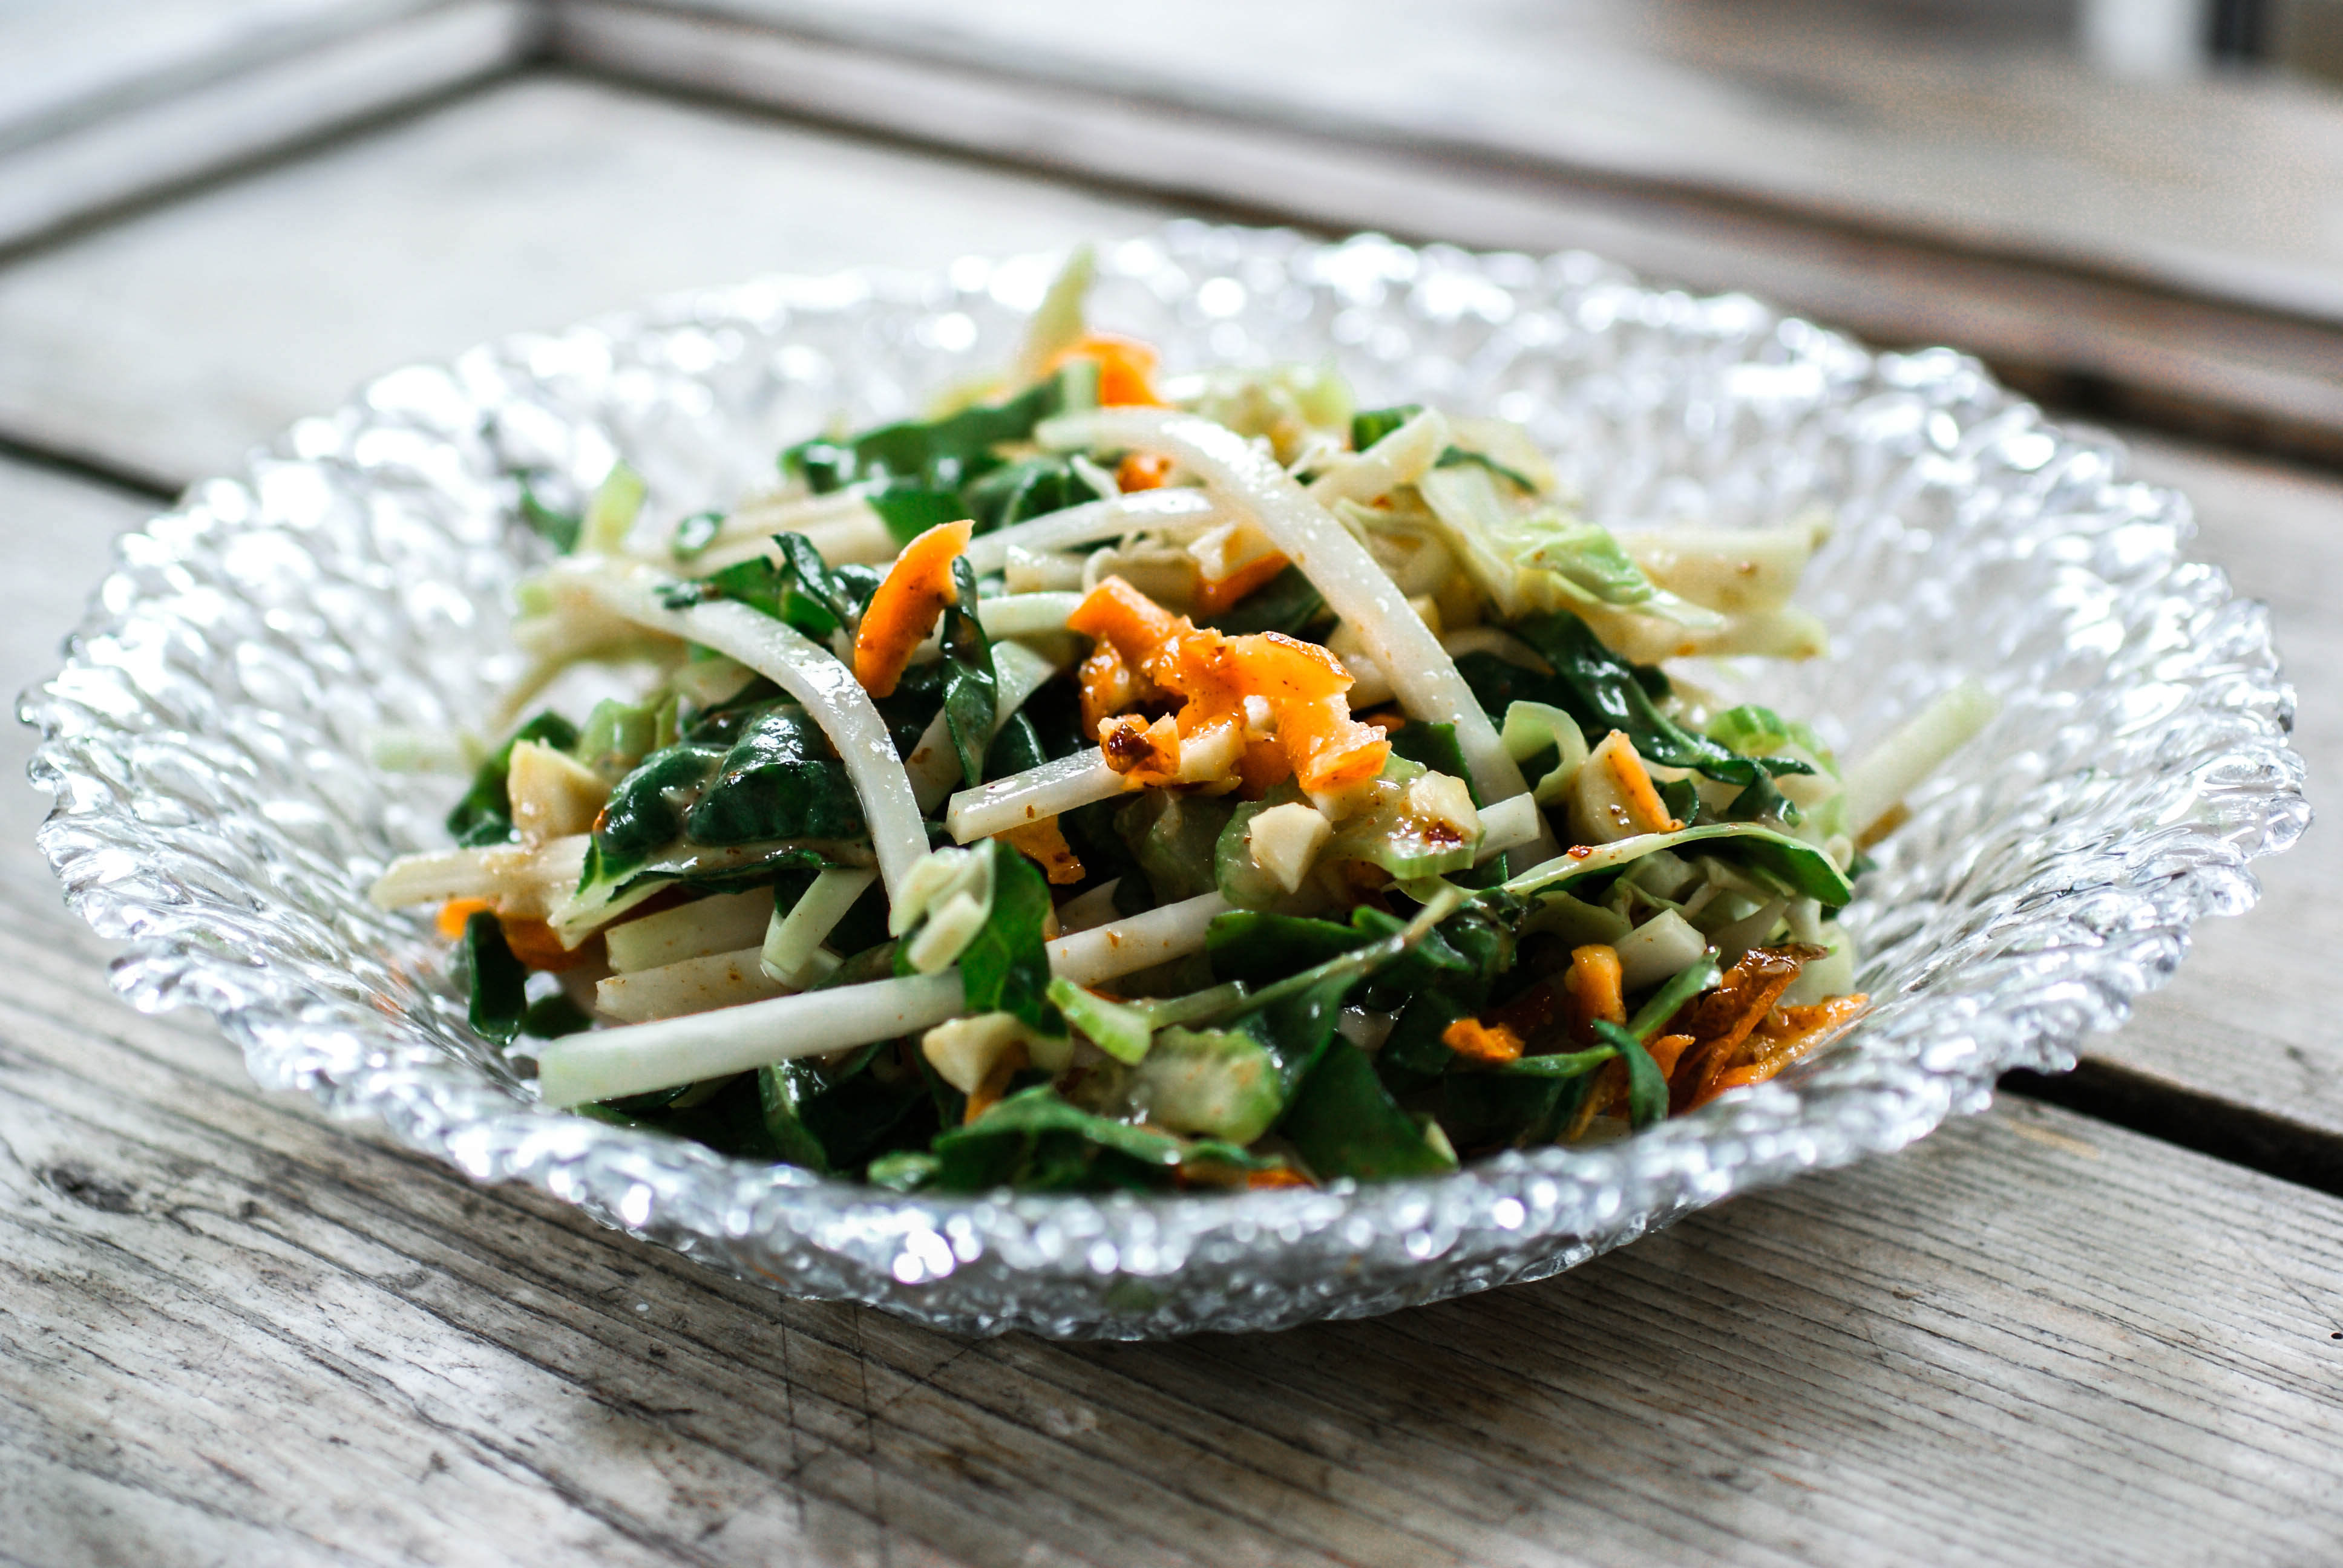
Plated up for as a meal or a side dish
Ingredients
- Half of a head of cabbage (about 4-5 cups) shredded
- 3 cups of shredded greens (I used Swiss chard, you could also use spinach, Romaine lettuce or kale)
- Half of a peeled kohlrabi, sliced into match sticks
- 2 carrots, grated
- 1 stalk of celery, finely diced
- 2 green spring onions, diced
- 1/4-1/2 cup chopped almonds (or nut of choice)
- 1/4 cilantro, chopped
- 1/4 cup almond butter
- 2 Tablespoons honey
- 1/4 cup apple cider vinegar
- 1/4 teaspoon red pepper flakes
- 1 Tablespoon tamari sauce or coconut aminos
- 1 teaspoon olive oil
- 1 Tablespoon of fresh ginger, grated or finely chopped
- 1 clove of garlic minced
Instructions
- For the salad part, just chop everything as directed in the ingredients list and put it all together in a big bowl.
- For the dressing, put all ingredients together in a small bowl or dressing container and mix well.
- Pour the dressing over the salad and toss well to coat.
Butternut Squash Breakfast Hash
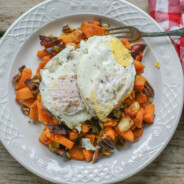
I’ve made something very similar to this before, only I used sweet potato instead of butternut squash. I needed to use up my last butternut squash of the year. It was a toss up between this recipe and this old favorite (which you can view and learn how to roast your squash with step by step instructions).
We totally enjoyed this and it kept us satisfied until lunchtime. We topped it with a few fried eggs 🙂
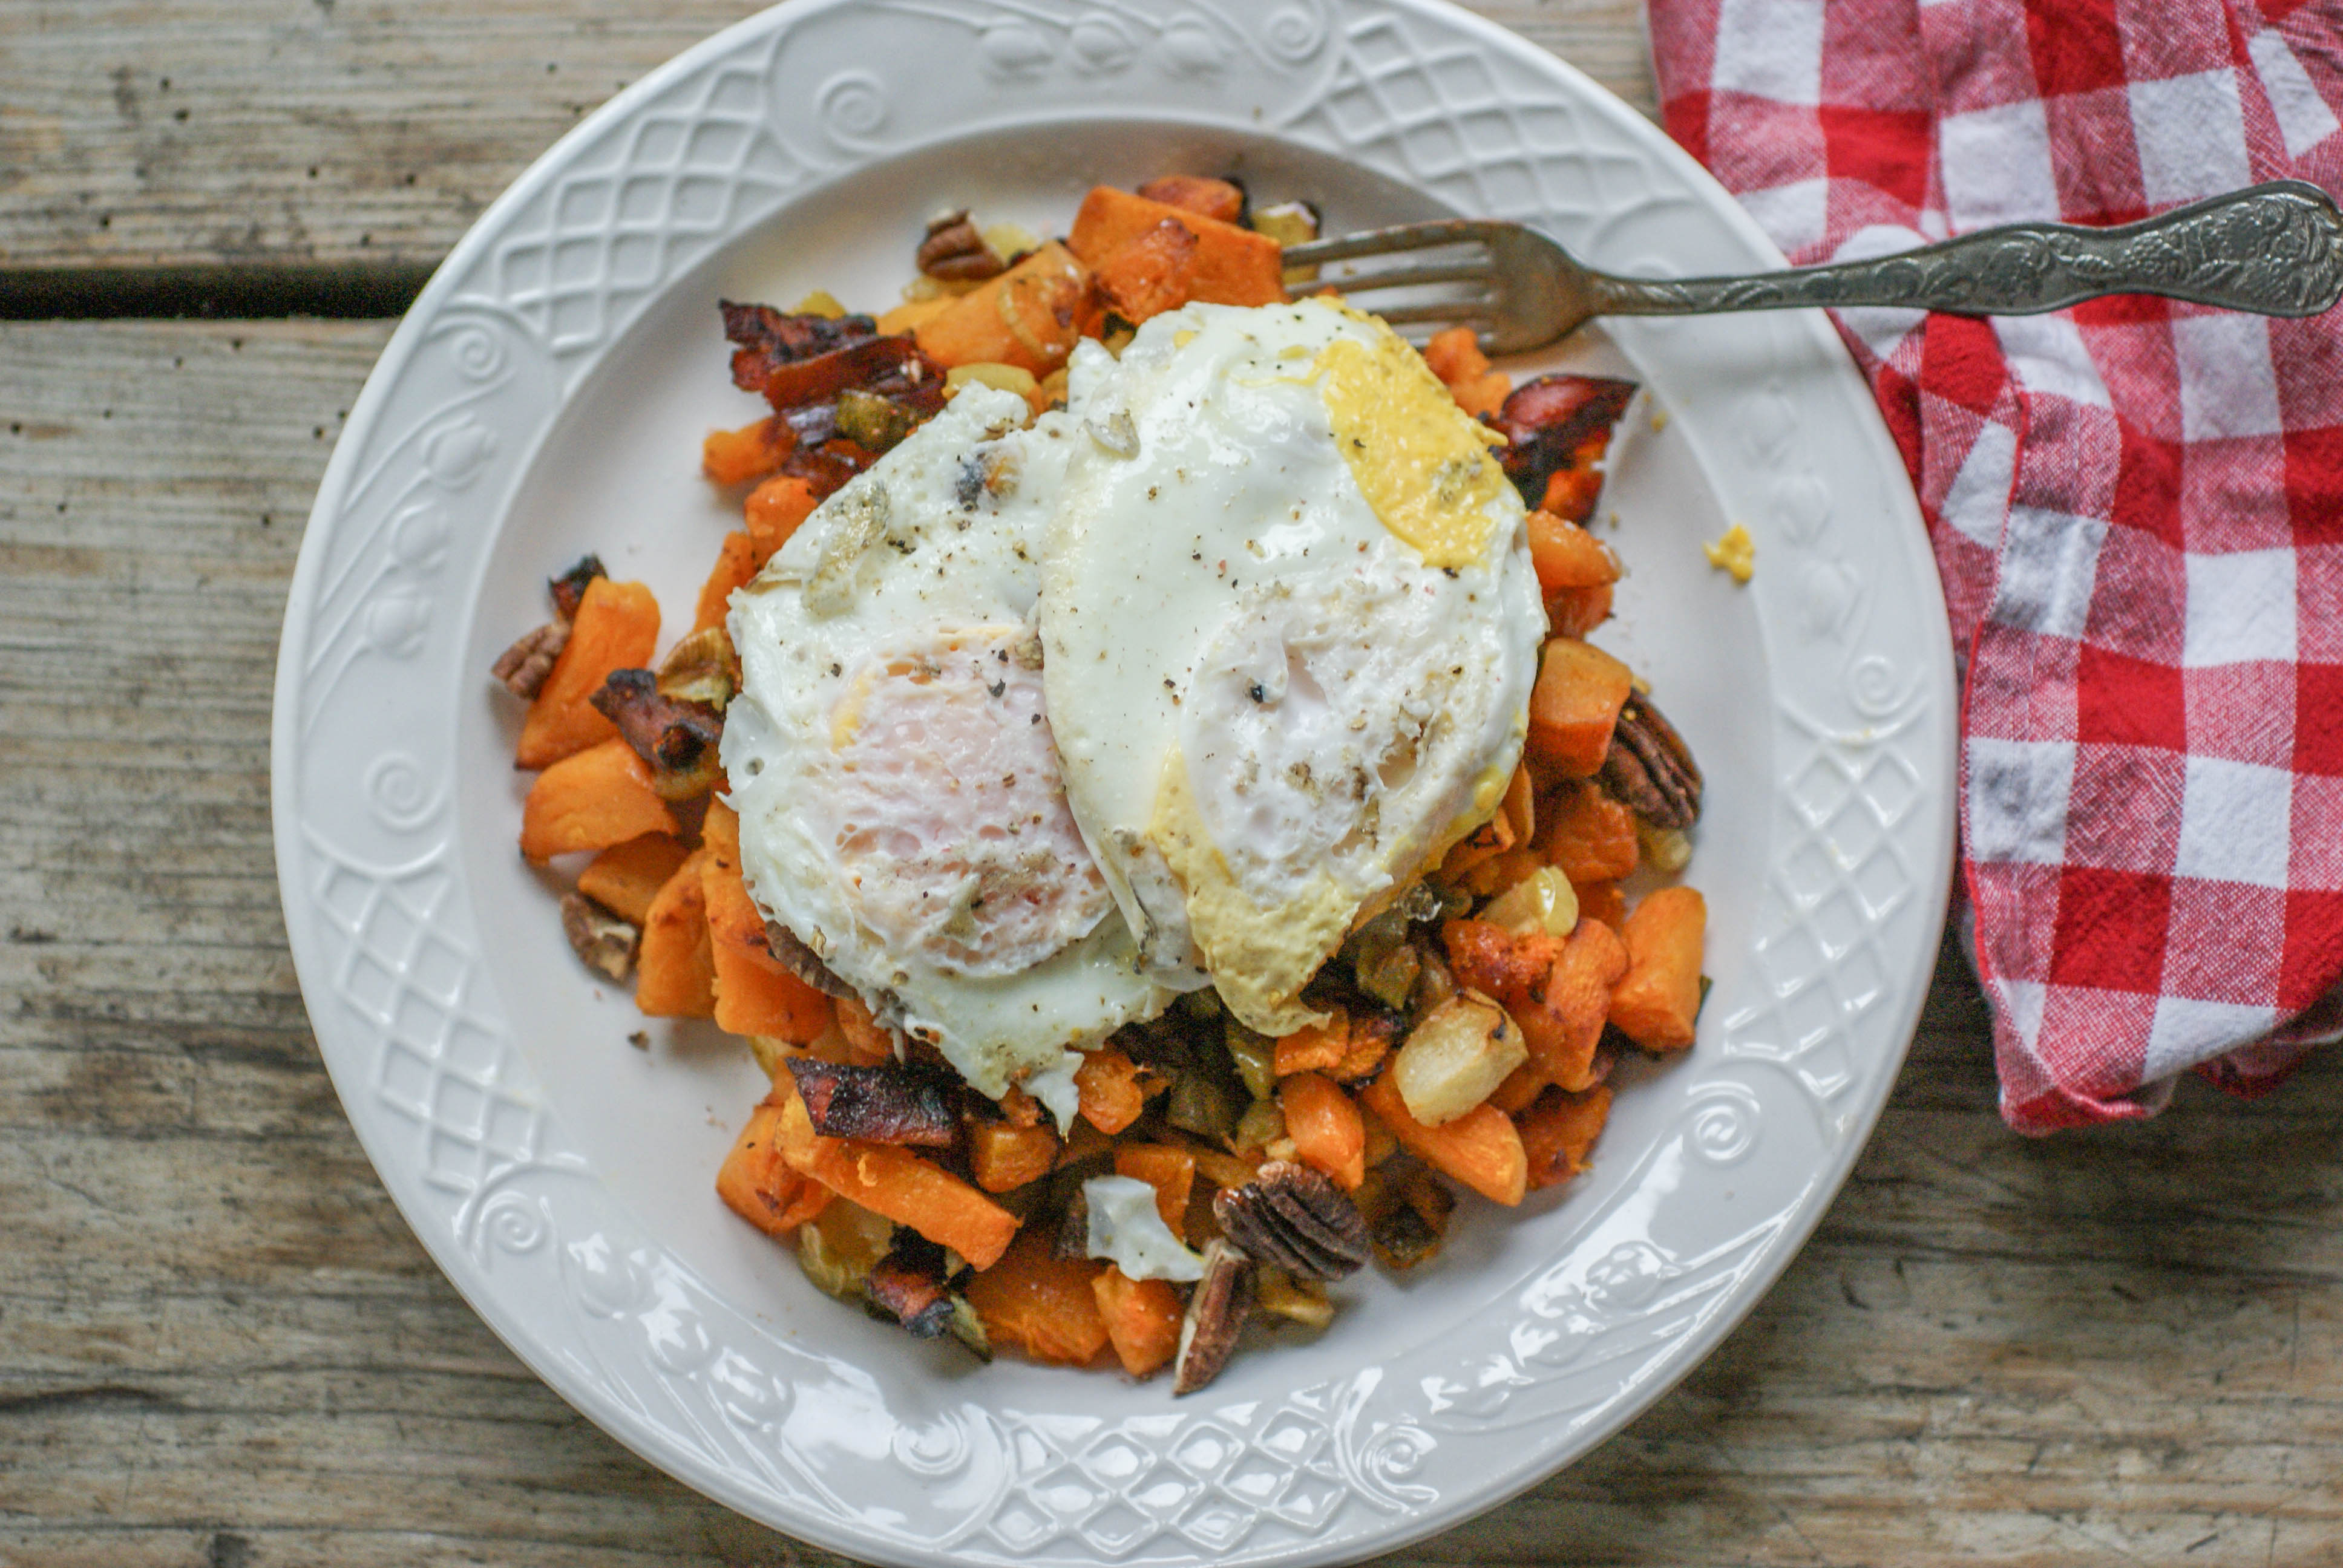
Breakfast Hash
Ingredients
- 1 medium size butternut squash, roasted ahead and diced (see this for how to roast it)
- bacon, amount is up to you! We used 8 thin slices, cooked and chopped
- 1 apple, diced (I used a green one)
- 1 spring onion, chopped
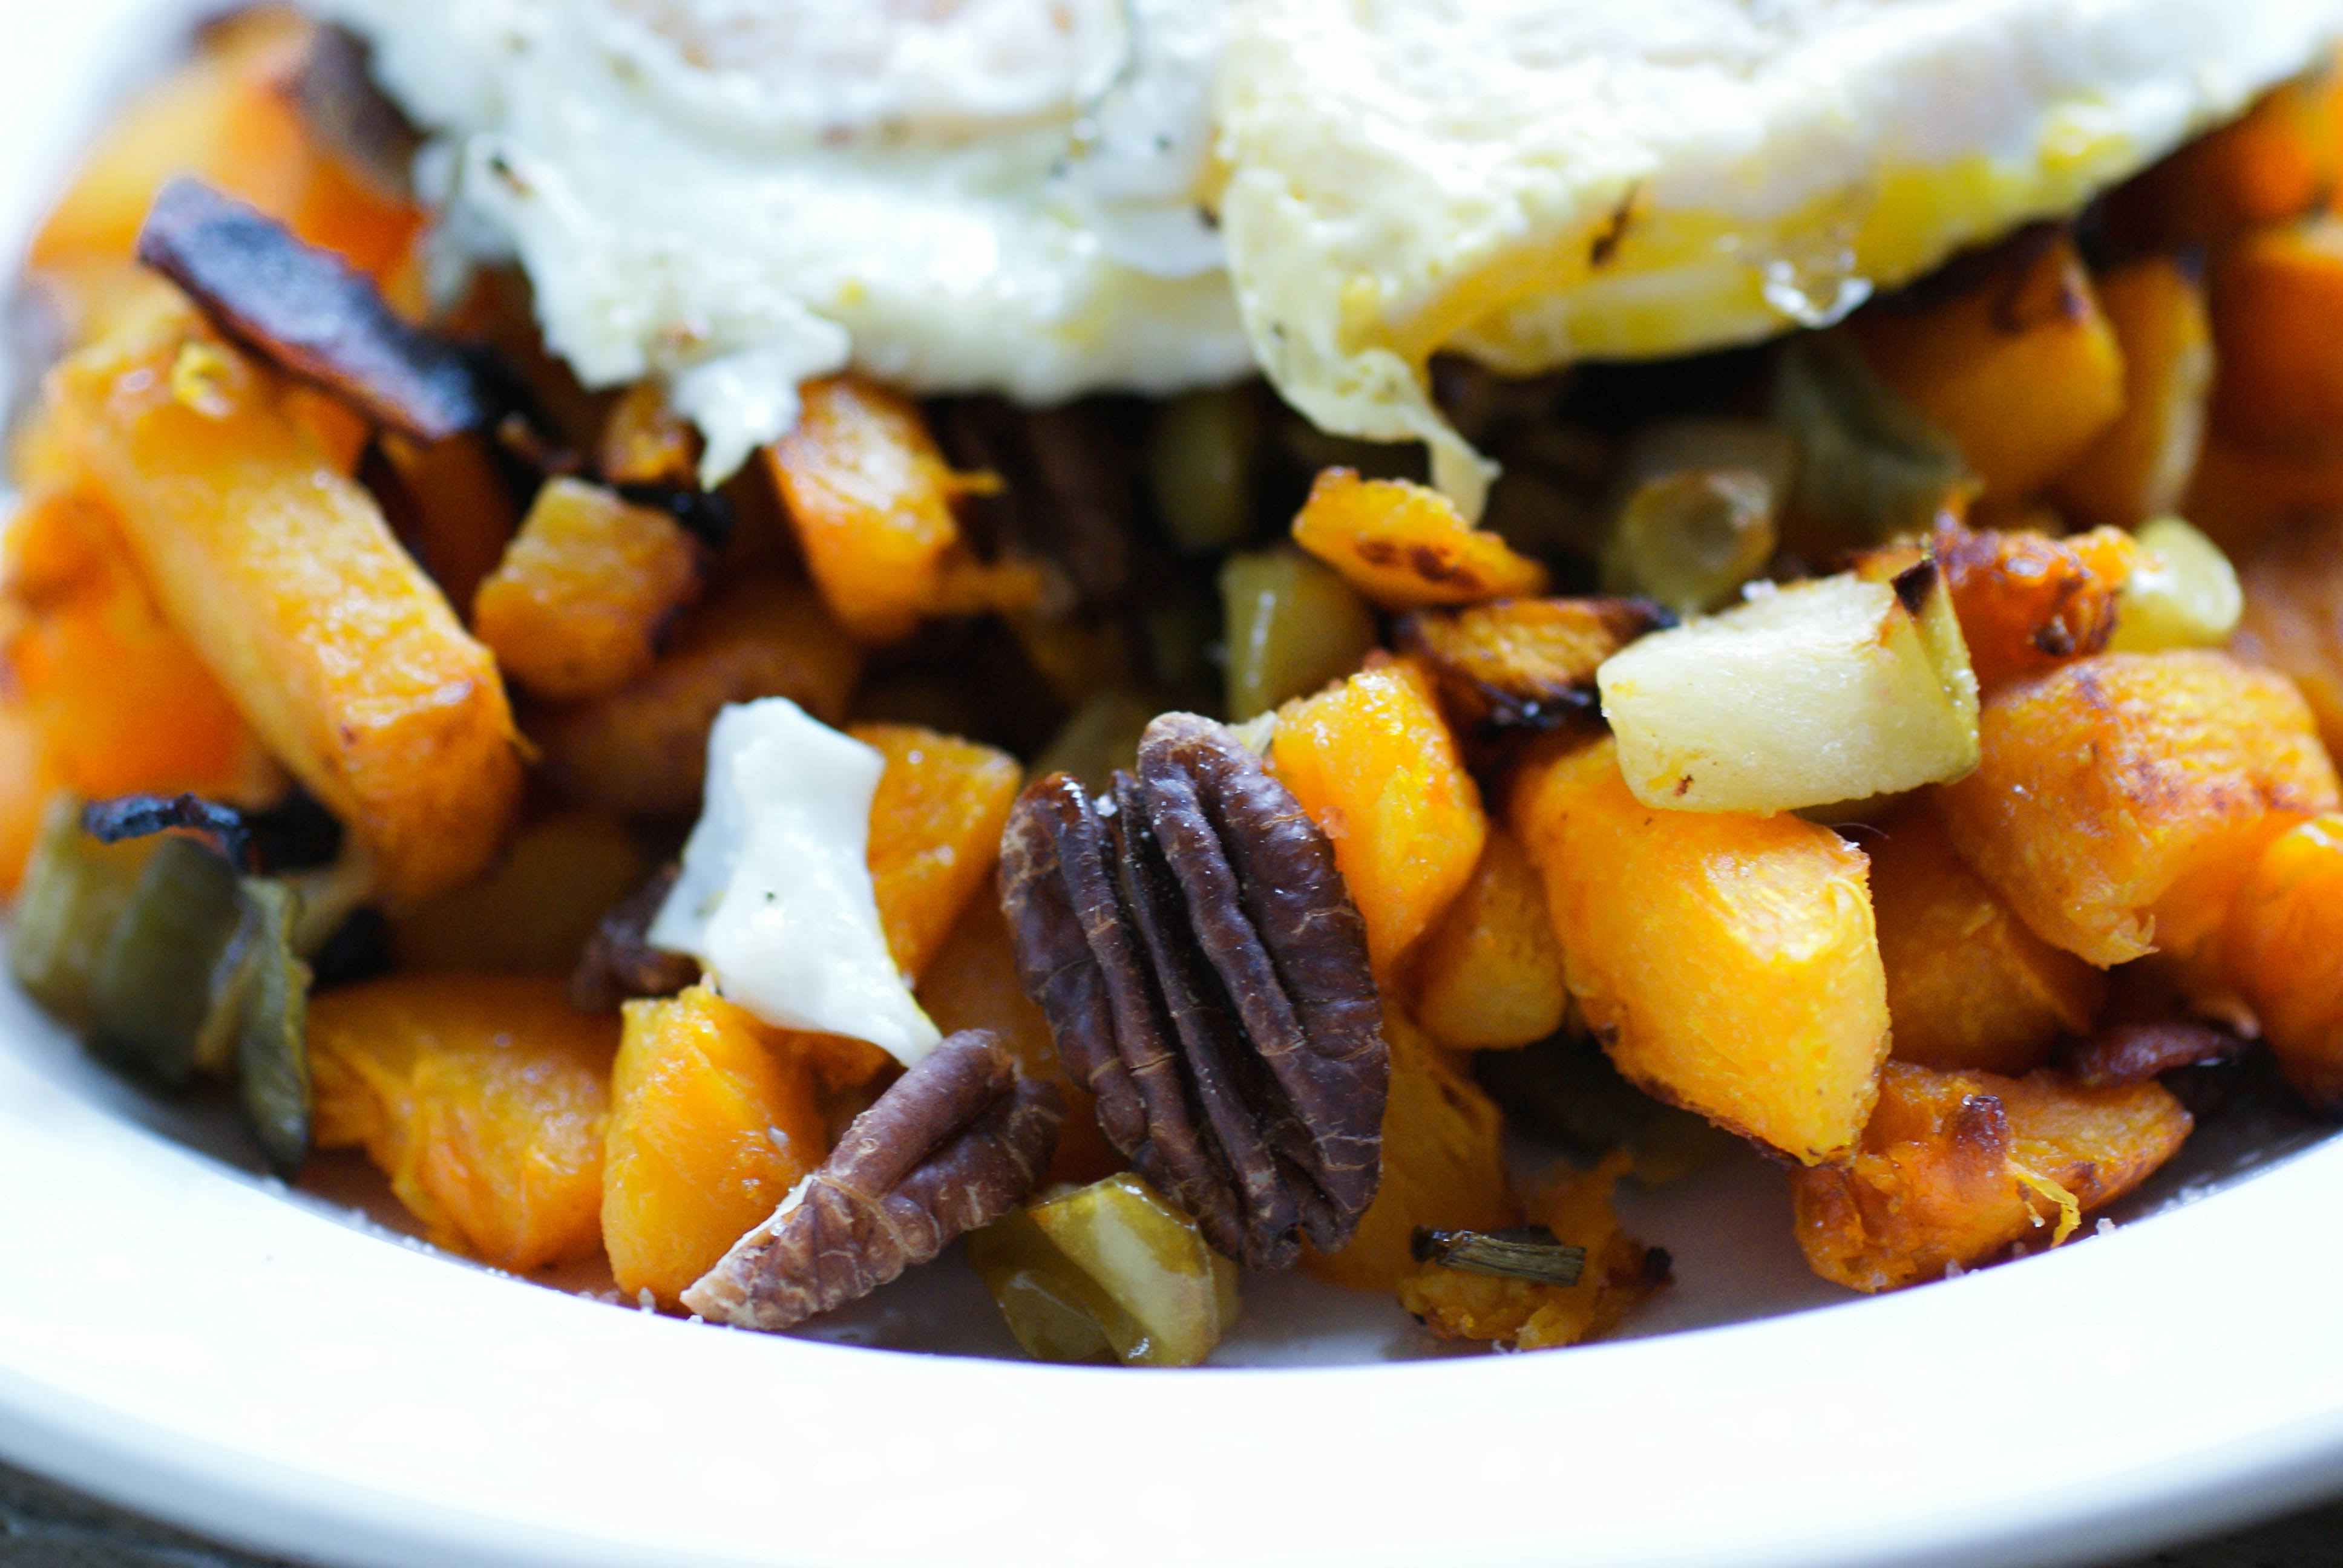
- 1/4 cup pecan nuts, chopped
- salt and pepper to taste
Instructions
- Cook the bacon in a frying pan until it’s as crispy as you like it. Remove it from the pan and set aside, but leave the grease in the pan.
- Add the diced butternut squash and chopped apple into the bacon grease and cook over medium heat until warm and until the apple starts to soften a bit (but you don’t want it to get mushy).
- Chop up the cooked bacon and add it back to the pan along with the chopped spring onions. Stir and cook until it’s all heated through.
- Toss in the chopped pecans and salt and pepper to taste.
- We topped our hash with fried eggs
Ingredients
- 1 medium size butternut squash, roasted ahead and diced
- bacon, amount is up to you! We used 8 thin slices, cooked and chopped
- 1 apple, diced (I used a green one)
- 1 spring onion, chopped
- 1/4 cup pecan nuts, chopped
- salt and pepper to taste
Instructions
- Cook the bacon in a frying pan until it's as crispy as you like it. Remove it from the pan and set aside, but leave the grease in the pan.
- Add the diced butternut squash and chopped apple into the bacon grease and cook over medium heat until warm and until the apple starts to soften a bit (but you don't want it to get mushy).
- Chop up the cooked bacon and add it back to the pan along with the chopped spring onions. Stir and cook until it's all heated through.
- Toss in the chopped pecans and salt and pepper to taste.
- We topped our hash with fried eggs.
Thai Beef and Eggplant Curry

I was so proud of how well this curry turned out. Usually, Mr. Swiss Paleo is the one who cooks up curry, but I did this one all by myself. It turned out creamy and had such great flavor that I actually licked my bowl to get every last bit. Don’t judge 😉

Thai Beef and Eggplant Curry
Ingredients
- 500 grams beef, sliced fairly thin (I used hüft steak/sirloin)
- 3 Tablespoons fish sauce, divided
- 1 Tablespoon arrowroot flour/powder
- 1 1/2 Tablespoon coconut oil
- 1 1/2 Tablespoon red curry paste
- 500 ml (16 oz) coconut milk
- 2 Tablespoons lime juice (which was two limes for me)
- 1 teaspoon honey or coconut sugar (optional)
- 6 kaffir lime leaves
- 1 1/2 small eggplants (my total was 375 grams), peeled and cubed
- Coriander (cilantro) to garnish
Instructions
- Slice your beef into fairly thin strips and toss it in a bowl with the arrowroot powder and 1 Tablespoon of the fish sauce. Mix it all together with your hands and set aside.
- Heat the coconut oil over medium heat and add in the red curry paste and cook for about a minute until it’s fragrant.
- Add the beef and cook until it starts to brown (about 3 to 4 minutes).

The meat is all set to go
- Remove the beef from the pan to a bowl and set aside, but leave behind the juices in the pan.
- To the pan, add the coconut milk, lime juice, the remaining 2 Tablespoons of fish sauce, the kaffir lime leaves (chopped or torn up) and the coconut sugar/honey.
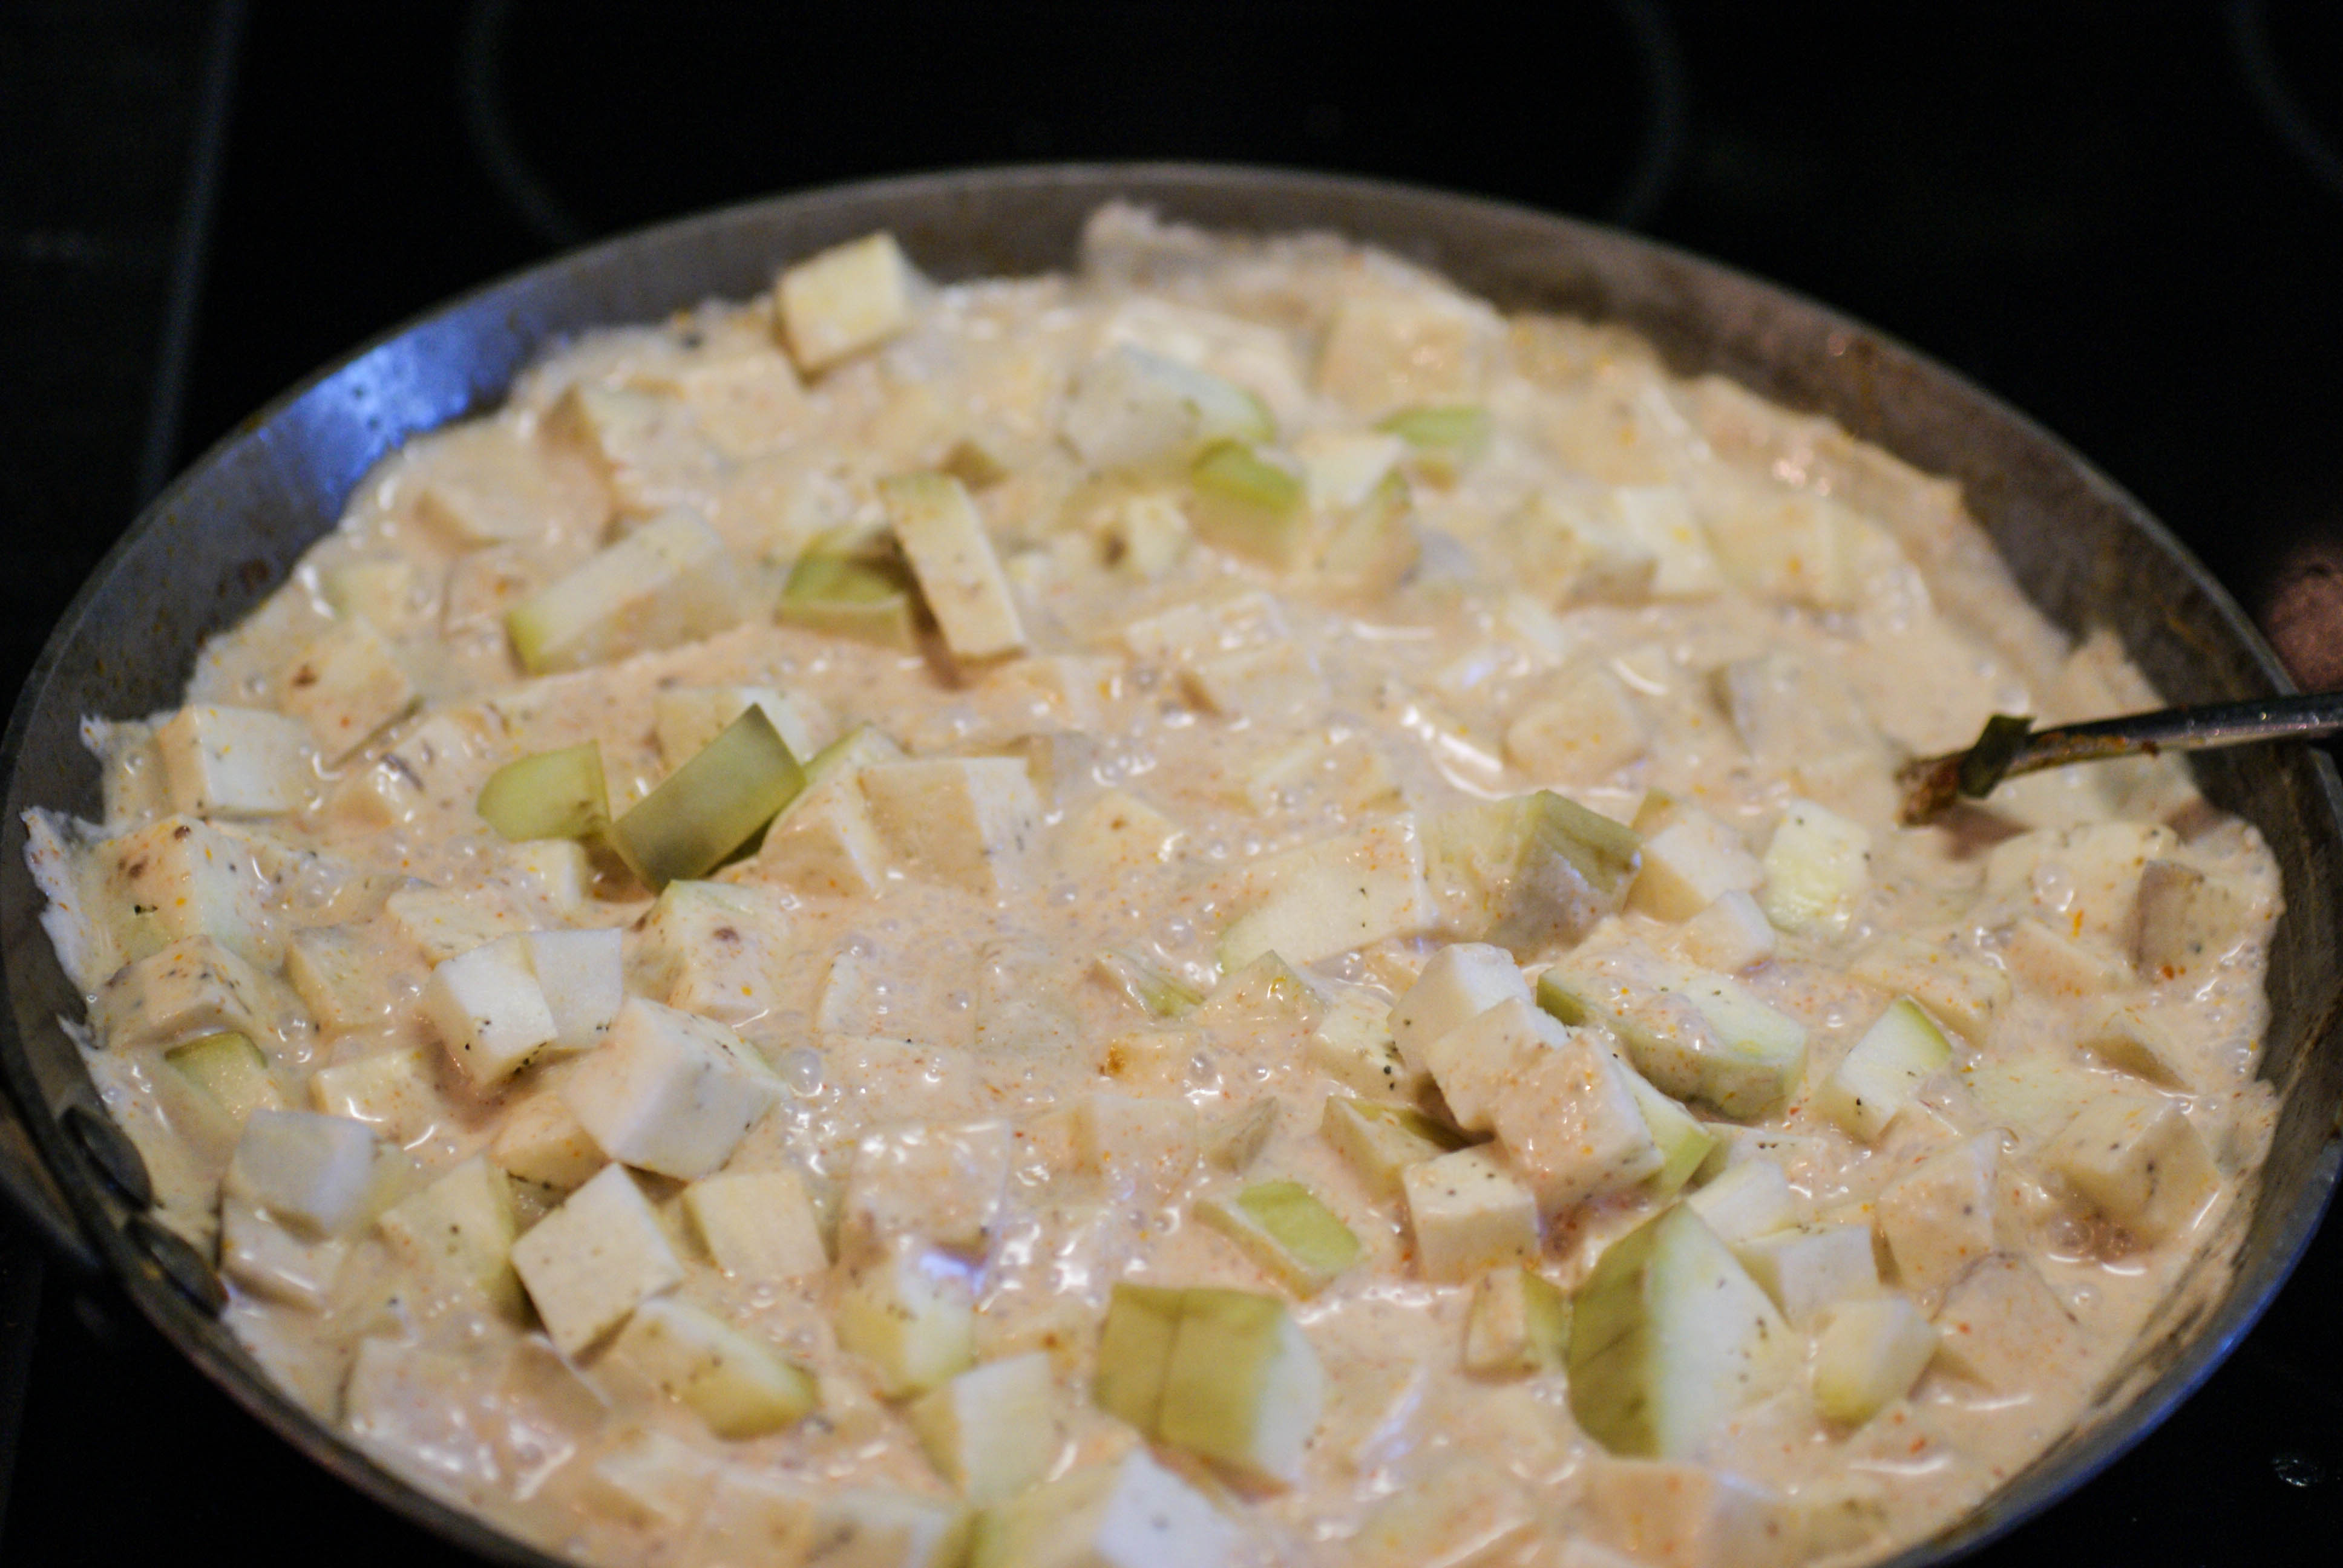
- Stir well and add in the chopped eggplant.

Cook until the eggplant softens
- Cook for about 10 minutes and then add the beef back to the pan and cook for a few minutes more or until the beef if cooked through.
- Serves as is or over cauliflower (or regular) rice and garnish with coriander.
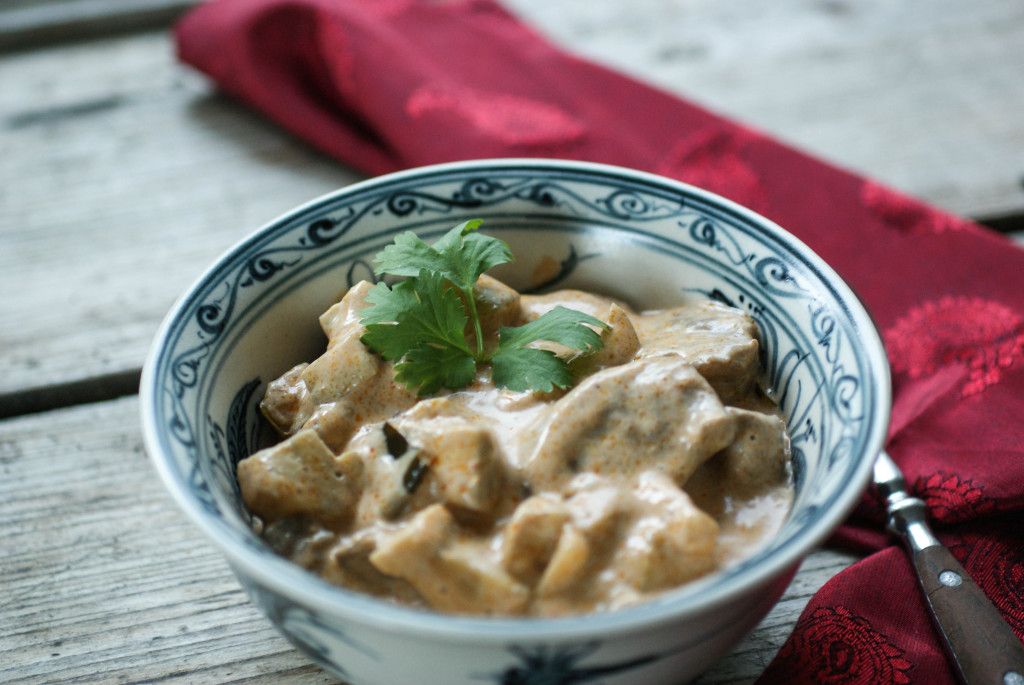
Creamy curry


Ingredients
- 500 grams beef, sliced fairly thin (I used hüft steak/sirloin)
- 3 Tablespoons fish sauce, divided
- 1 Tablespoon arrowroot flour/powder
- 1 1/2 Tablespoon coconut oil
- 1 1/2 Tablespoon red curry paste
- 500 ml (16 oz) coconut milk
- 2 Tablespoons lime juice (which was two limes for me)
- 1 teaspoon honey or coconut sugar (optional)
- 6 kaffir lime leaves
- 1 1/2 small eggplants (my total was 375 grams), peeled and cubed
- Coriander (cilantro) to garnish
Instructions
- Slice your beef into fairly thin strips and toss it in a bowl with the arrowroot powder and 1 Tablespoon of the fish sauce. Mix it all together with your hands and set aside.
- Heat the coconut oil over medium heat and add in the red curry paste and cook for about a minute until it's fragrant.
- Add the beef and cook until it starts to brown (about 3 to 4 minutes).
- Remove the beef from the pan to a bowl and set aside, but leave behind the juices in the pan.
- To the pan, add the coconut milk, lime juice, the remaining 2 Tablespoons of fish sauce, the kaffir lime leaves (chopped or torn up) and the coconut sugar/honey.
- Stir well and add in the chopped eggplant.
- Cook for about 10 minutes and then add the beef back to the pan and cook for a few minutes more or until the beef if cooked through.
- Serves as is or over cauliflower (or regular) rice and garnish with coriander.
Kombucha Jello
I’ve been brewing my own kombucha (recipe here) for well over a year now and I drink it pretty much every day. The other thing I’ve been trying to add to my diet every day is gelatin. Sometimes, I have enough bone broth on hand that I drink a cup and get my gelatin that way. If not, I add some to hot water and drink that. It gets the job done, but it’s not very enjoyable. Since It’s not very nice to drink, I sort of forget half the time. This is the gelatin I use. It comes from 100% grass fed cows. You can order from iherb.com because they deliver to just about anyplace for really great shipping prices.

Everything you need
Enter the idea of jello. I love jello and it feels like eating dessert (and I love dessert). I could mix the gelatin with my kombucha and make it into jello. I will have no problem remembering to eat my gelatin if it comes in jello form 🙂
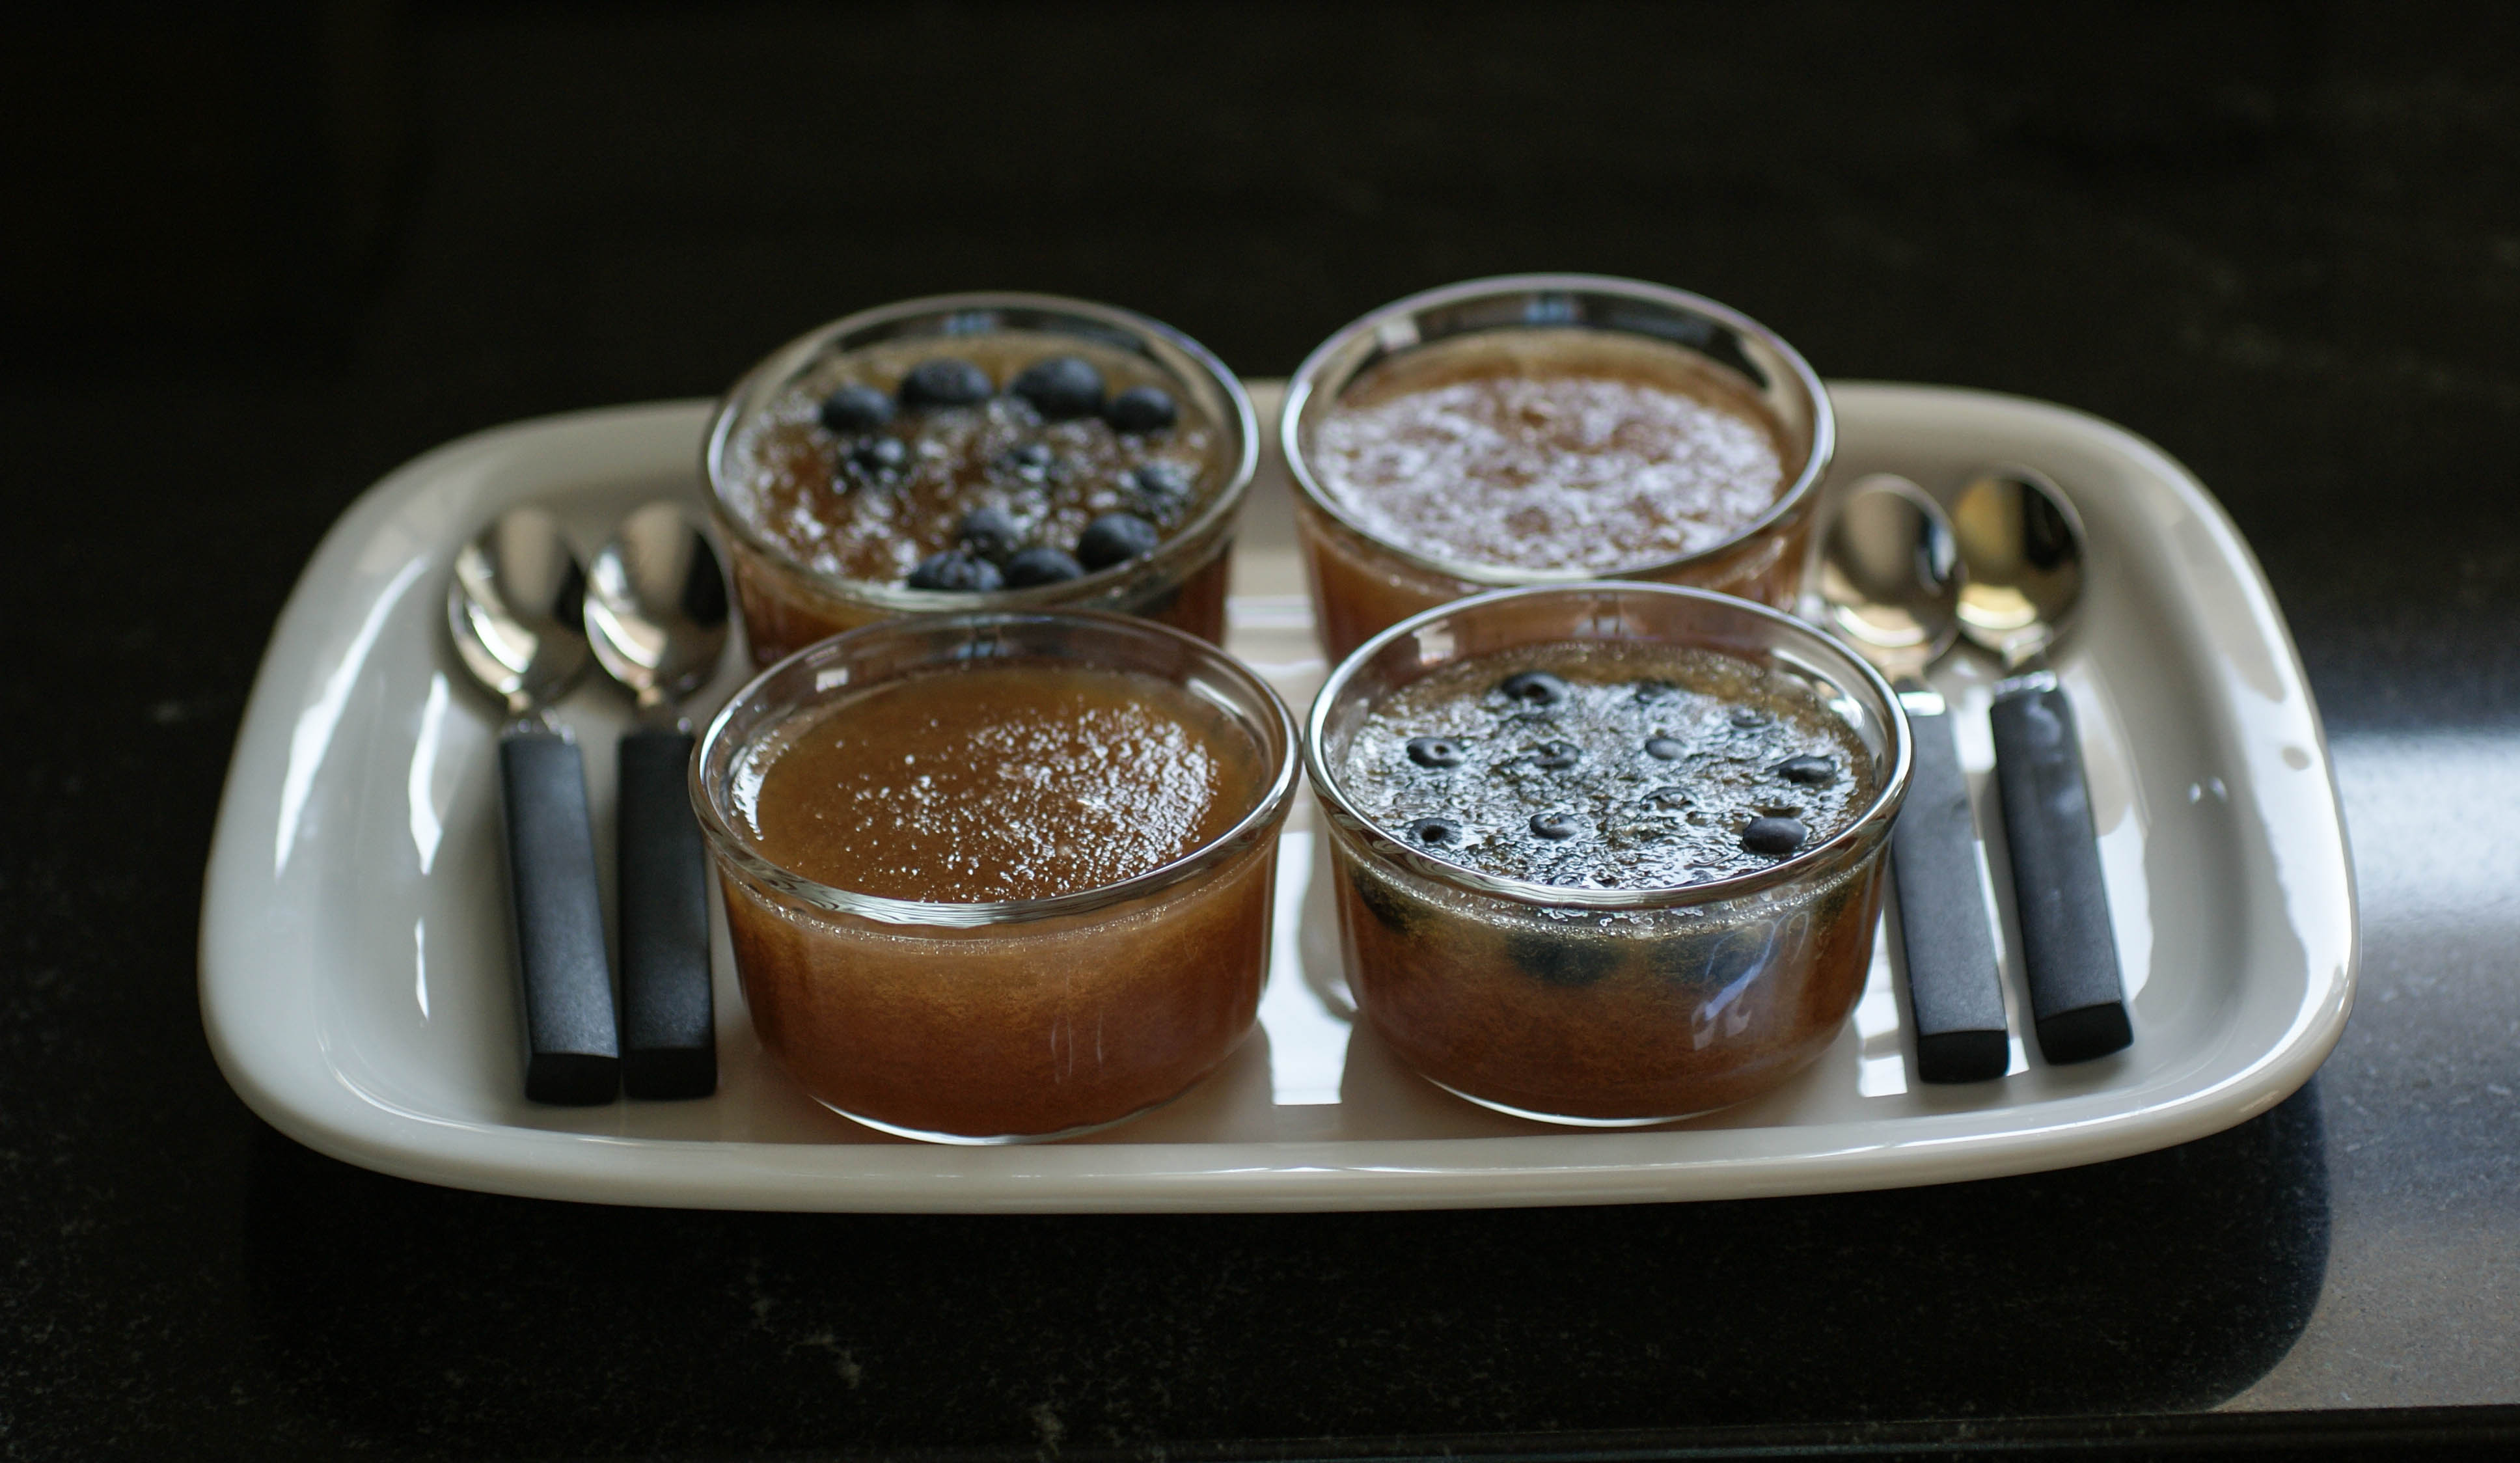
Healthy and delicious
You could make so many different flavors…the possibilities are endless. I used plain kombucha, but fruit flavored would work. I also brew my own, but you could use your favorite brand. I added fresh blueberries into half of my jello. I didn’t add any sweetener, but you could add honey.
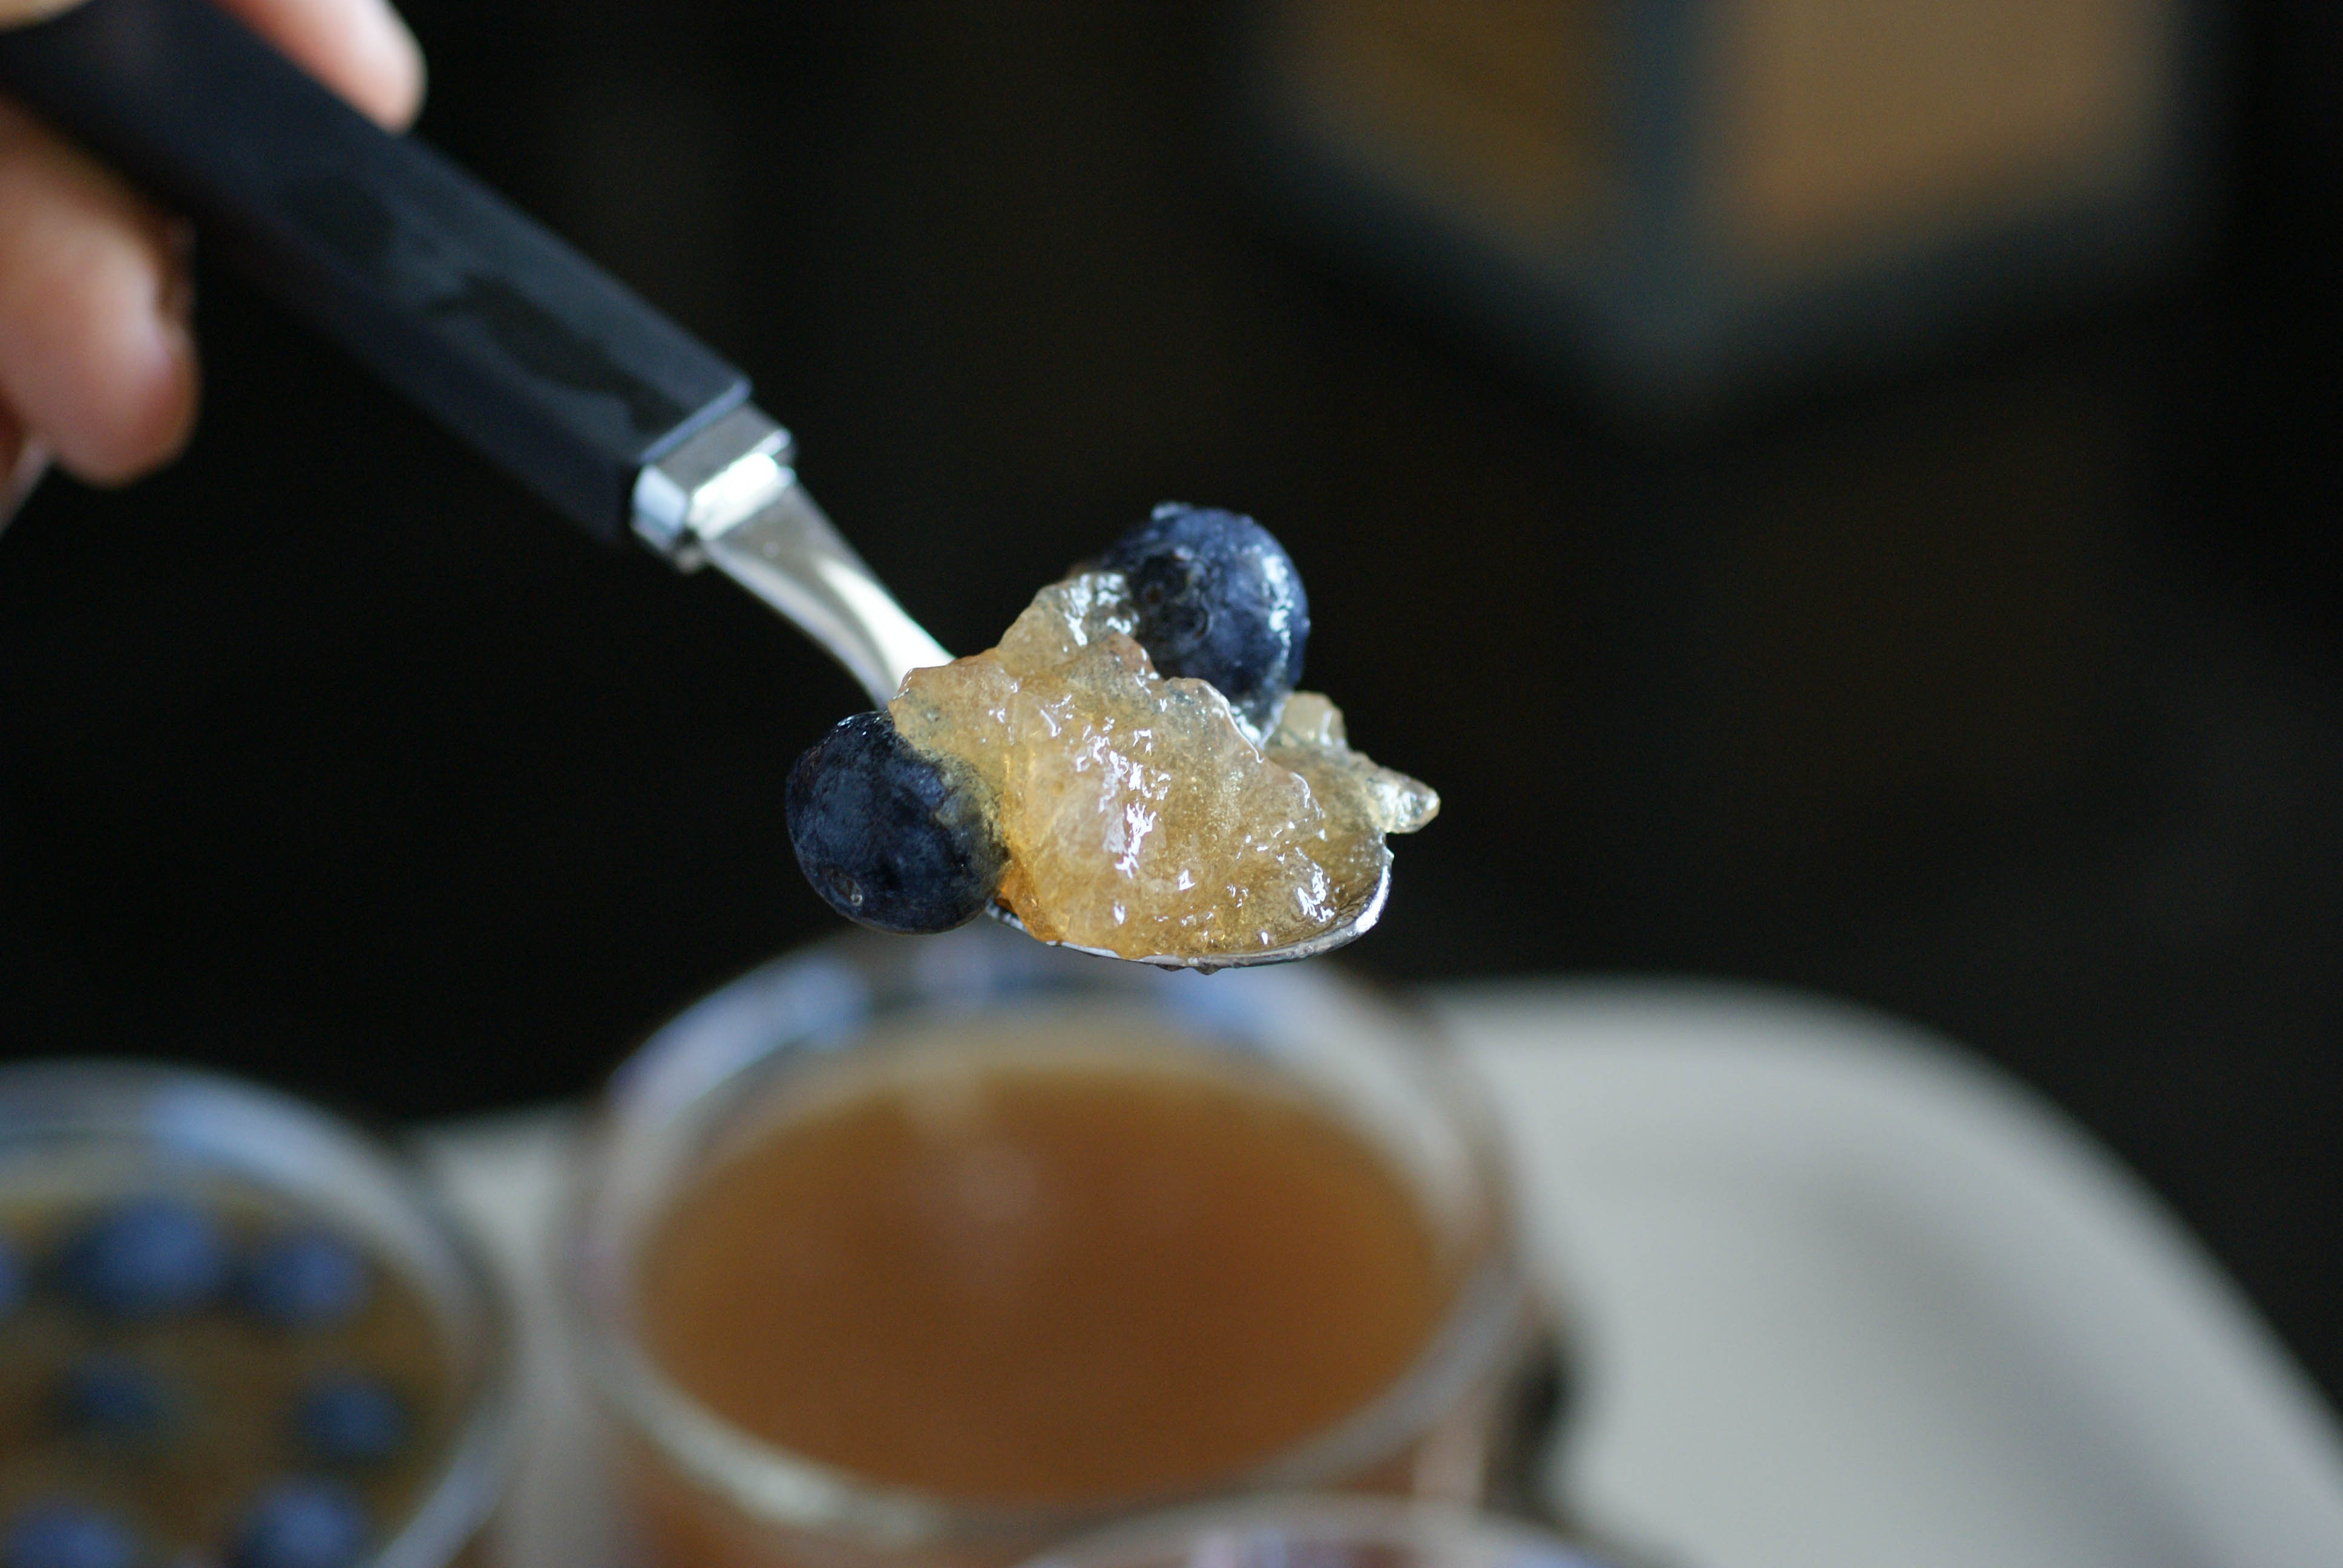
Kombucha jello with blueberries
Ingredients
- 2 cups of kombucha (500 ml)
- 1/4 cup water
- 3 teaspoons of gelatin
- Optional: chopped or diced fruit of choice
- Optional: a teaspoon or two of honey
Instructions
- Pour the water into a sauce pan and stir in the gelatin.
- Heat and stir continuously until the gelatin is dissolved.
- Add honey if you want and remove from heat.
- Let it cool just a bit and then stir in the kombucha.
- Pour into individual serving dishes (or one big size bowl if you want to eat it all. By yourself 😉 )
- If you are adding in fruit, just put it in the serving dish before pouring the kombucha gelatin mixture over it.
- Cool in the fridge until set.
Mushroom Tart
I have a Pinterest problem. I love to look at food. Most of what I look at is not paleo or anywhere close. I came across a mushroom tart on Pinterest and then just couldn’t get it out of my mind. It’s made with puff pastry and all kinds of decadent stuff. But, I really wanted it.
What I came up with may not be anything like the original, but it sure was good and now my craving is finally satisfied.
Mushroom Tart
I did use some dairy in this recipe, but you could leave it out or use a cashew nut ricotta instead. I’m totally fine with adding a bit of feta from sheep’s milk into my diet, but you need to decide for yourself what paleo means to you.
You should smell this right out of the oven
I used Kräuterseitlinge mushrooms which I think are called King Oyster mushrooms in English. They were pretty pricey, but it was worth it for a once in a while thing. I cooked up all the mushrooms in the picture below (in batches) and had left overs.
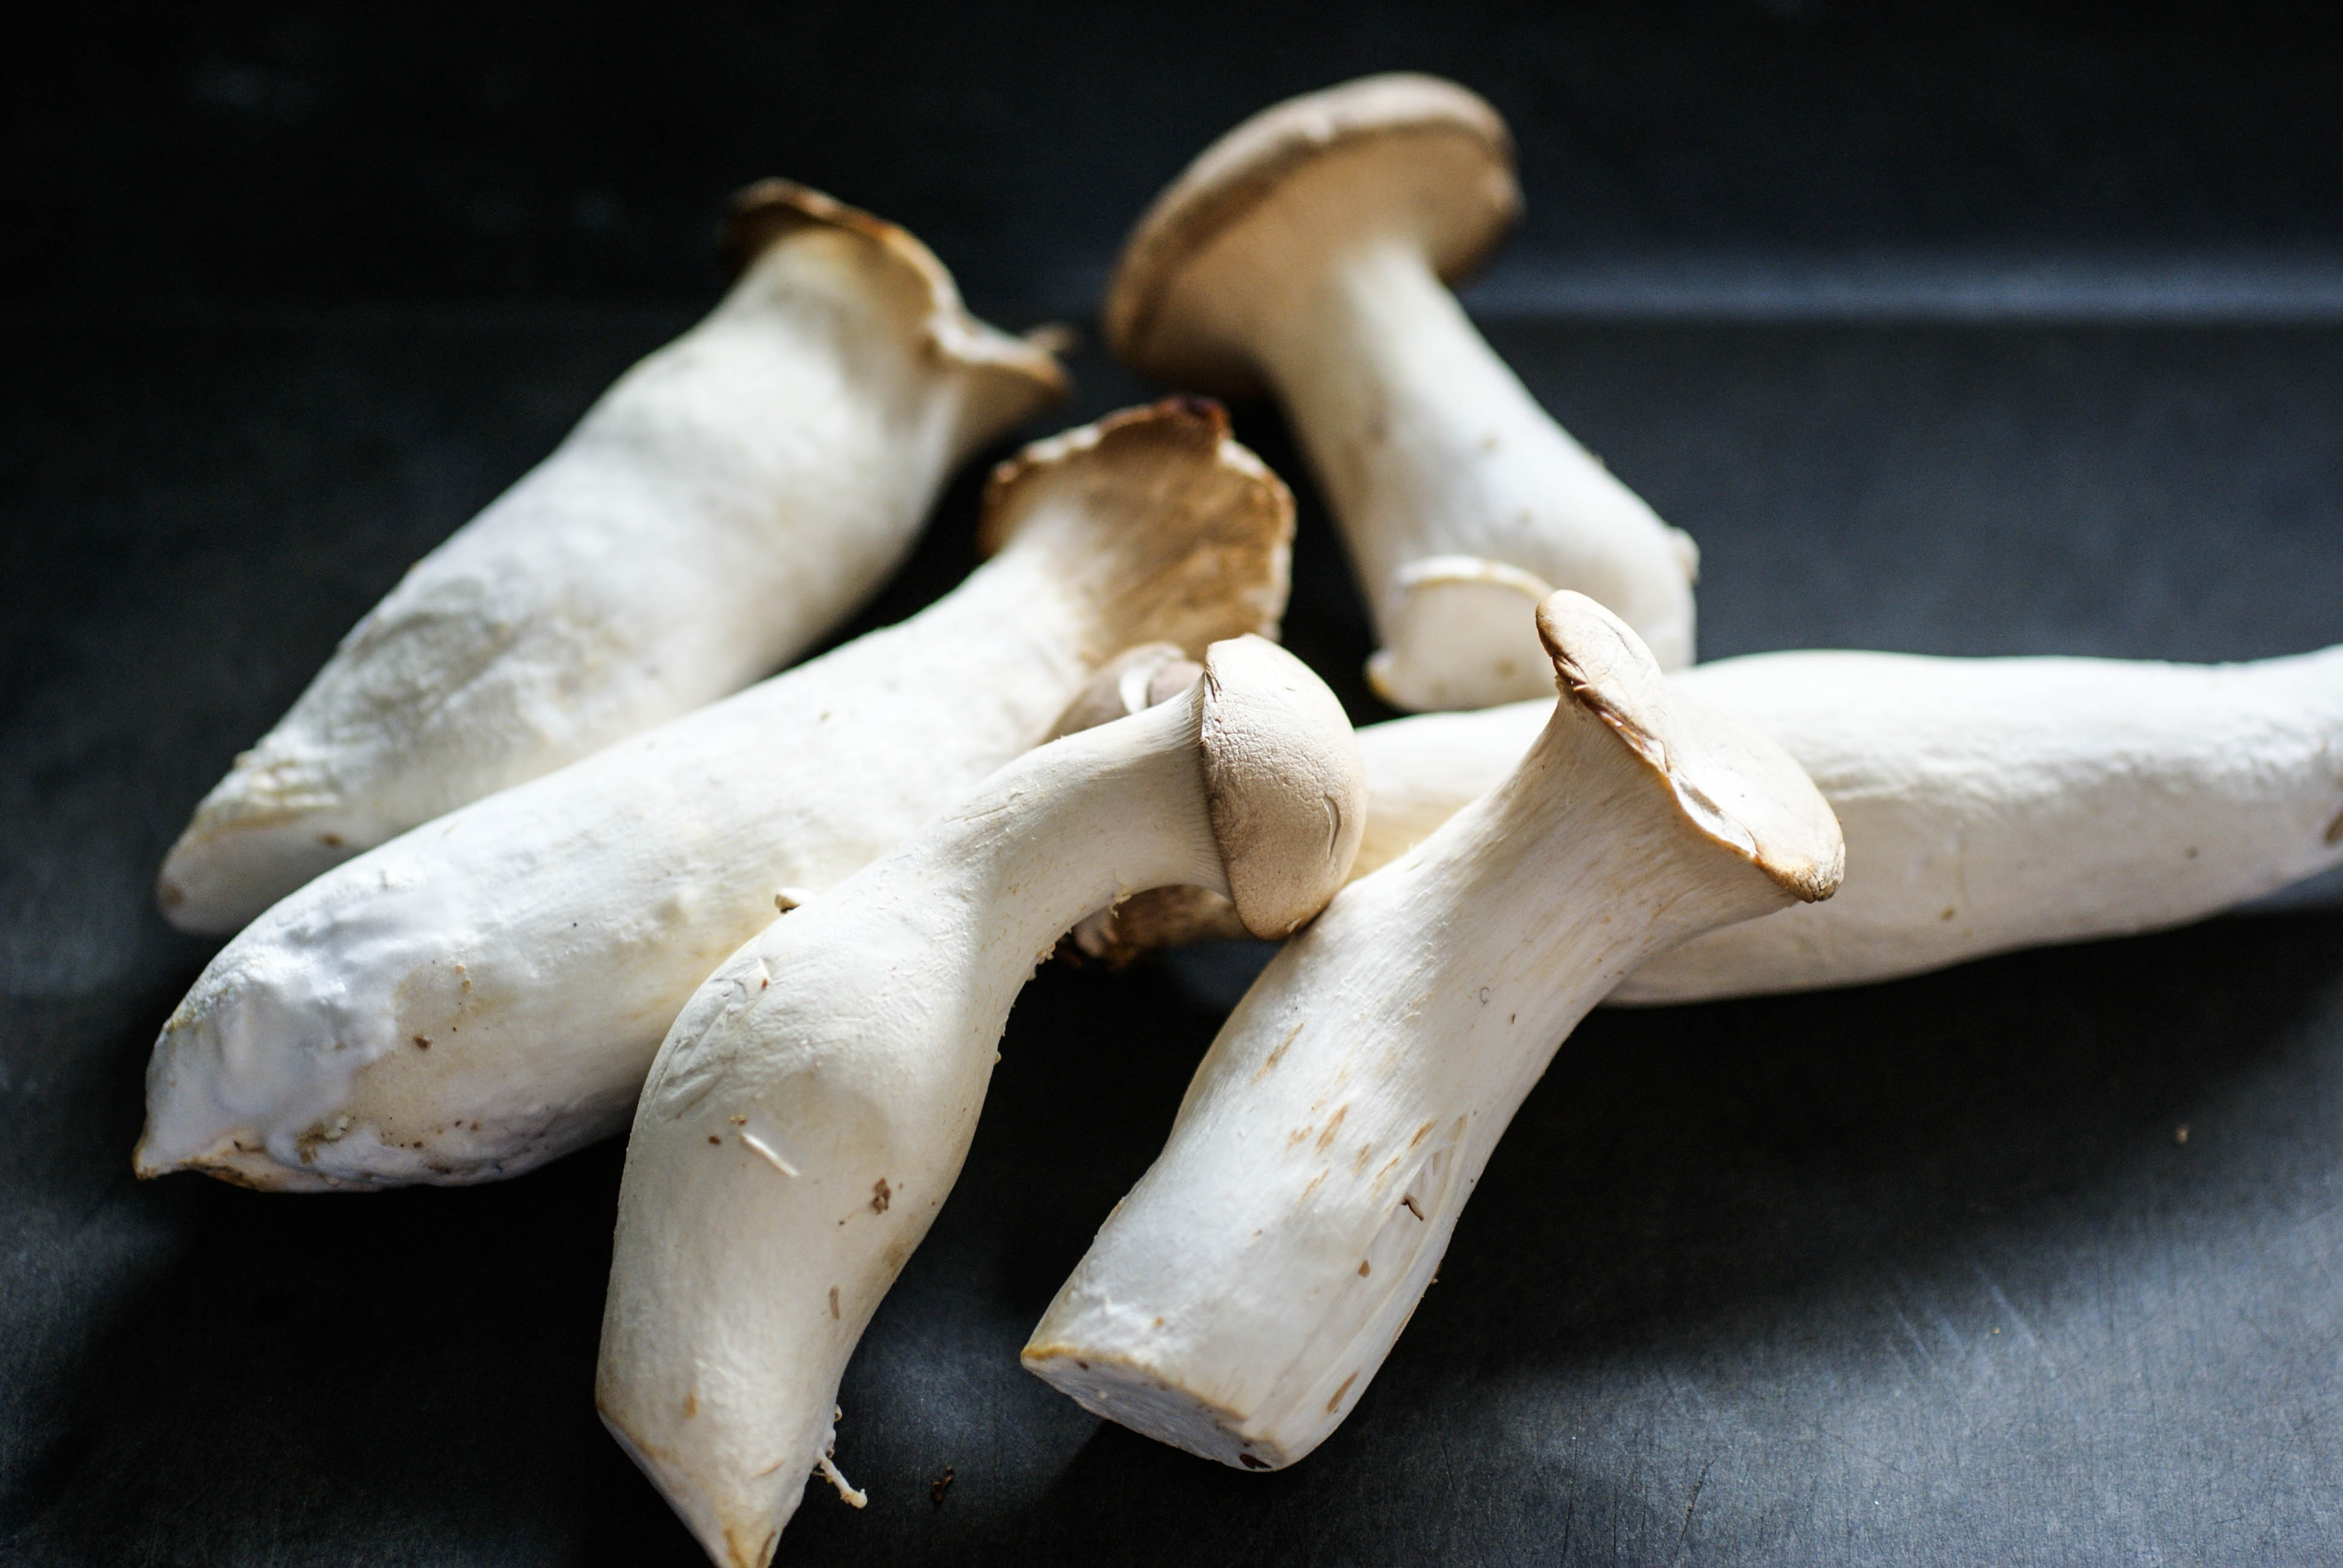
Mushrooms
Ingredients
- 2 Tablespoons butter
- King oyster mushrooms (or any kind you prefer)
- Fresh thyme sprigs
- Feta cheese, as much as you want or none at all
For the bread part
- 3 Tablespoons ground flax seeds
- 2 eggs
- 1/3 cup coconut milk (refrigerate it and use the thick part) or Greek yogurt
- 1/8 cup olive oil
- 1/4 cup coconut flour
- 1/2 cup arrowroot powder
- 3/4 teaspoon baking powder
- 1/4 teaspoon salt
- 1/2 teaspoon apple cider vinegar
- 1 Tablespoon coconut oil for the pan
Instructions
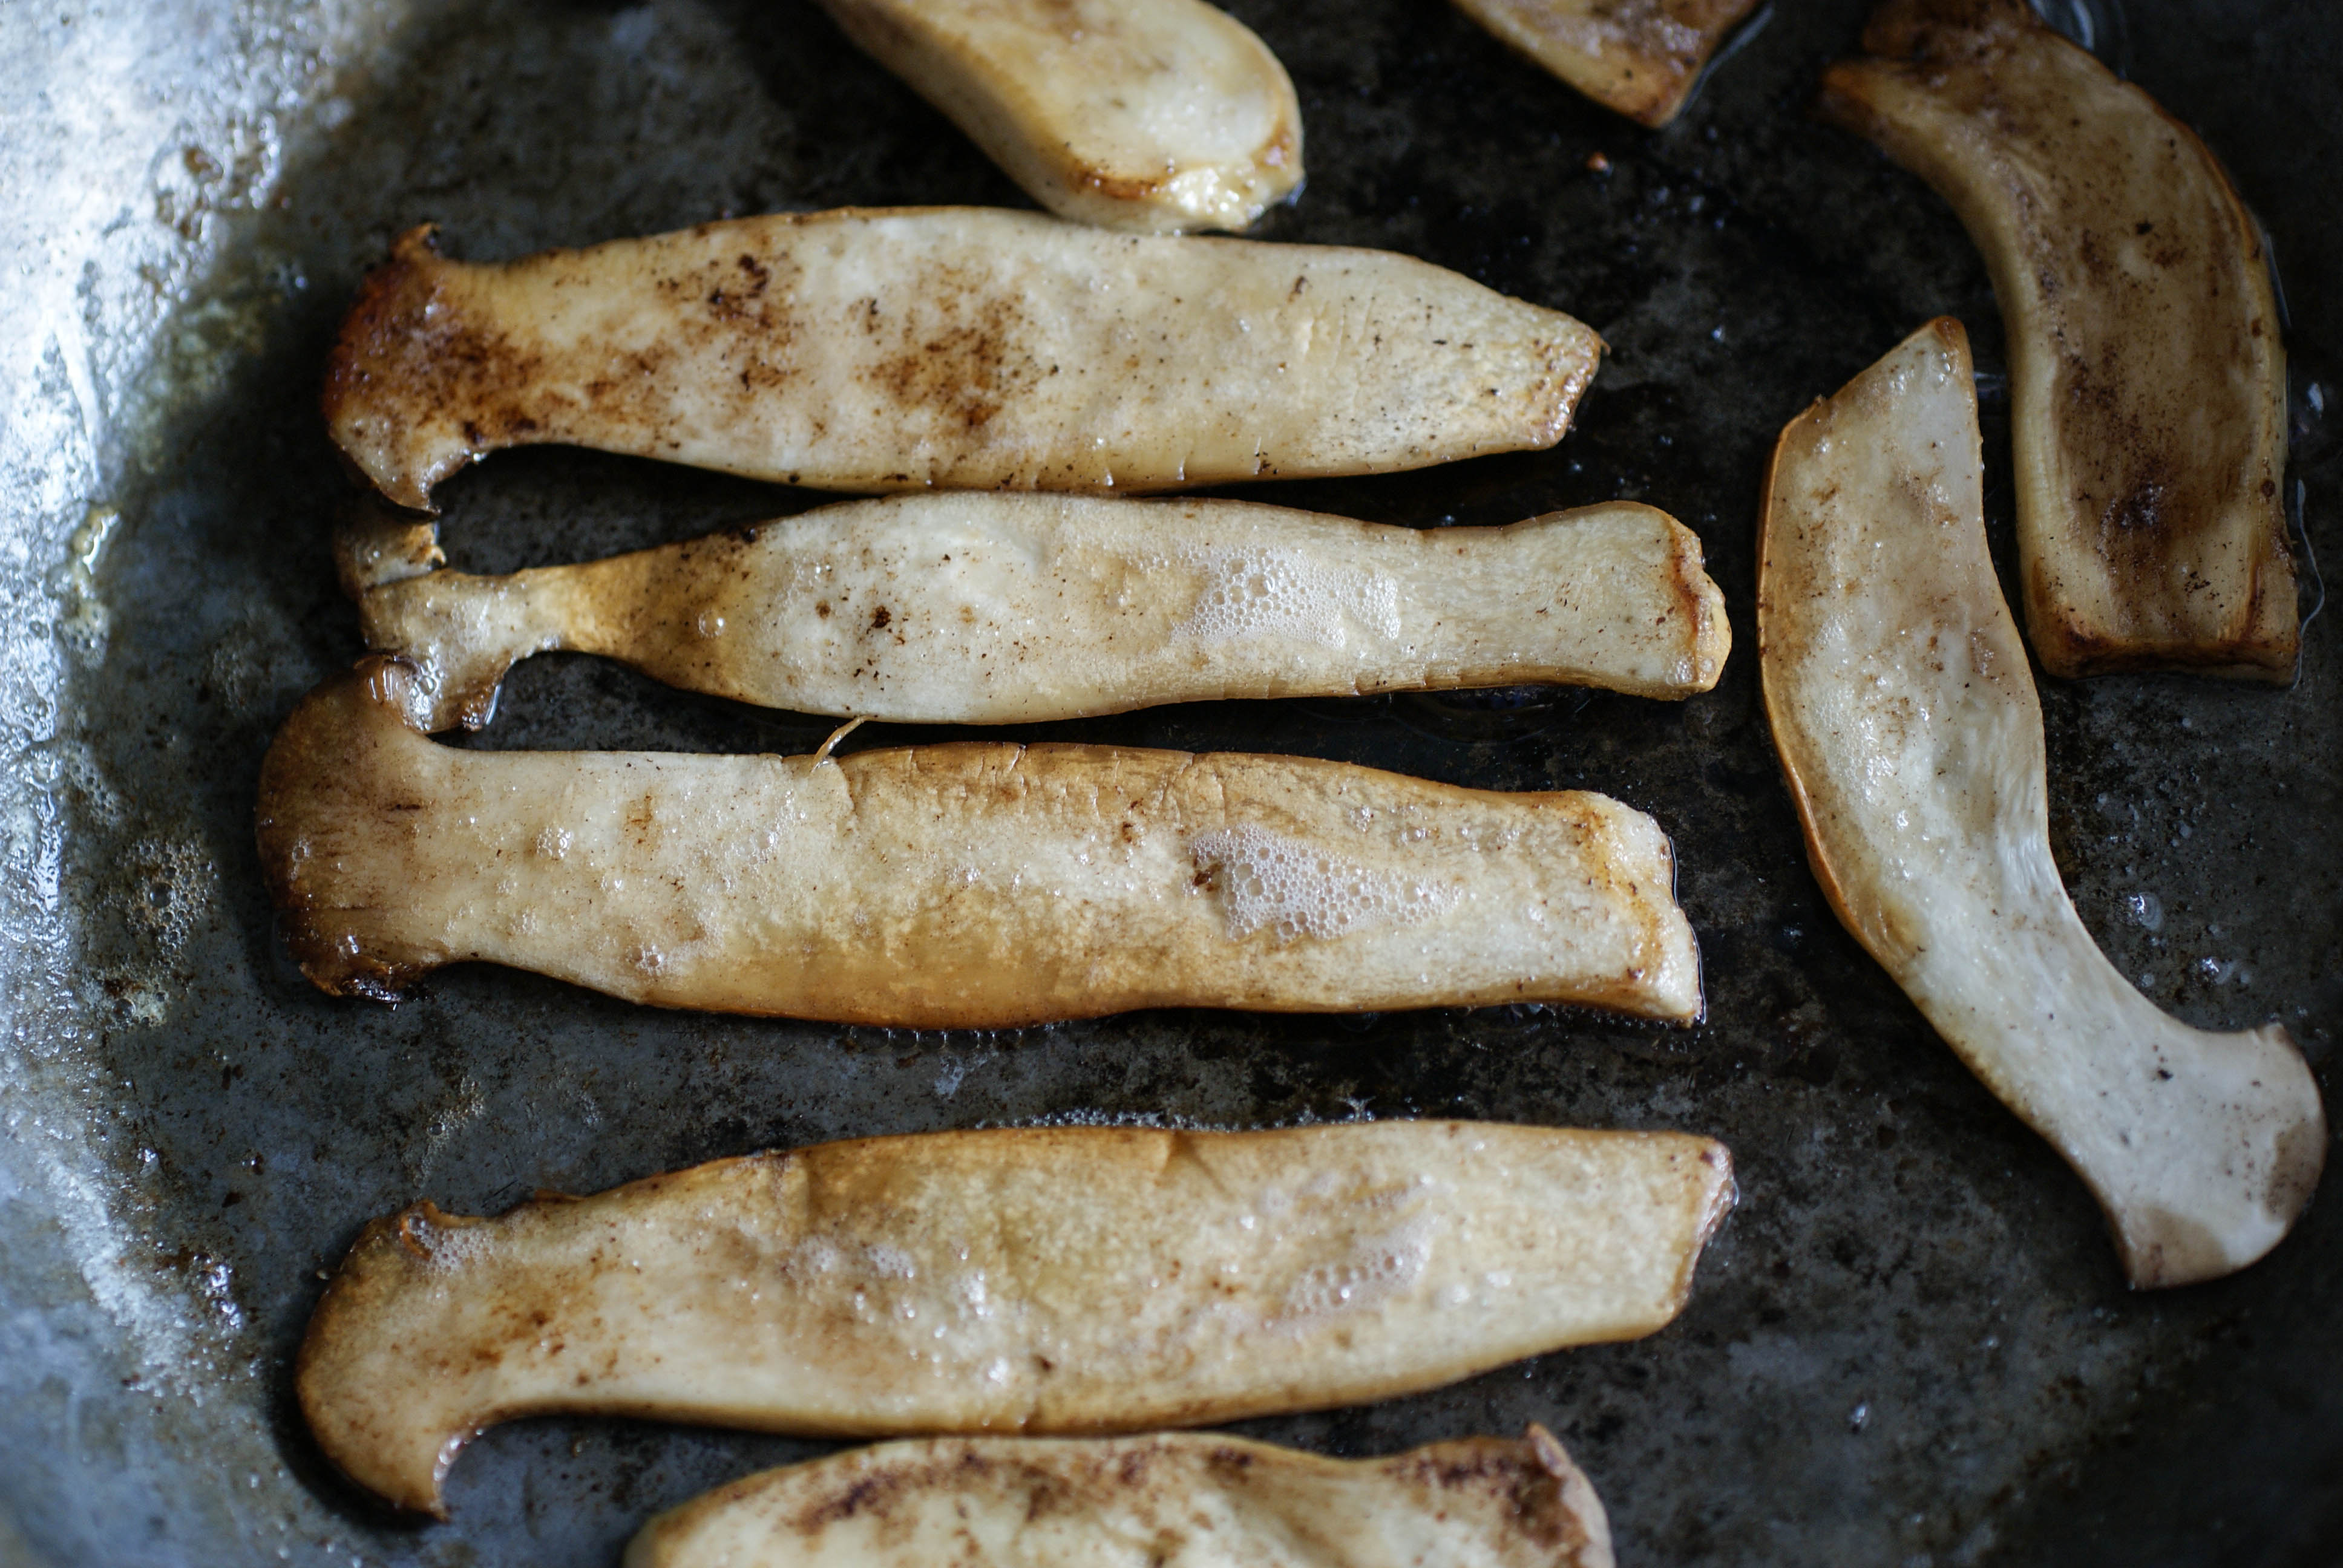
- Slice the mushrooms length wise into flat strips.
- Brown the mushrooms (on both sides) in a frying pan in the melted butter. Only takes a few minutes. I had enough mushrooms that I needed to do three batches.
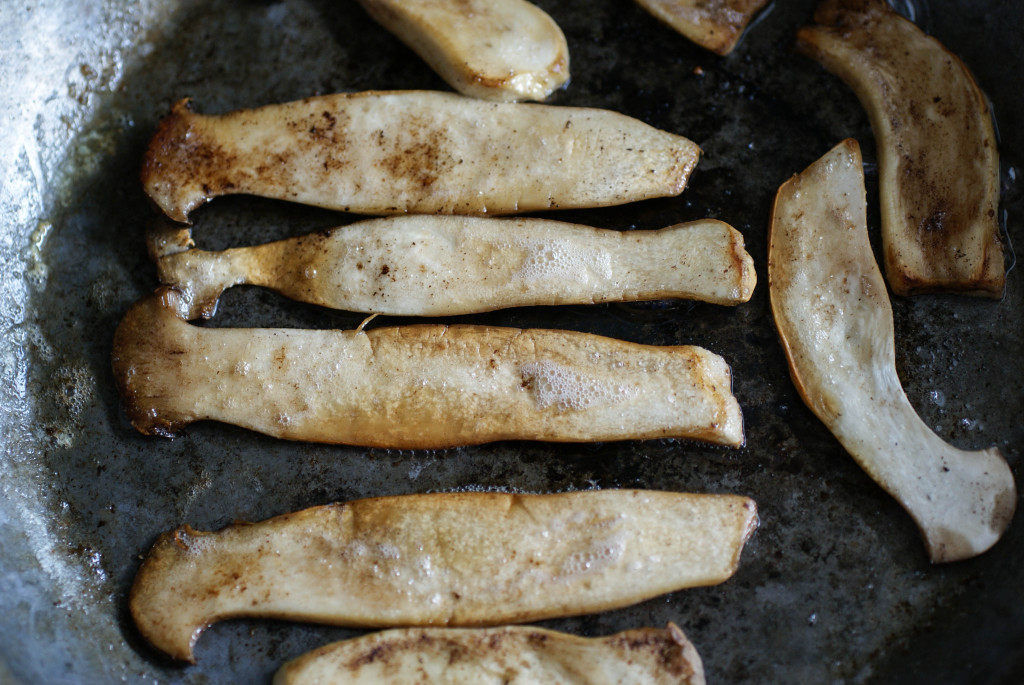
Aren’t they beautiful?
- Set mushrooms aside while you prepare the bread dough.
For the Bread
- Put all ingredients together in a food process and mix well. It will be the consistency of pancake batter.
- Melt coconut oil in an oven proof frying pan.
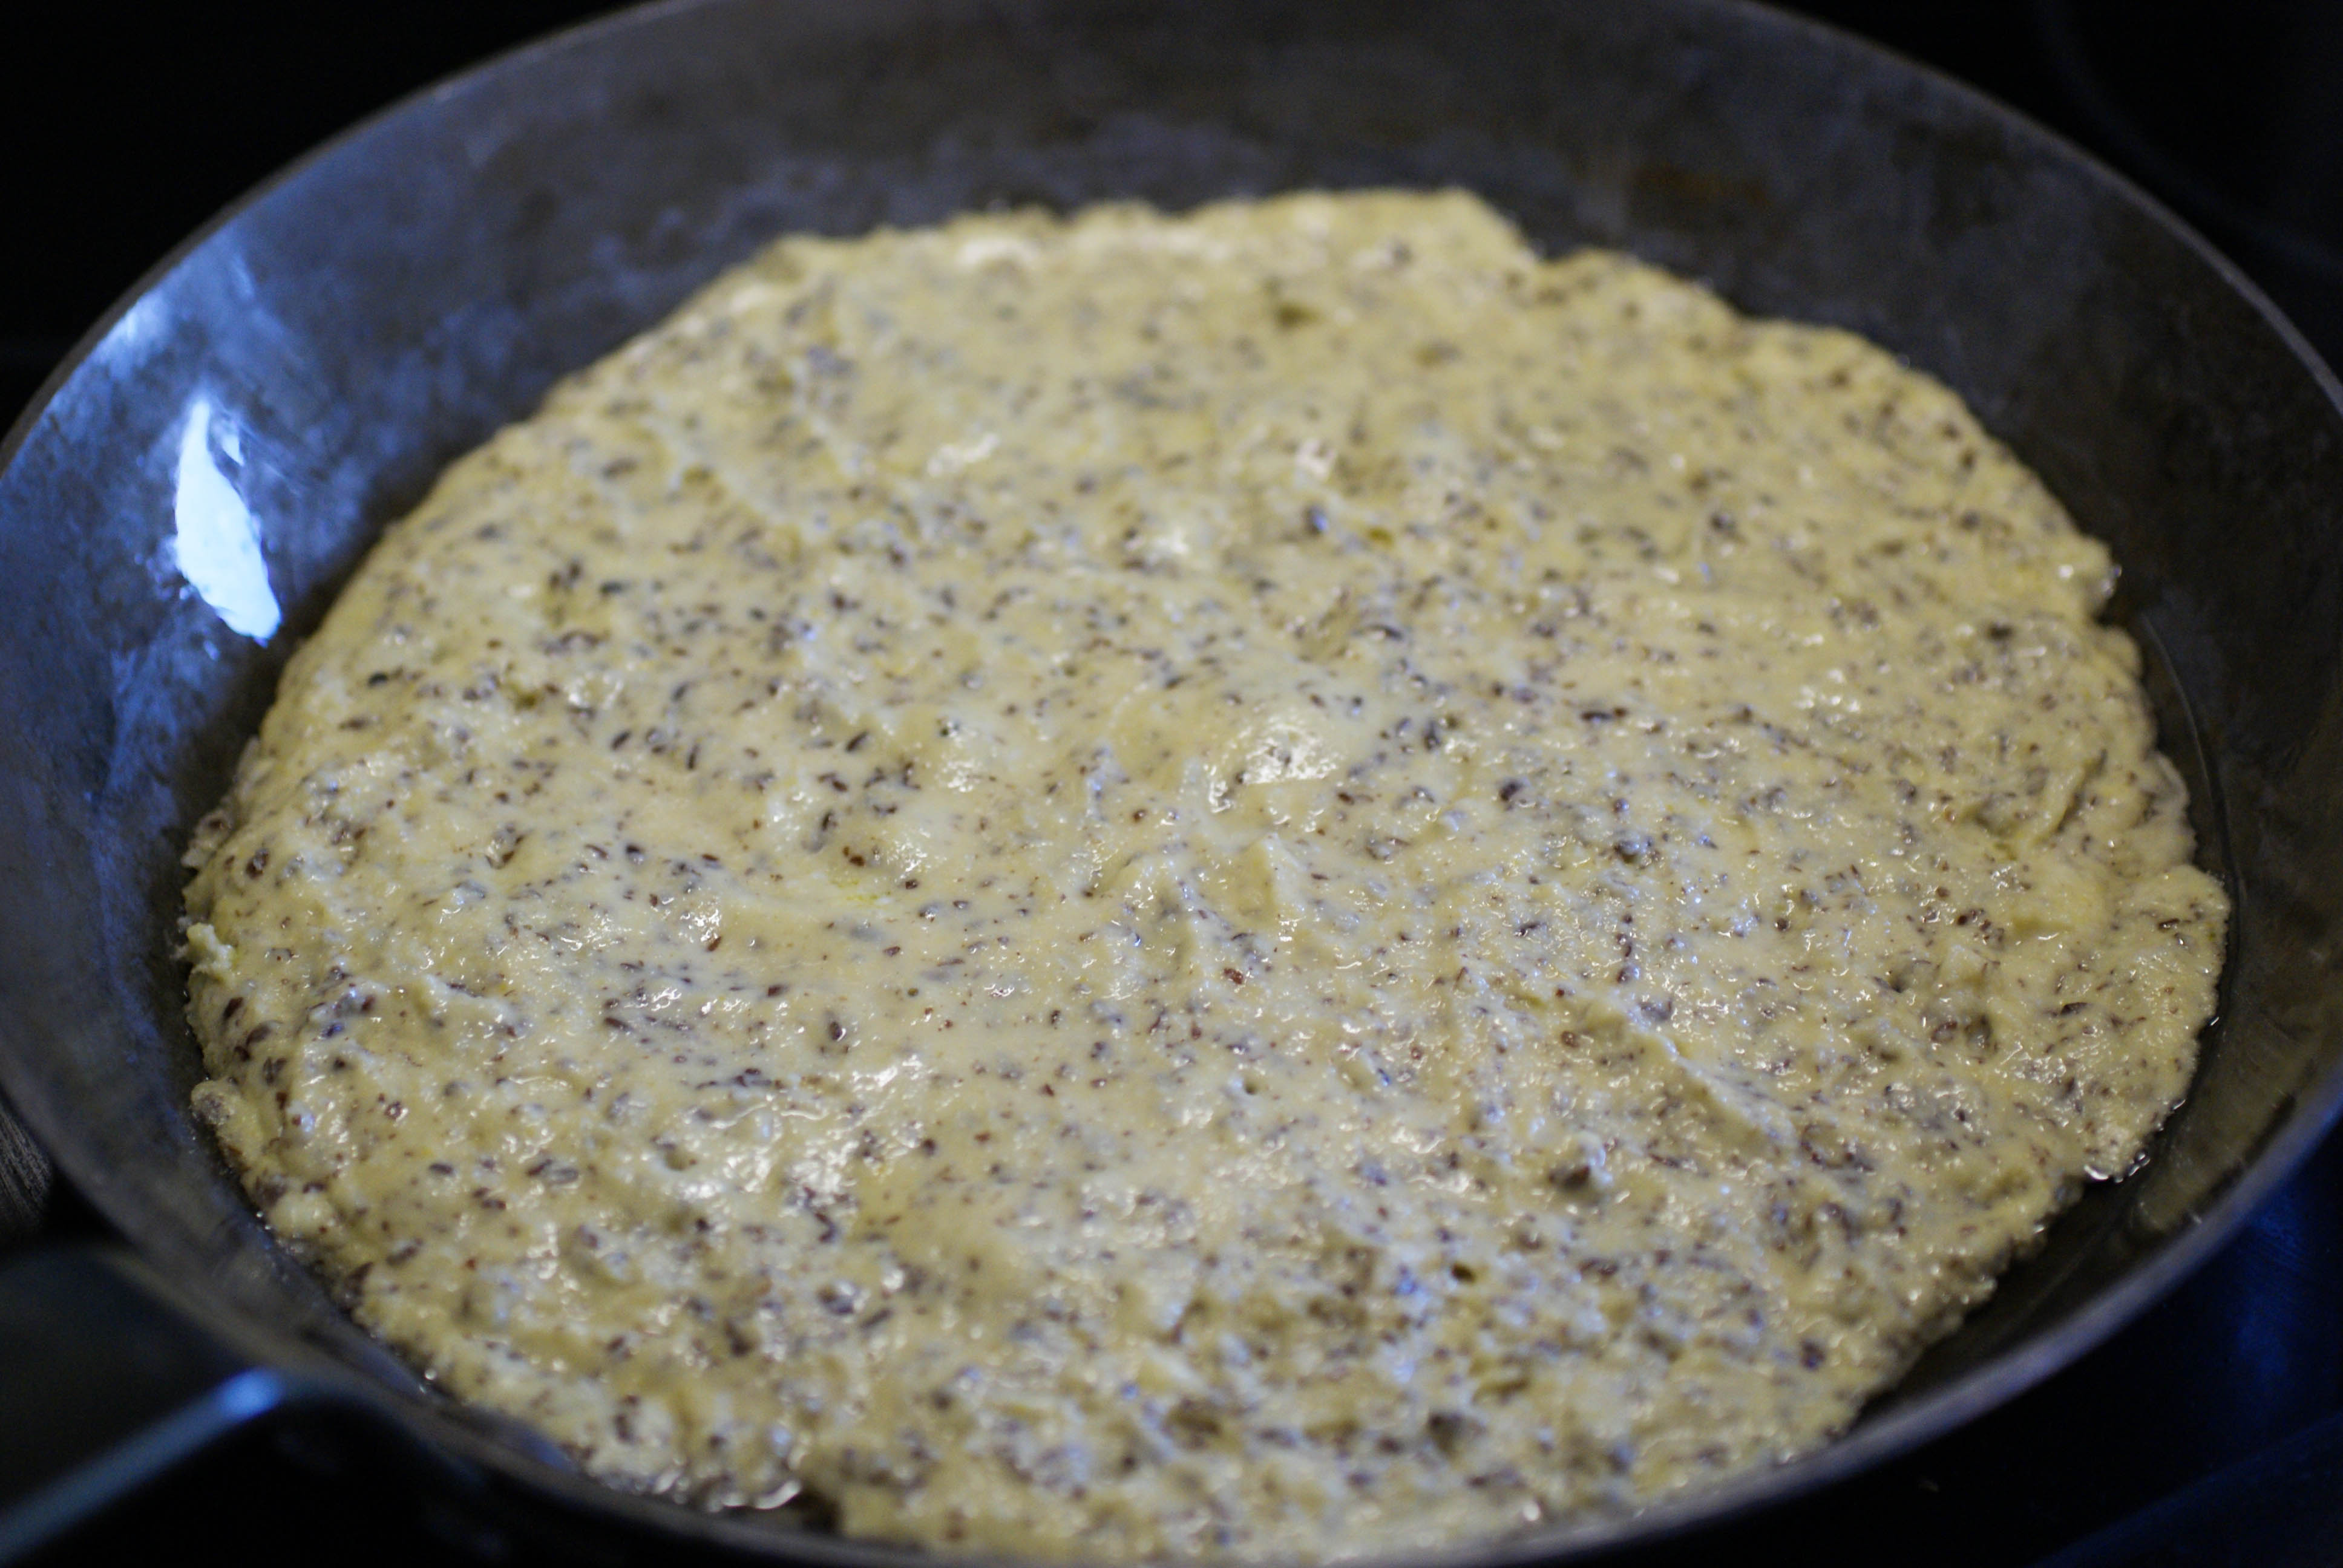
- When the oil is hot, pour in the dough and spread it out in the pan.

Dough part
- Cook for 2 minutes.
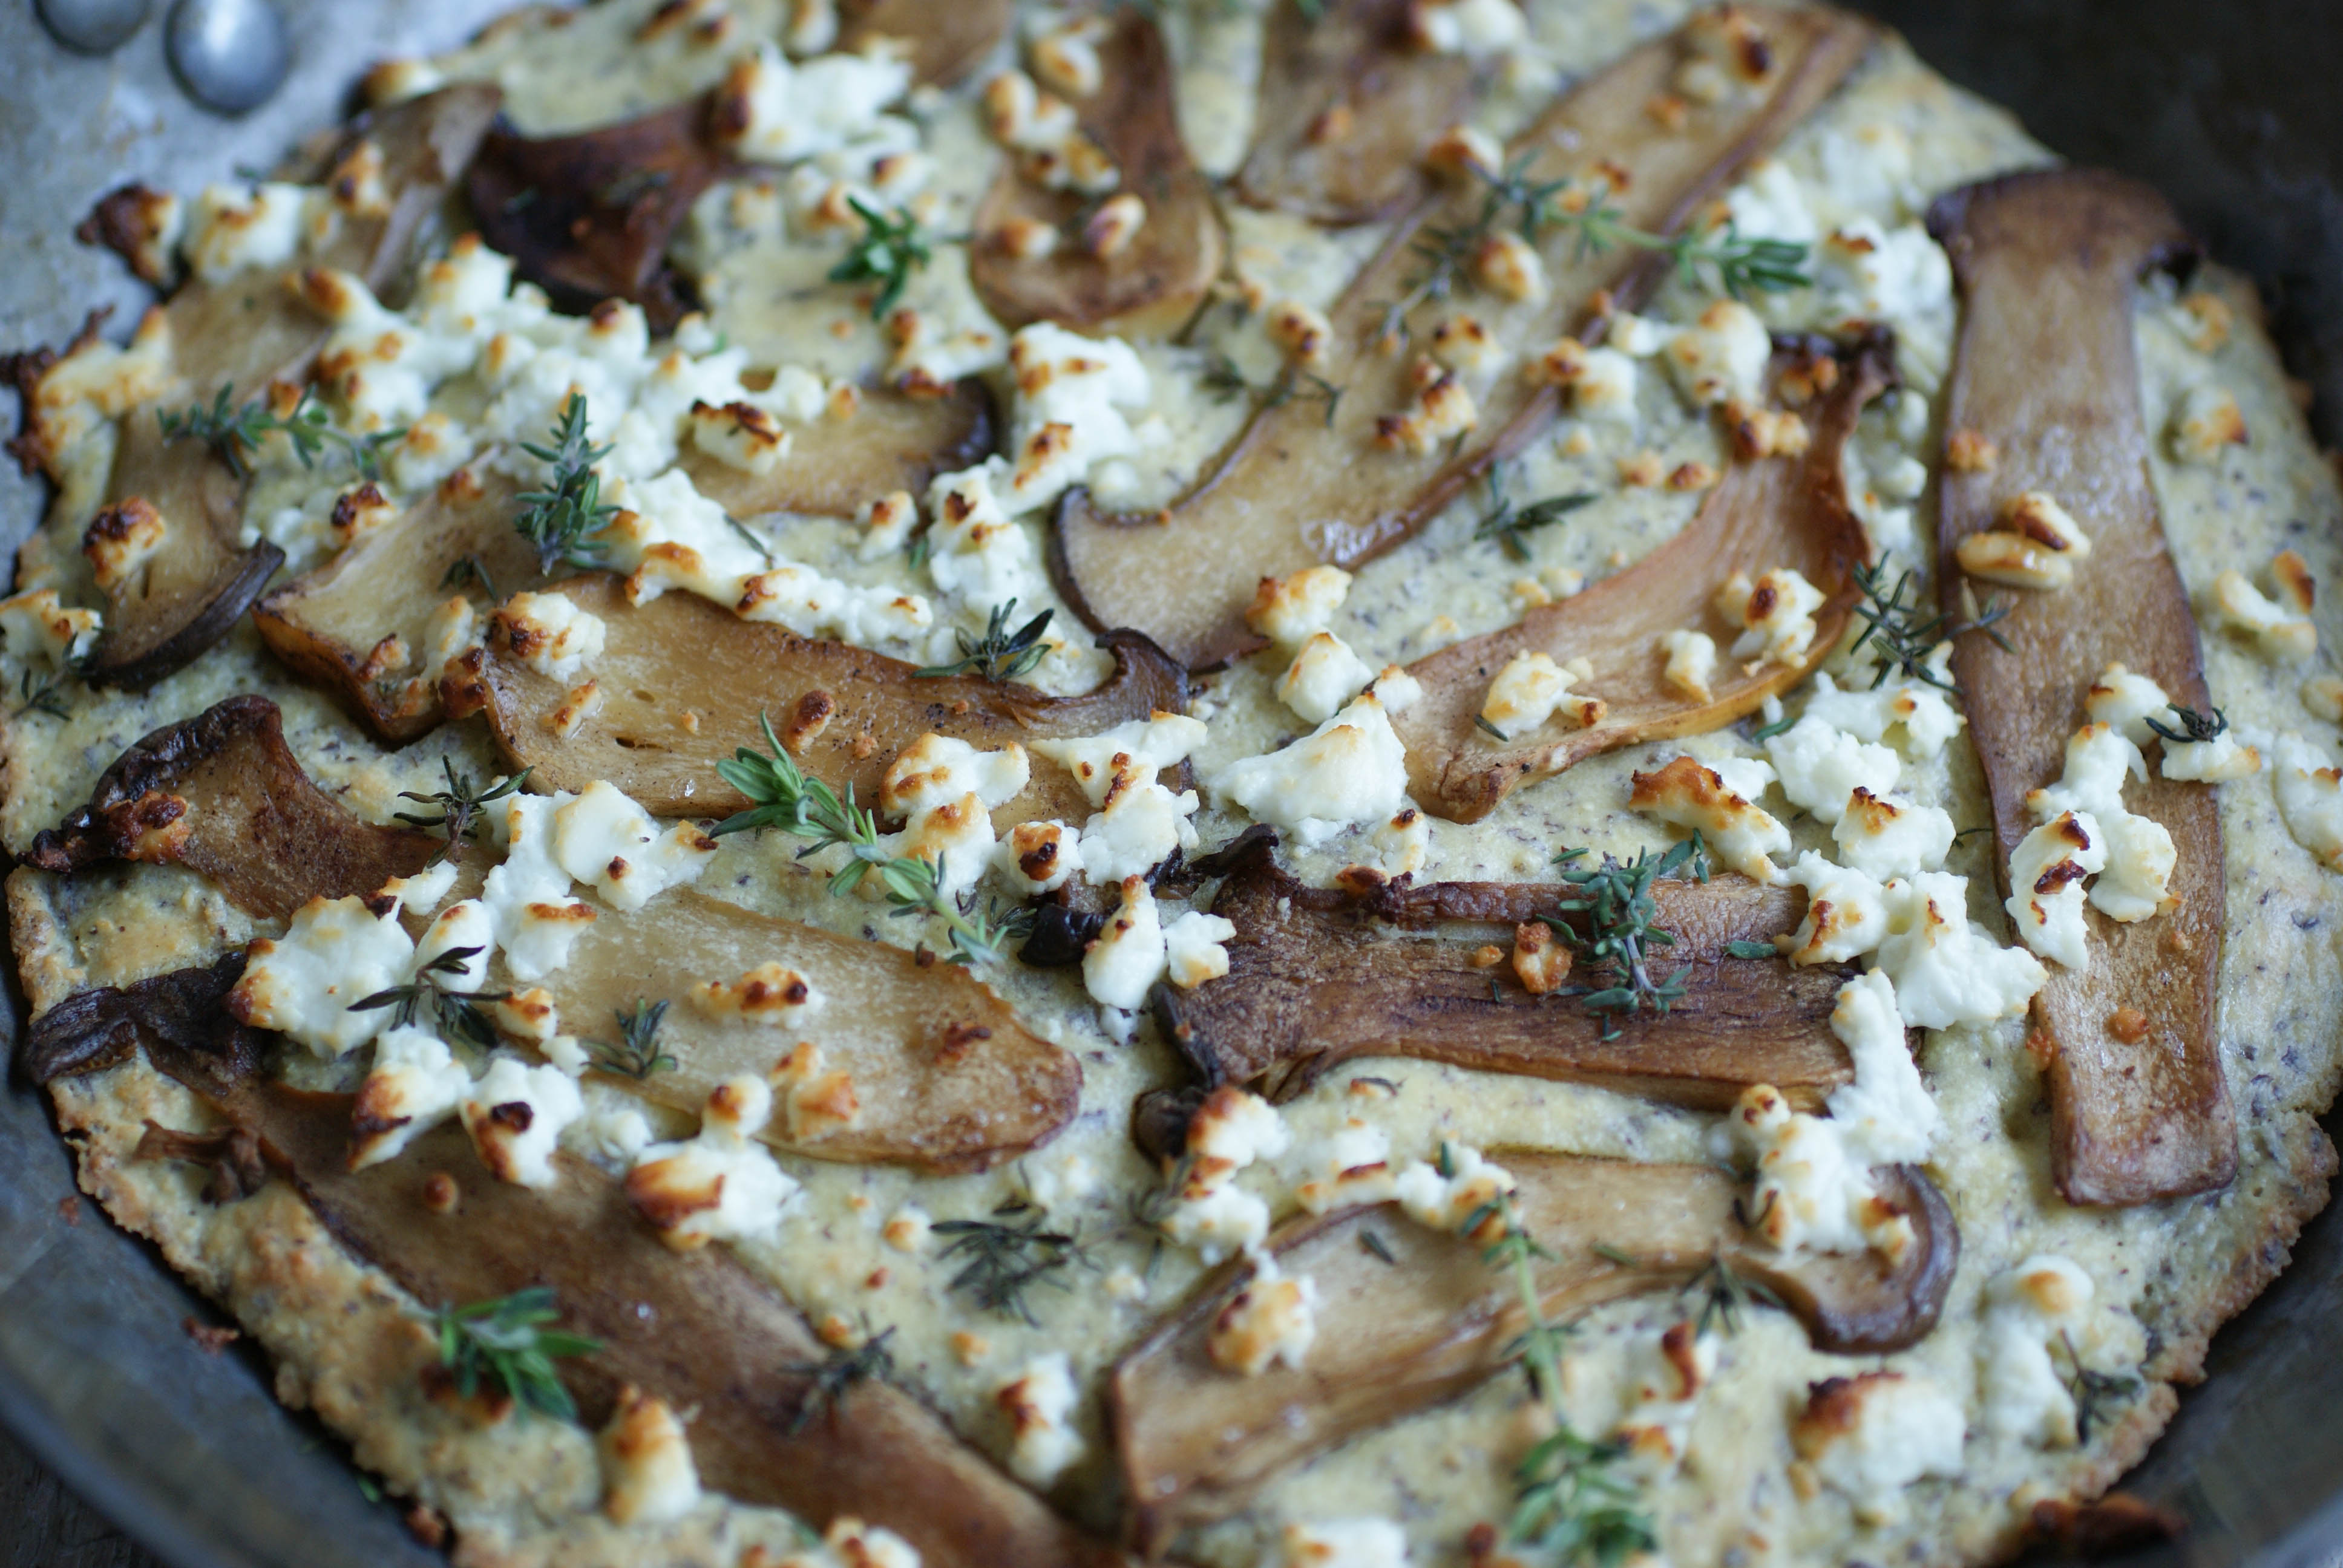
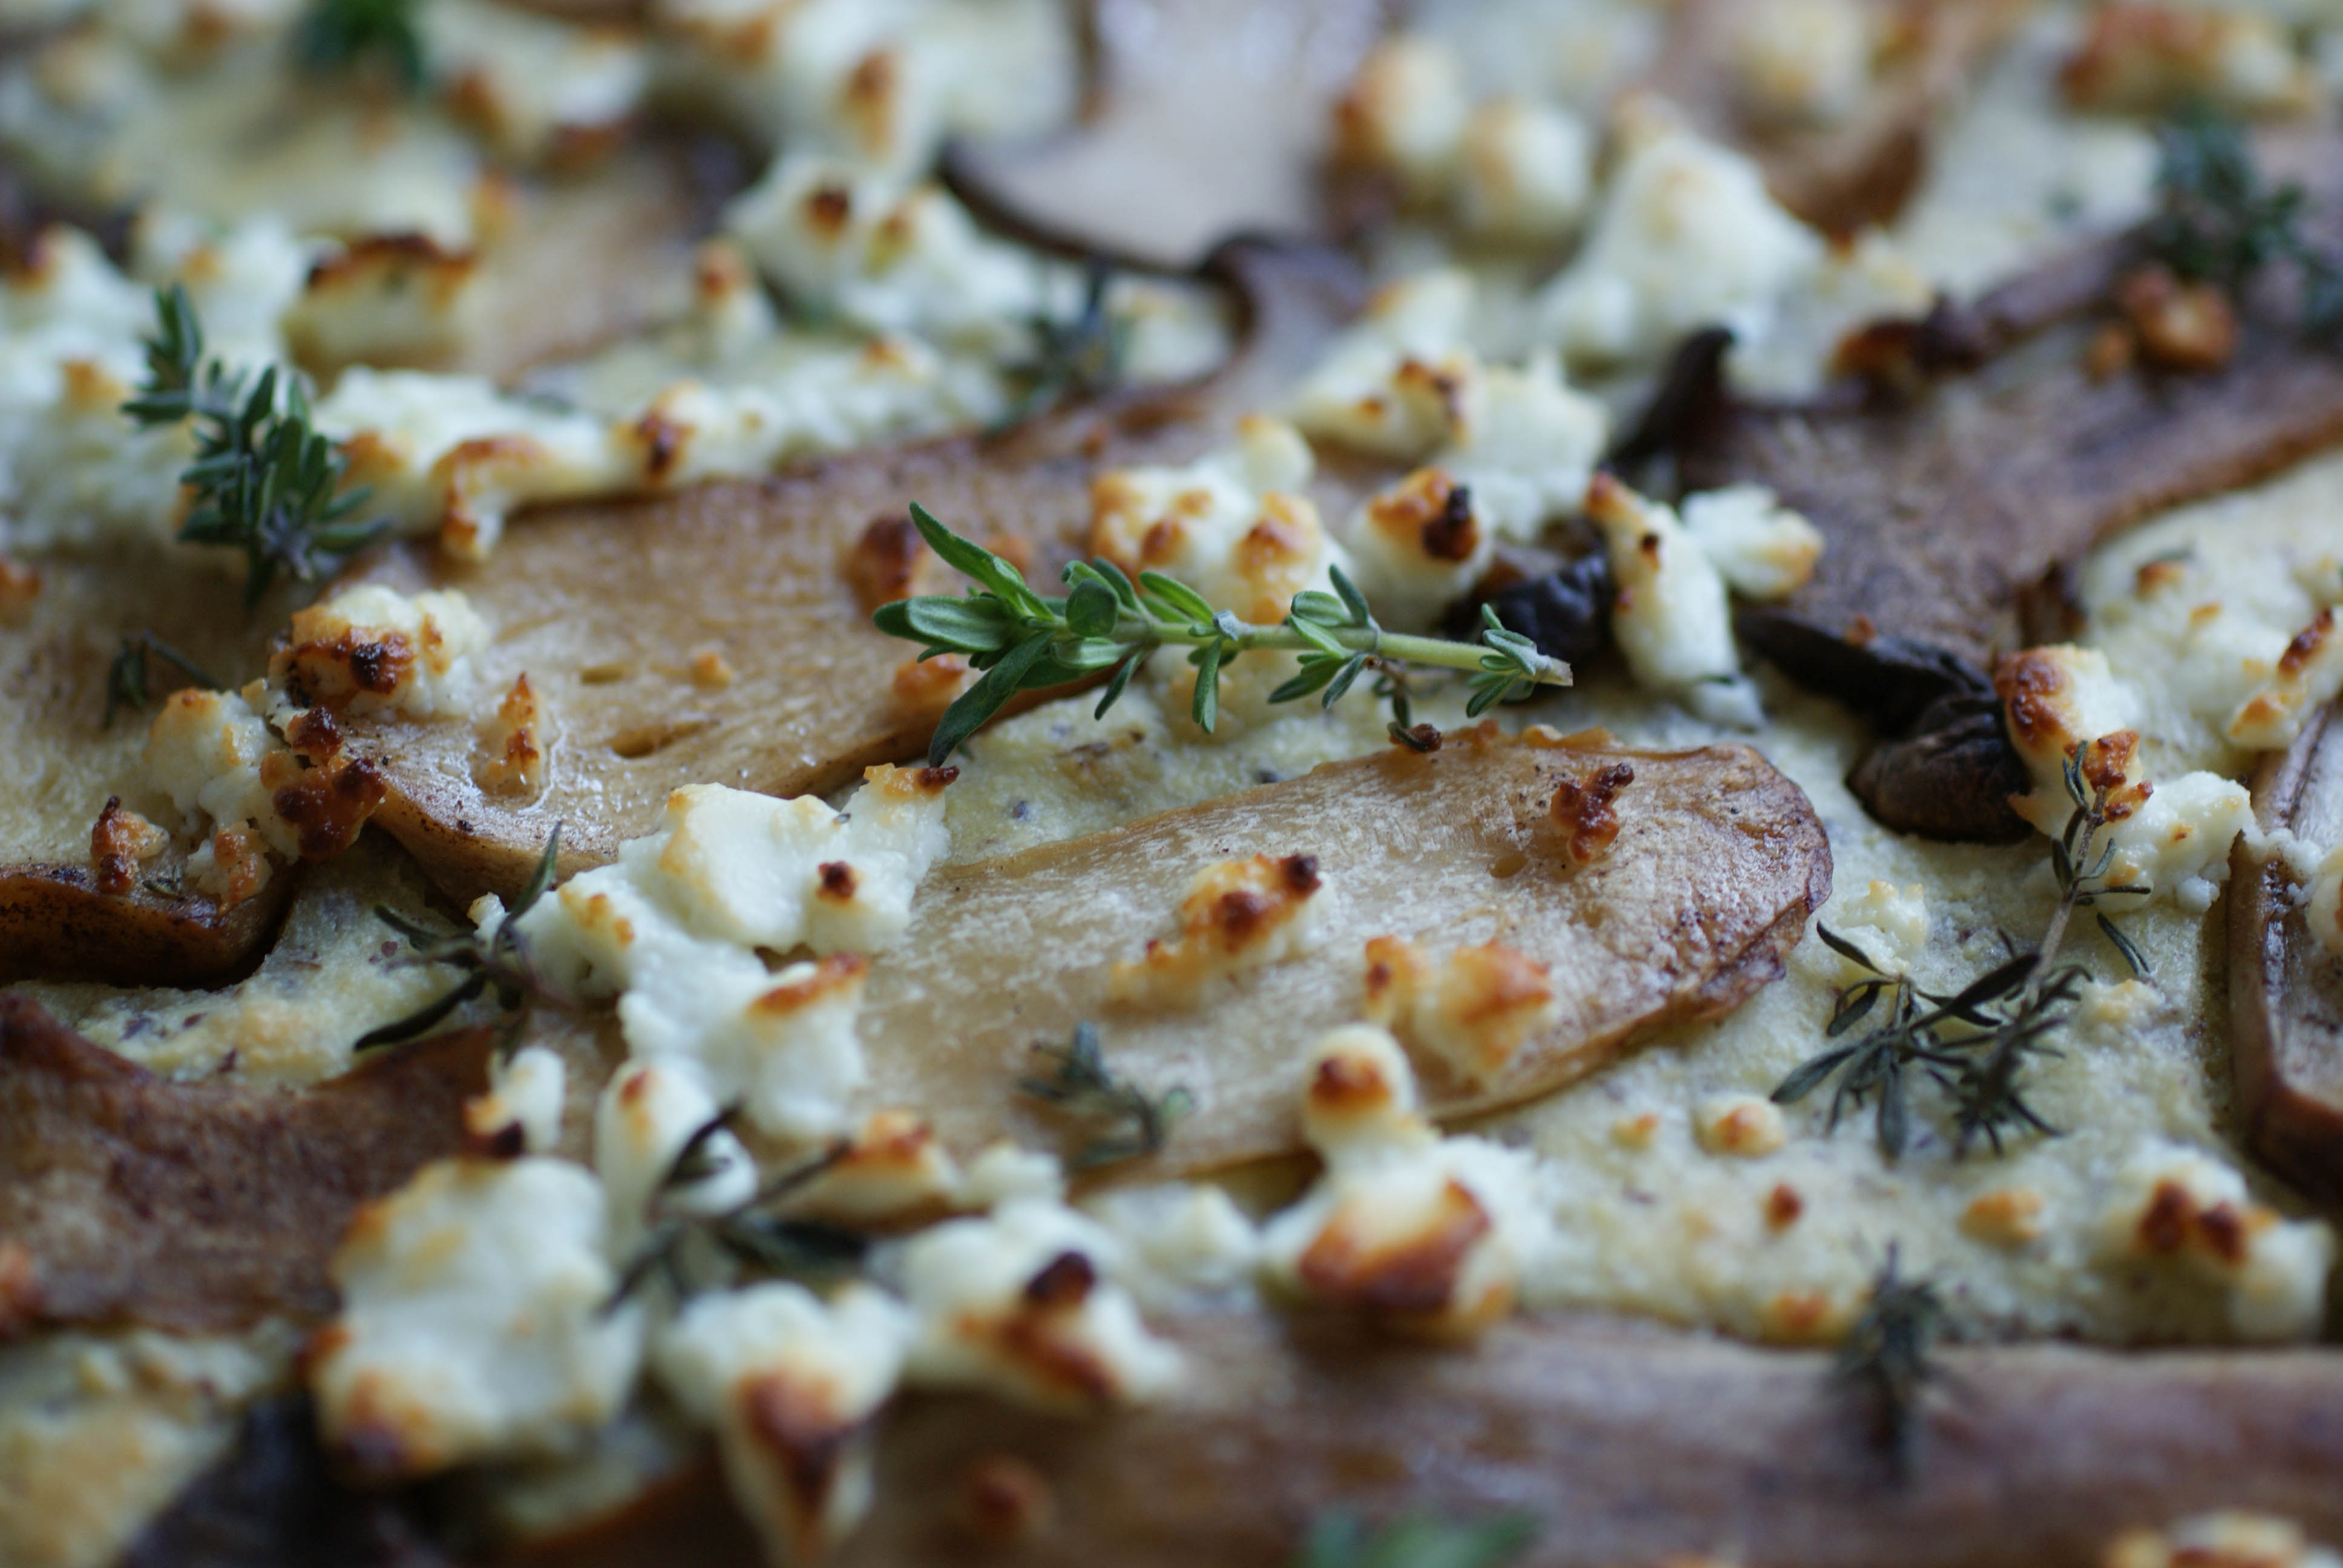
- Remove from heat and place the mushrooms and feta cheese on top. Salt and pepper to taste and add a few sprigs of fresh thyme (or herbs of your choice).
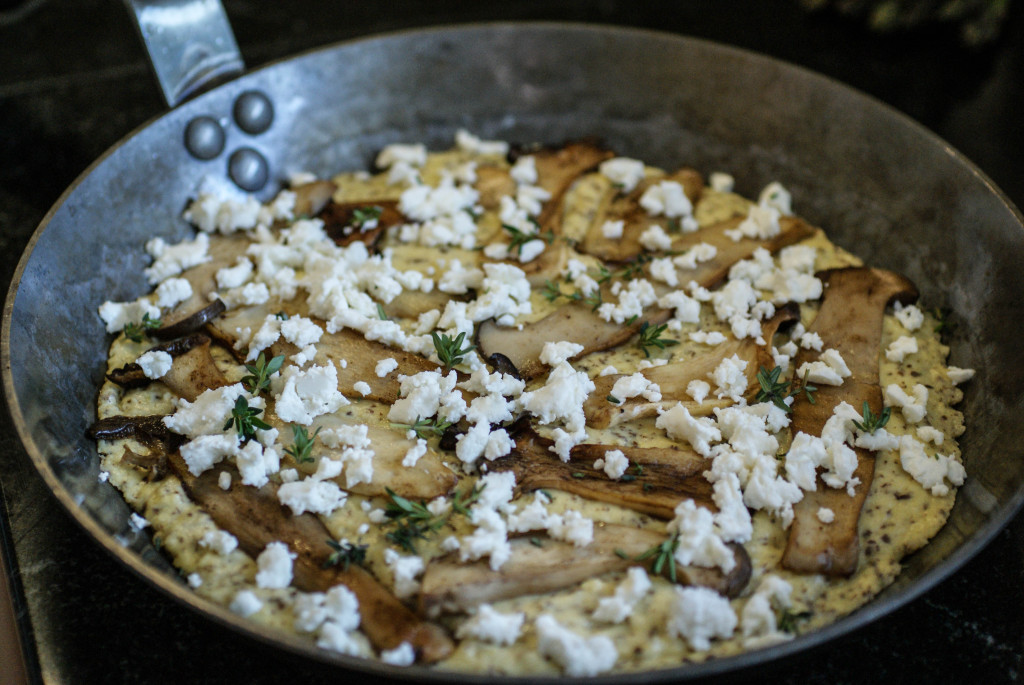
Ready for the oven
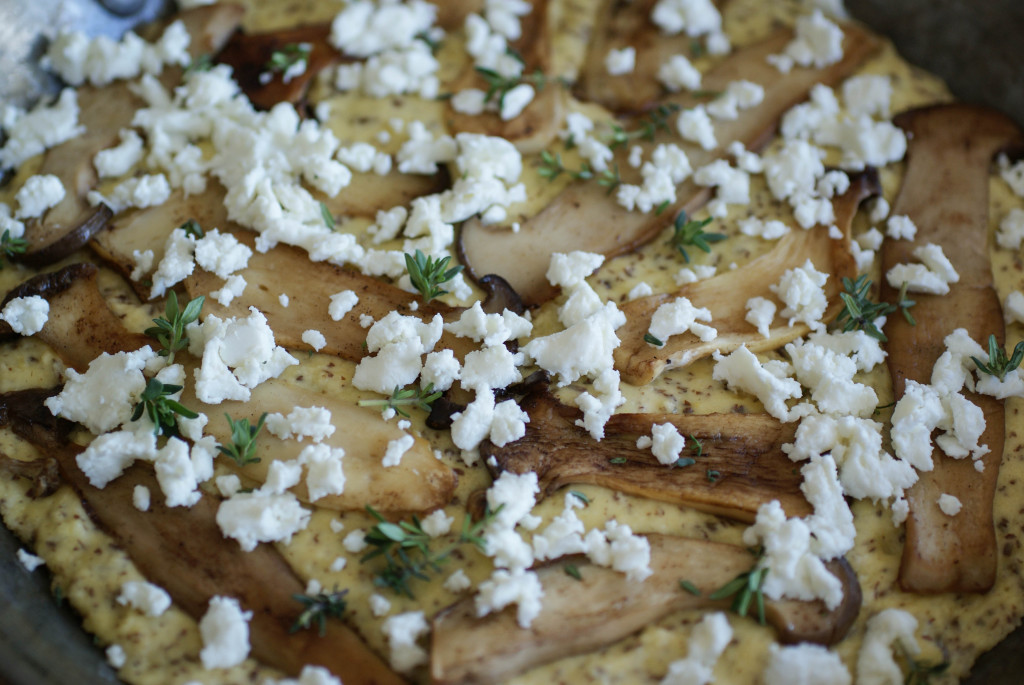
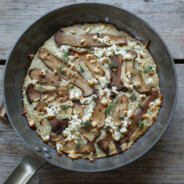
- Place pan in a 200C (400F) oven for 15 minutes or until the feta is browned.
- Drizzle with a little olive oil if you like before serving. I cut it into wedges with a pizza slicer.


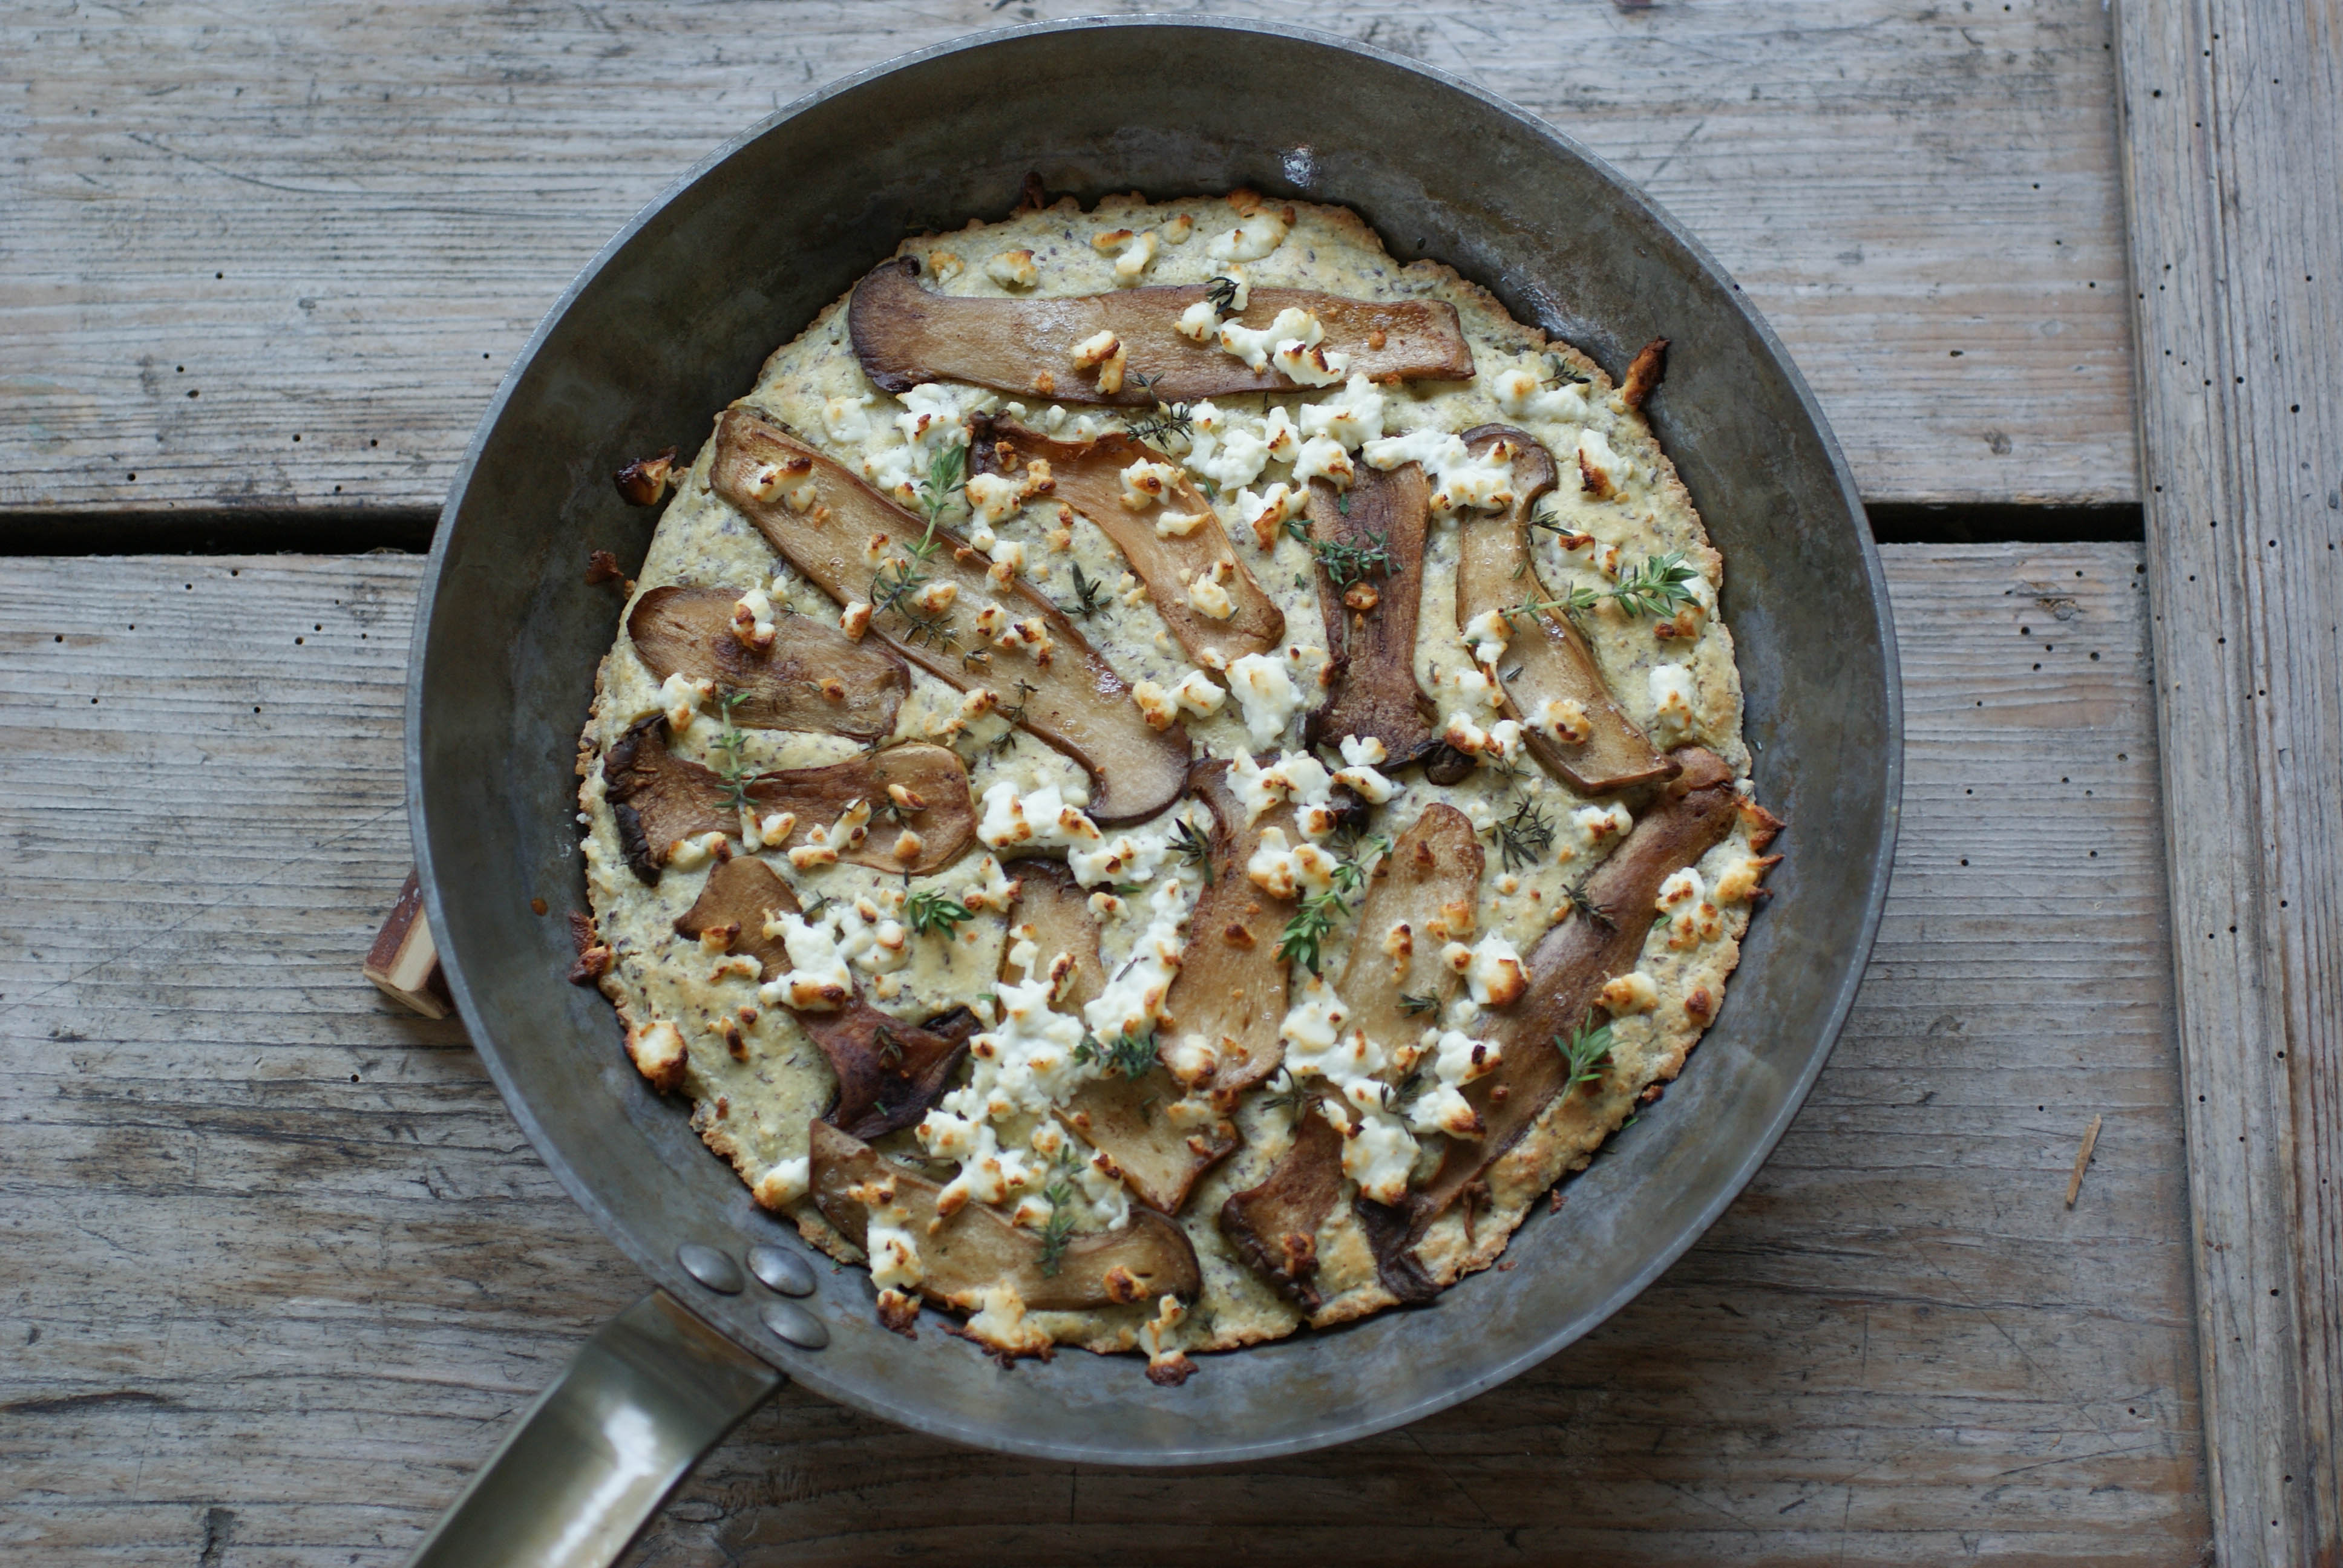

Easy to slice and serve
Ingredients
- 2 Tablespoons butter
- King oyster mushrooms (or any kind you prefer)
- Fresh thyme sprigs
- Feta cheese, as much as you want or none at all
- 3 Tablespoons ground flax seeds
- 2 eggs
- 1/3 cup coconut milk (refrigerate it and use the thick part) or Greek yogurt
- 1/8 cup olive oil
- 1/4 cup coconut flour
- 1/2 cup arrowroot powder
- 3/4 teaspoon baking powder
- 1/4 teaspoon salt
- 1/2 teaspoon apple cider vinegar
- 1 Tablespoon coconut oil for the pan
Instructions
- Slice the mushrooms length wise into flat strips.
- Brown the mushrooms (on both sides) in a frying pan in the melted butter. Only takes a few minutes. I had enough mushrooms that I needed to do three batches.
- Set mushrooms aside while you prepare the bread dough.
- Put all ingredients together in a food process and mix well. It will be the consistency of pancake batter.
- Melt coconut oil in an oven proof frying pan.
- When the oil is hot, pour in the dough and spread it out in the pan.
- Cook for 2 minutes.
- Remove from heat and place the mushrooms and feta cheese on top. Salt and pepper to taste and add a few sprigs of fresh thyme (or herbs of your choice).
- Place pan in a 200C (400F) oven for 15 minutes or until the feta is browned.
- Drizzle with a little olive oil if you like before serving.